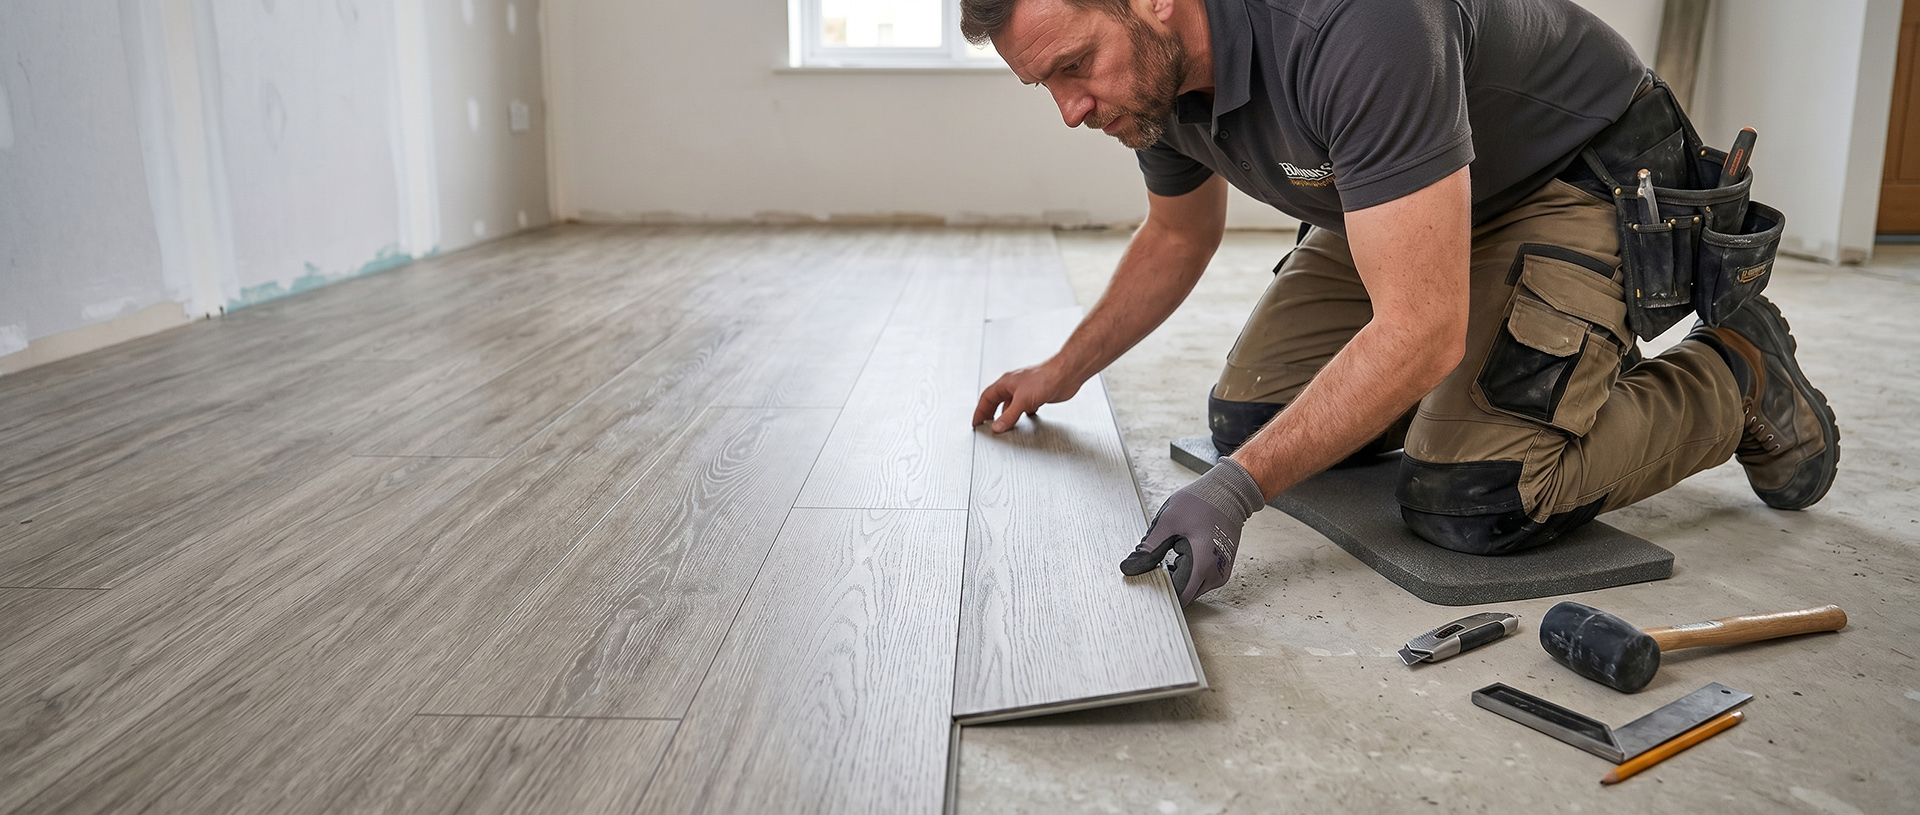
Luxury vinyl floors have come a long way and new advancements only mean more good news for the flooring industry. These floors are rightfully growing in popularity, since they offer the resilience and hardwearing properties needed for modern homes and offices. More people are considering it also because it doesn’t burden them with the heavy price and inherent disadvantages of other flooring options. And all of this while looking exactly like natural materials, but with a greater choice of colours, finishes and textures. Seriously, what’s not to love?
Although luxury vinyl is one of the most hardy and durable flooring options, it unfortunately, isn’t immune to damage either. Too much heavy dragging around of furniture, the sharp edges of stilettoes or the nails of pets can cause deep scratches or holes in your floor. Even the smallest blemish can mar the appearance of your whole floor.
However, if damage has occurred and you do need to repair a luxury vinyl plank or tile – it is a surprisingly easy process. In fact, if you’ve done regular DIY repair work in the past, you don’t even need a professional to help you out. You can fix small tears, burns and gouges in a vinyl floor in less than 30 minutes.
You could purchase an inexpensive kit that contains all the materials you need to make the ungainly blemish disappear. However, if the damage happens to be larger or too noticeable, it’s best to replace that section of flooring.
Below, we will take you through the basic steps to repair your LVP or LVT.
Minor scratches, holes and imperfections
Before every repair work, always remember that the floor should be thoroughly cleaned. First, clean the damaged plank or tile with grease-cutting soap and some warm water, since grime and debris can botch up repairs. Don’t forget to let it completely dry before starting work.
You will need:
· A utility knife
· Masking tape
· Acrylic paint that matches the floor colour
· Epoxy Resin
In case of a hole, you will additionally need:
· Filler powder
· Floor bond
· Clear acrylic finish
The process:
- Tape around the plank or tile, so you don’t damage other areas accidentally.
- If the tear has loose ends, scrape it off gently with a utility knife.
- Clean the hole or scratch with a damp cloth to remove any debris or dirt.
- Smooth the area by sanding down the vinyl gently. Start with a medium P320 sandpaper, and sand in the direction of the scratch. Remember to use gentle strokes to avoid damaging the vinyl.
- Mix the paint to match your tile or plank colour. A pro tip to get the closest match is to place clear tape on the floor and try your paint on it.
- In case of a minor scratch, you can simply mix the paint with epoxy resin and paint over the scratch and let it dry.
- If there is a hole, first paint the inside surfaces and edges around the hole.
- Fill up the hole with filler powder and level it off gently.
- Drip the floor bond over the powder slowly till it is fully soaked. It will take only 3 or 4 drops to cover a small hole.
- Allow it to dry and harden for around 15-20 minutes.
- Use a brush to cover the area with clear acrylic finish for a smooth look and allow it to dry. This will take approximately 2 hours.
- In case the area still appears rough, gently sand it down.
Always remember: Keep children and pets away even if it’s minor repair work, since you are dealing with chemicals. Inform everybody in the household or office space not to use the floor till it is completely dry and the tools are put away.
Deeper scratches
If the scratch is a little deeper, you can try filling it with wax. Wax sticks are a handy and excellent solution for deep scratches on luxury vinyl flooring. In this case, simply place the wax over the scratch with pressure to smear it over the scratch.
After spreading the wax, you will need to buff the area to ensure a smooth finish. Rub with gentle circular motions using some elbow grease until the area looks and feels smooth and flat.
Minor tears
Start off by cleaning the area, as suggested above. For this, you will need:
· Putty knife
· Vinyl flooring adhesive
The process:
- After cleaning, drying and masking the area as in the steps mentioned above, spread vinyl flooring adhesive under the edges of the rip.
- Press down firmly over the area and then cover the area with masking tape to allow it to dry. You could place something heavy on top, like a thick hardcover book to keep the rip glued down.
- After the recommended drying time, remove the tape and enjoy your vinyl floors again.
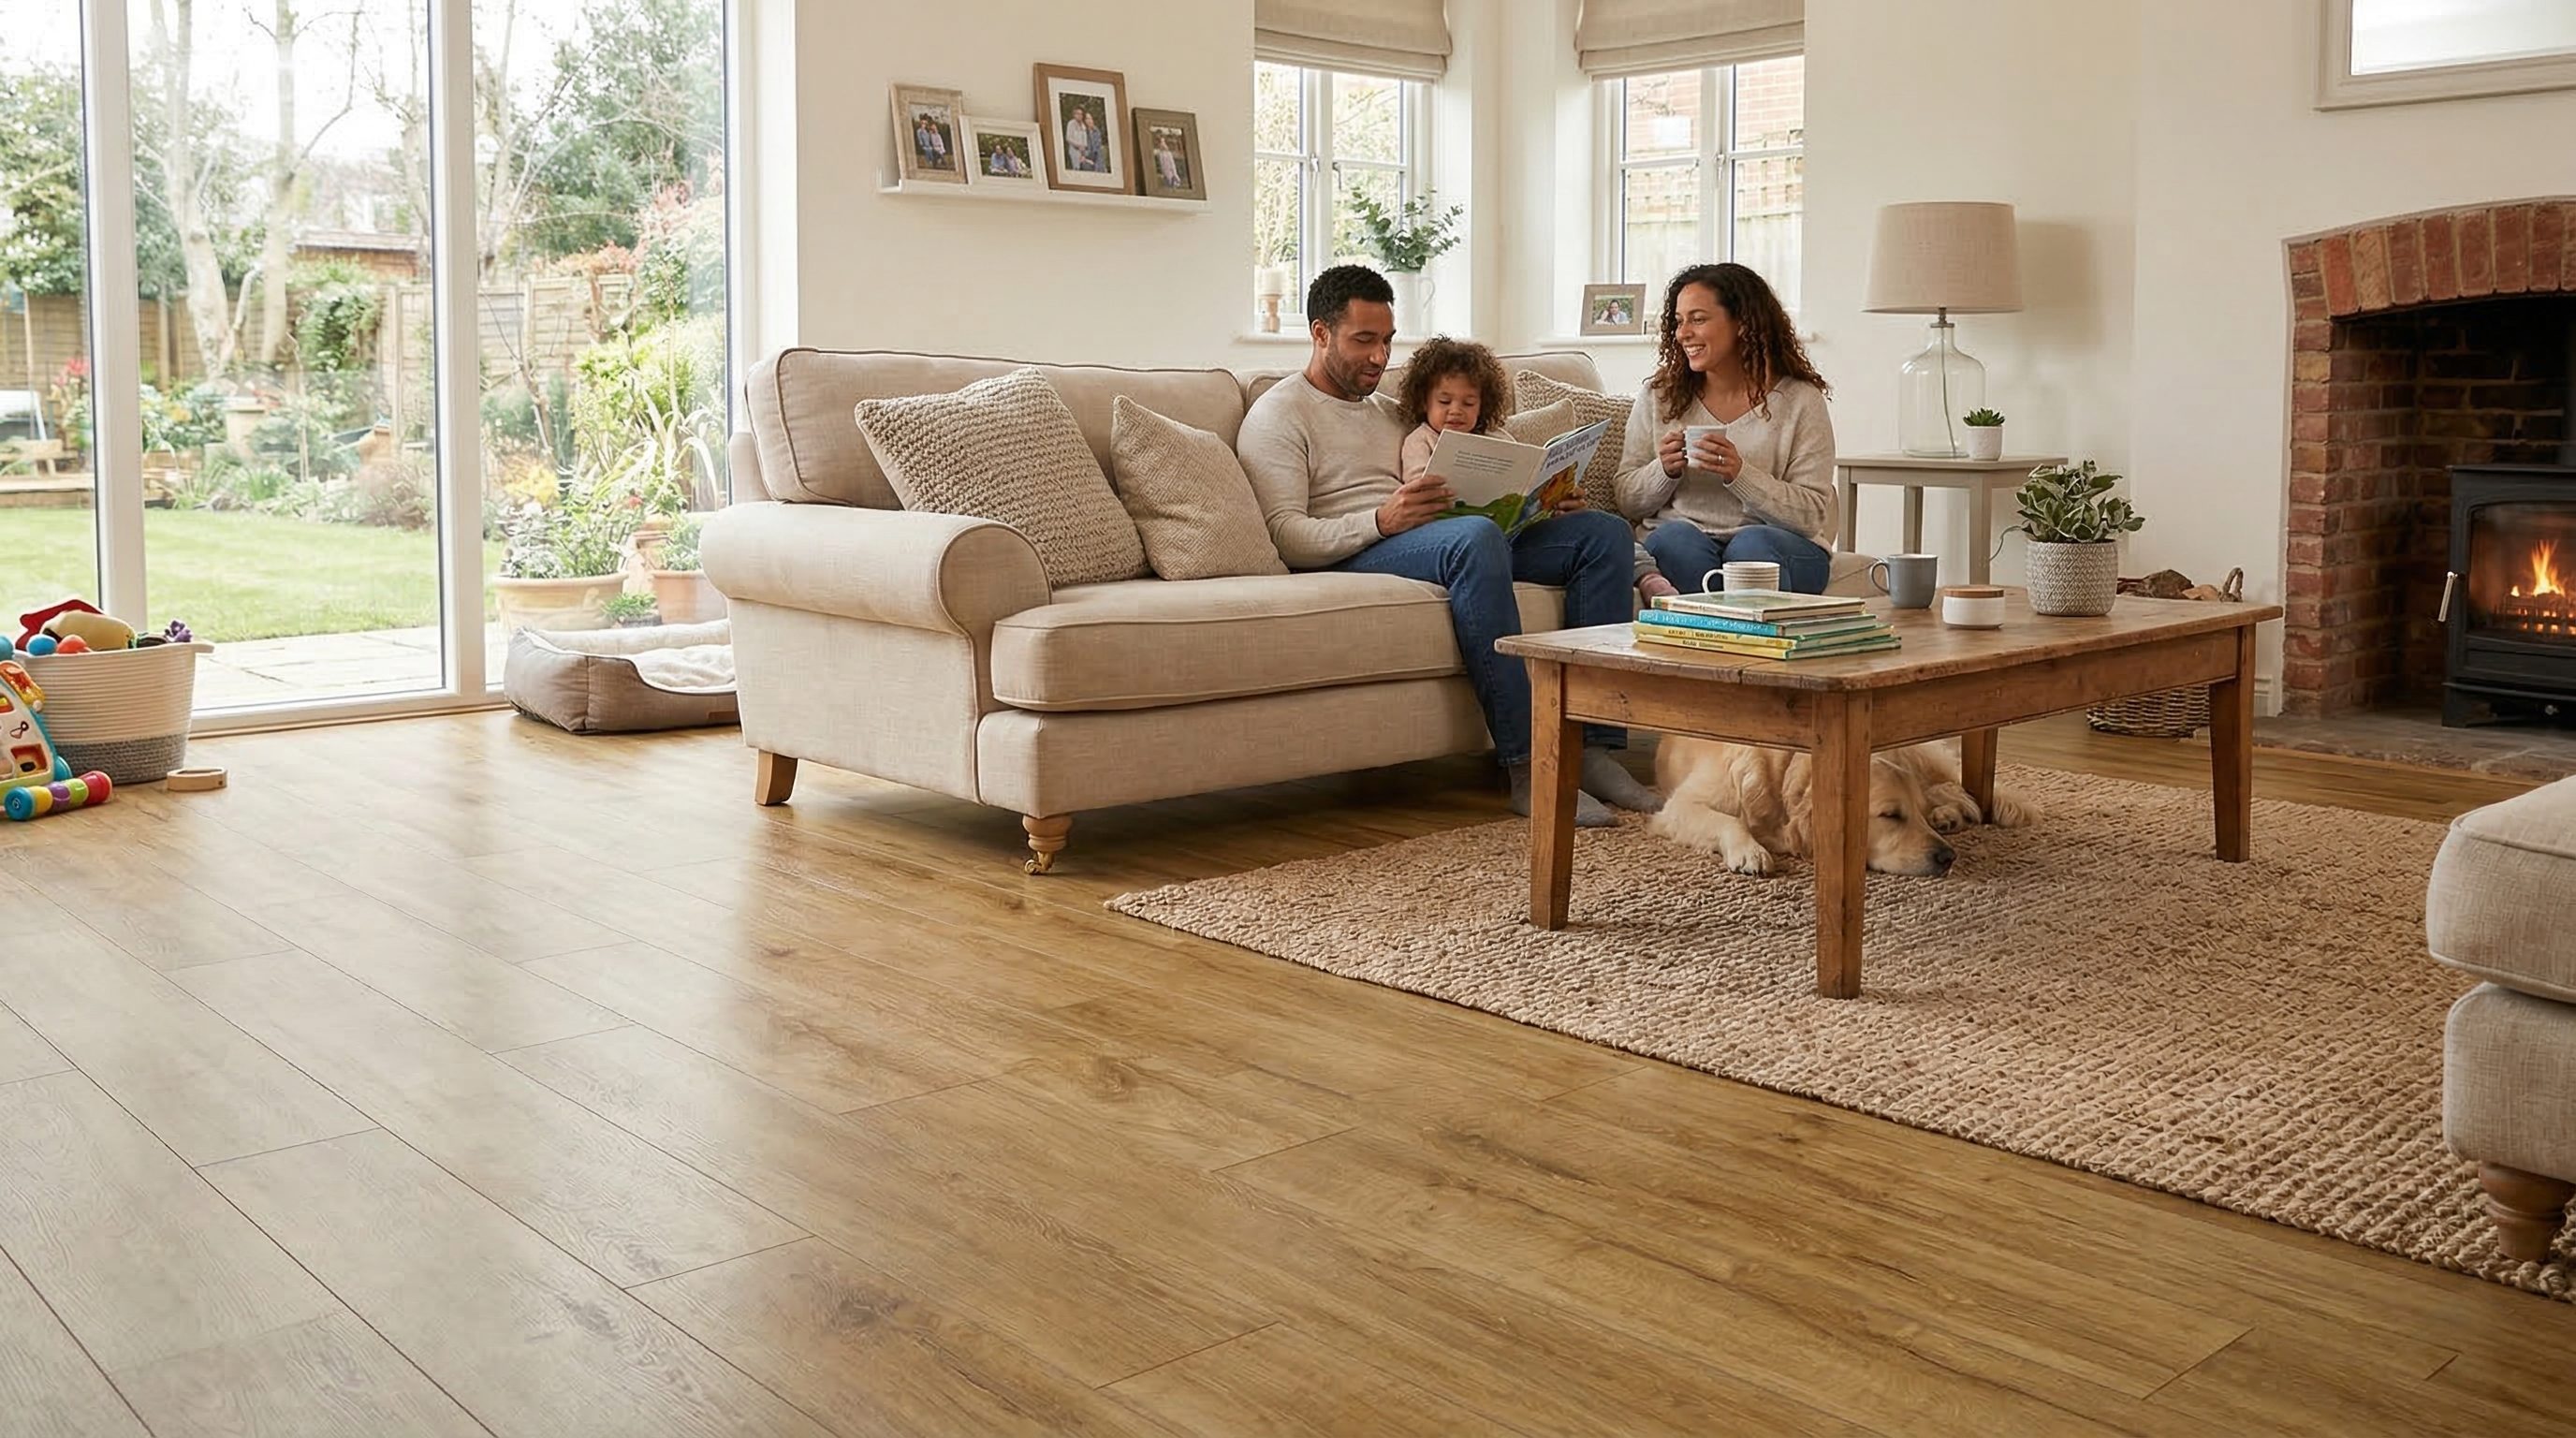
The sheer ease of luxury vinyl floors.
The most wonderful thing about Pro-Tek™ vinyl floors is just how easy it is in every aspect. With a little bit of TLC and some precautions, you can enjoy these gorgeous floors for a lifetime.
If you need to know more about how to care for your luxury vinyl floors, check out our post on cleaning and maintenance. Or better still, talk to us and we will guide you through it all.