Understanding How To Lay Vinyl Flooring
Pro-Tek™ flooring is incredibly quick and simple to install, thanks to our premium built-in underlay and an easy-to-use click system. Whether you are a professional fitter or a DIY enthusiast, achieving a high-quality finish is straightforward.
Before you begin your project, it is highly important that you read all the provided instructions and warranty information in full. This will ensure your floor is fitted correctly and that your warranty is not invalidated in any way. You may also find the step-by-step videos and pictorial guides below helpful during the process.
Please remember that the specific click-lock system used is different for our various collections, such as the Excel and Editions ranges. Always ensure you are following the correct instructions for your specific flooring product to guarantee a secure and long-lasting result.
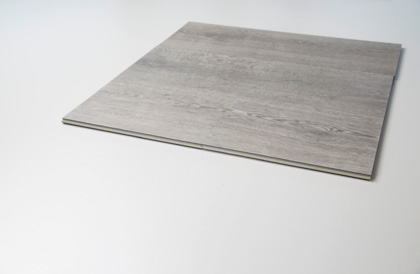
WPC Click Vinyl Installation
SPC Click Vinyl Installation
How to Engage Using Your Hands
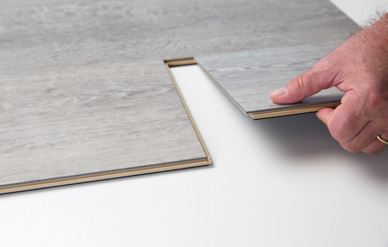
Guide How to Install Excel Planks
How to Engage Using a Hammer
How to Disengage