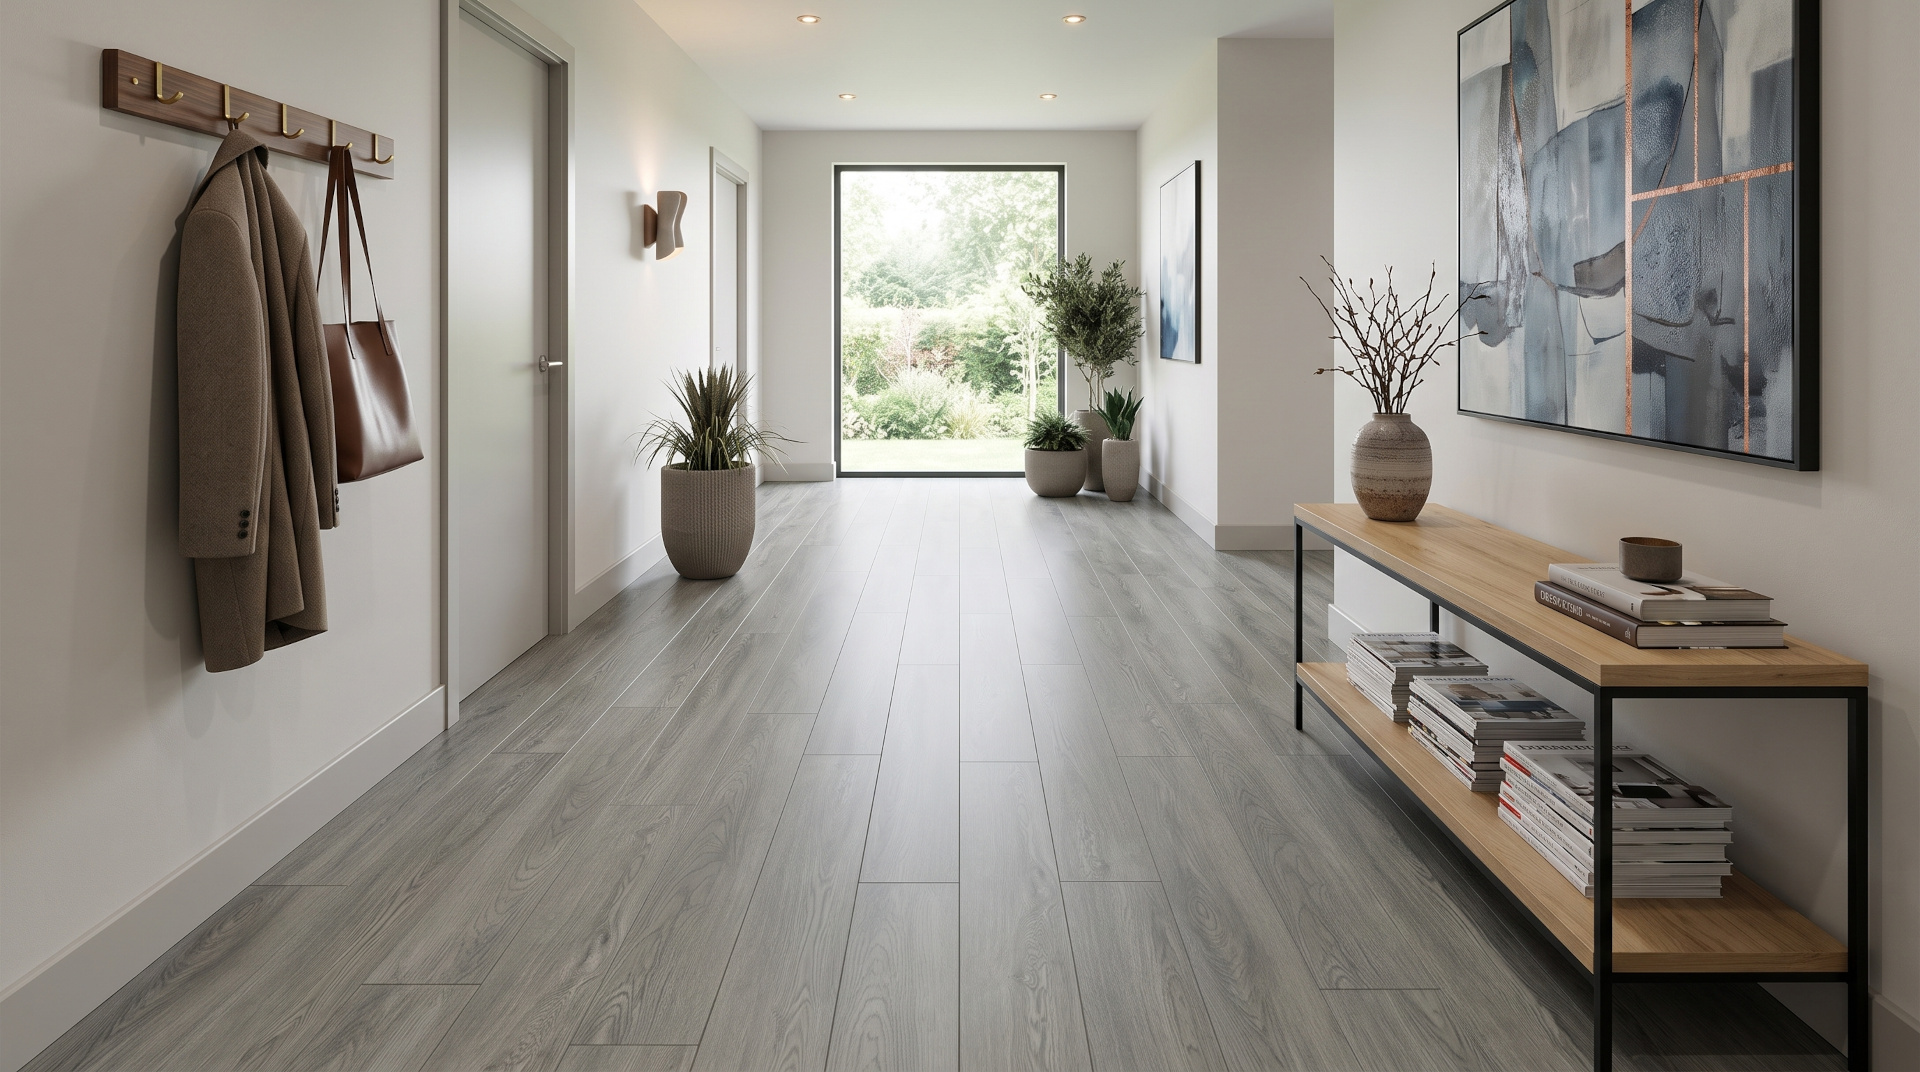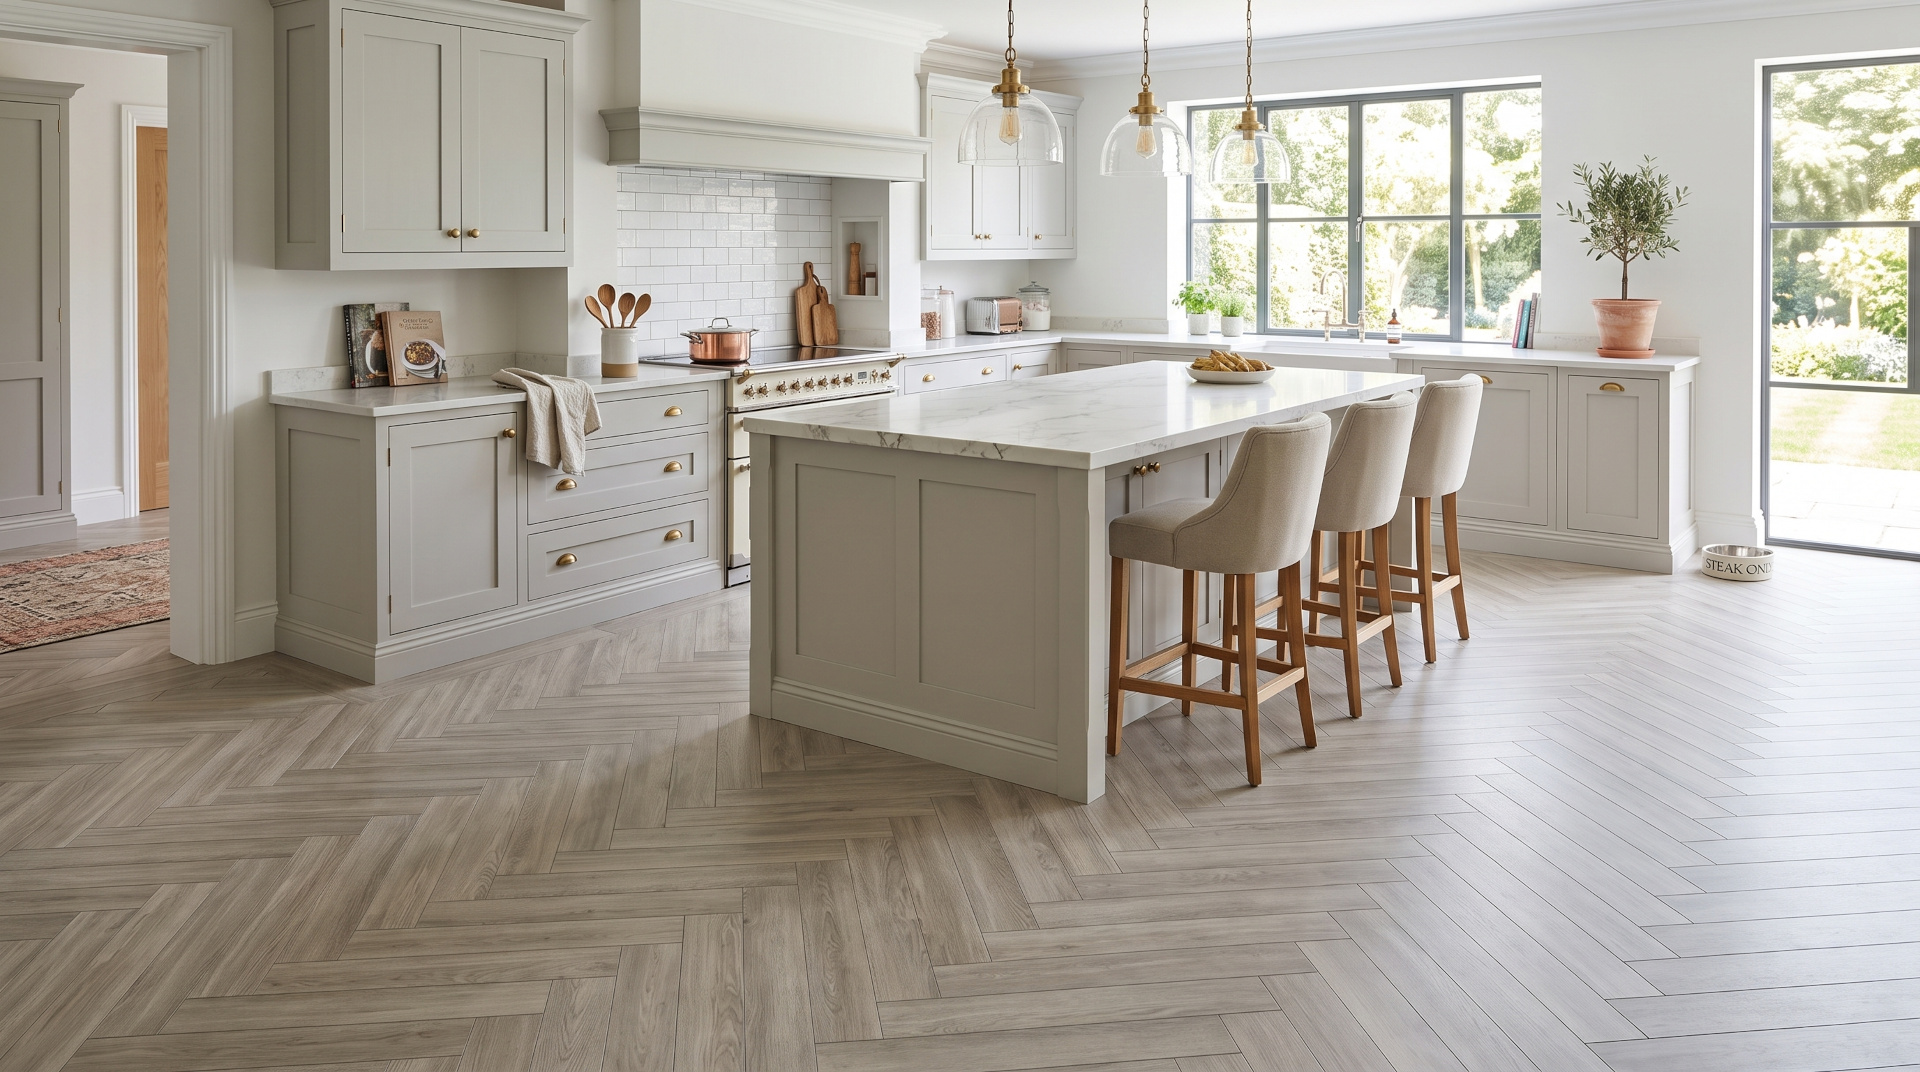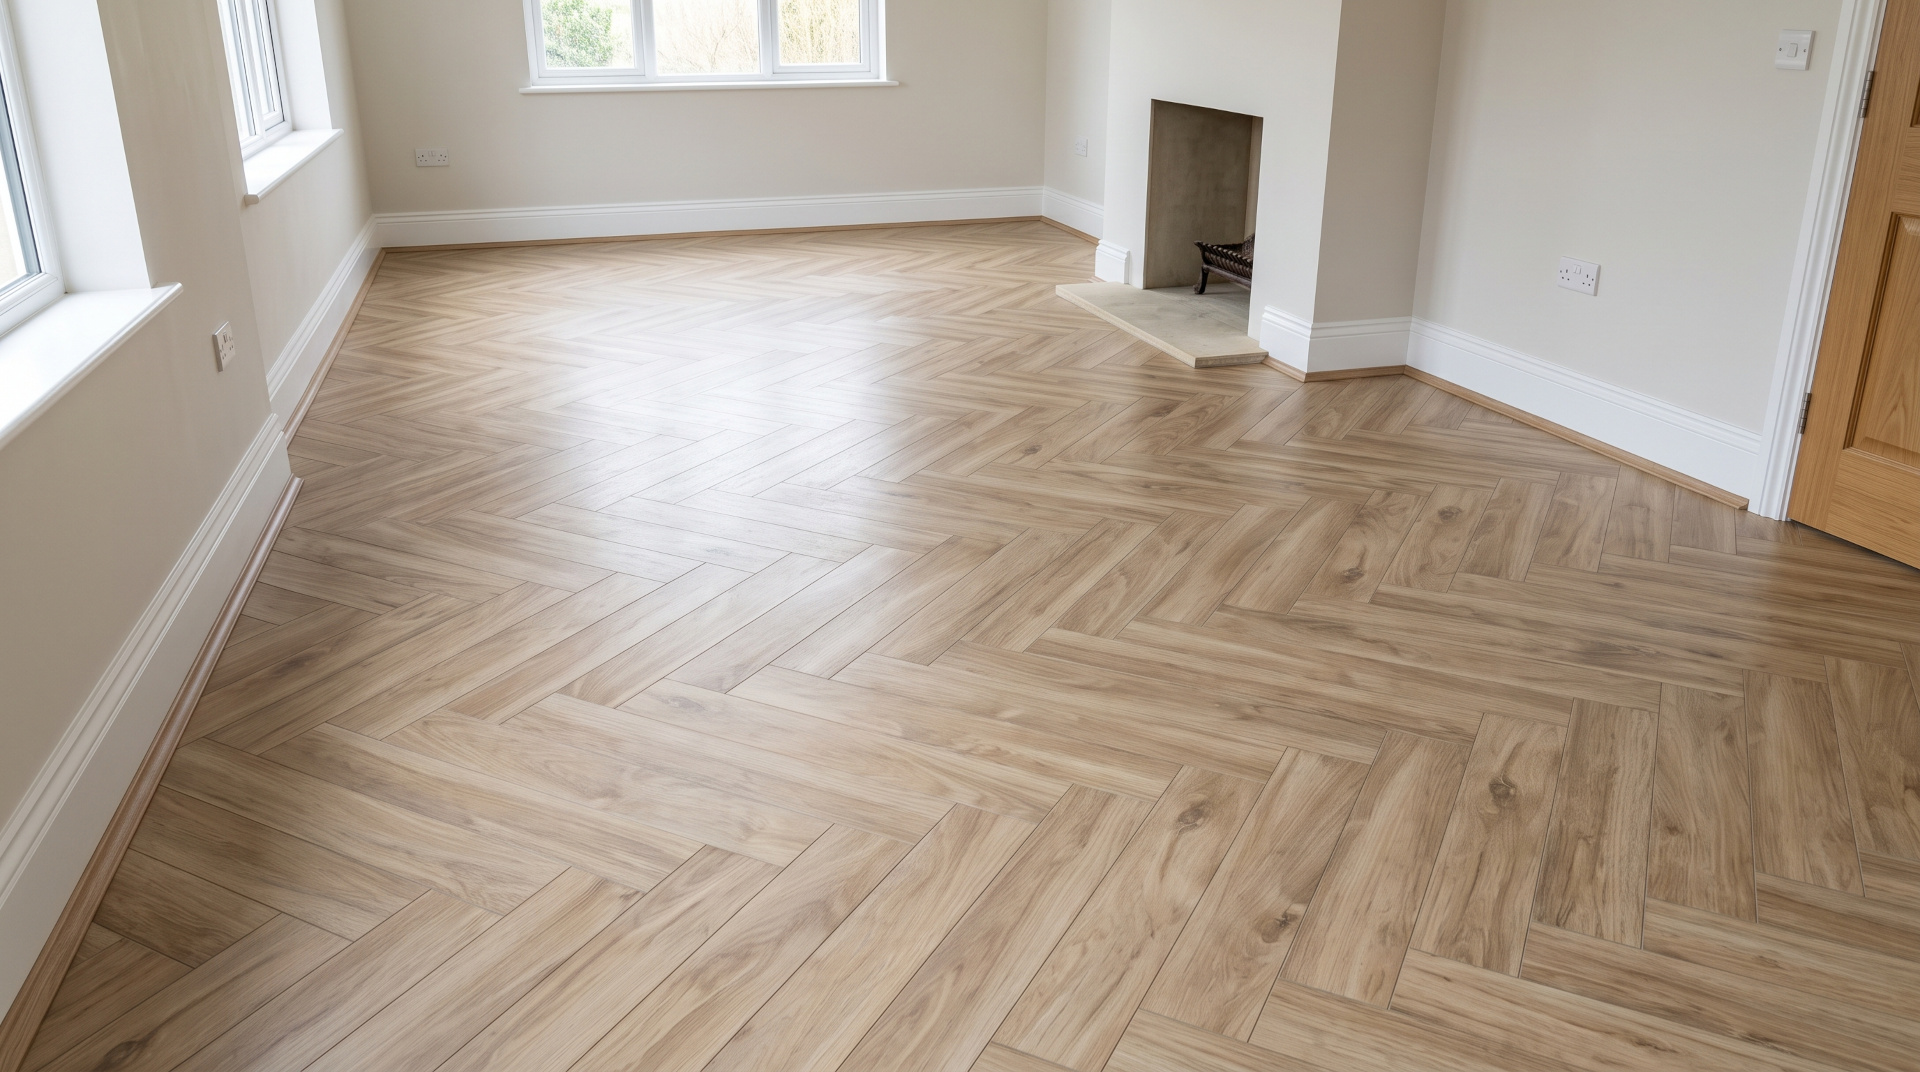
Beading for flooring is the trim that hides the gap your floating floor needs around the walls. Small thing. Get it wrong and the whole room reads off.
(I know. Least interesting part of a flooring project. Stick with me.)
Most people forget about it until the fitter mentions scotia. Then everyone nods like they know what he means. Nobody does. Wrong profile, wrong colour, beautiful room, ruined. I have watched it happen.
Here is what to know before you order. Which profiles actually exist. What colour works in real rooms. How to fit the stuff yourself if you are having a go.
Jump to section:
- What Is Beading for Flooring?
- Why Every Floor Needs Beading (or Skirting)
- Scotia, Quadrant and the Profile Family
- Choosing the Right Beading for Your Floor
- Materials and Finishes That Actually Last
- How to Fit Beading for Flooring Yourself
- Beading Mistakes to Avoid
What Is Beading for Flooring?
Beading for flooring is the strip of moulding that covers the expansion gap between a floating floor and the wall. Small job. Big difference.
Here is the physics, quickly. Floating floors move. Heat them up and they swell. Cool them down and they shrink. Pin them to the wall and the joints pop within a month. Not a hypothetical. I have opened up floors where the fitter forgot the gap entirely and the planks had buckled into waves. (Not a good look.)
So every click-together floor needs an expansion gap all the way round. Usually 8 to 10mm. Left uncovered, that gap collects dust, catches spills, and looks frankly terrible.
Terminology gets messy here. Fitters call it scotia. Merchants label it trim, moulding, skirting bead. Same thing, honestly. Scotia is the word you will hear most often on site.
You can order beading in a bunch of materials and colours, matched to the floor or matched to the skirting. Both work. It is really about how you want the room to feel.
Why Every Floor Needs Beading (or Skirting)
Why bother with a strip of moulding? Because the alternative is worse. Honestly.
Either you rip out the skirting boards and turn a small job into a full weekend of filling, sanding, and repainting. Or you leave the gap showing and the room looks half finished no matter how good the floor is. Both bad. Beading is the third option and it takes about an afternoon.
Beading for flooring solves both problems in one go. It hides the gap, protects the edge, and gives the room a proper finish.
Now there is a case for skirting, to be fair. If you are refitting a room completely and the skirting is coming off anyway, laying the floor underneath and refitting gives the neatest finish. For a single room refresh or a rental property though, beading is the practical answer. The how to lay vinyl flooring guide covers the wider installation sequence if you want the full picture.
Scotia, Quadrant and the Profile Family
When you are shopping for beading for flooring, you will find about six different profiles at any builders’ merchant. The naming is a mess. Here is what each one actually is.
Start with scotia. Flat back, concave face, sits against the skirting. Very forgiving on wonky walls, and walls are always wonky. Every single time. (You would think after centuries of building houses we would have sorted that out. We have not.) If you are not sure which to pick, this is the answer.
Quadrant is the older-style quarter round. Convex curve, more traditional look. Good on period properties with proper skirting boards.
D-moulding, or half round if you are being fancy, is basically a taller quadrant. Useful when the skirting is wide and the trim needs more presence.
Beyond walls you get into the transition family. T-moulding joins two floors at the same level. Not strictly beading, but you will need it in doorways where one room’s floor meets another’s. Reducer, sometimes called a ramp, steps down between heights. That is where LVT meets carpet, or a kitchen floor meets a hallway. End bar (some merchants call it an end cap) stops the floor cleanly at a threshold.
Which profile for which job
Walls get scotia or quadrant. Doorways get T-moulding or end bar. Height changes get a reducer. Trying to make one profile work everywhere is where DIY jobs go wrong. I have seen people try. It does not end well.
Choosing the Right Beading for Your Floor
When you are choosing beading for flooring, you have two choices on matching. Match the trim to the floor and it disappears into the room. Match it to the skirting and it draws a line around the space. Modern homes usually want the first. Older properties lean into the second. Both work. Genuinely a taste thing.
The thing I see get missed most often is colour. A beading one shade darker than the floor tends to blend in. Too light and you have basically painted a stripe around the room. I know that sounds obvious written down. Watch someone order off a website without a sample and you will see how often it goes wrong.
Size matters too. Measure the gap. An 8mm gap takes a 16mm scotia comfortably. Bigger gaps need taller profiles. Buy what covers the gap with room to spare, not what barely works. (This is not the place to be frugal.)
For the measuring maths, the how to measure a room guide walks through it properly.
Materials and Finishes That Actually Last
Four materials cover most situations and, look, they all have a catch. Nothing here is perfect.
MDF is the default because it is cheap, smooth, and comes primed ready for paint. Water is the enemy though. It swells. If the room gets wet, use the moisture-resistant grade or skip straight to metal. (Learned that the hard way on a bathroom job years ago. The base of the MDF had turned to Weetabix in six months.)
Solid wood costs more and looks better as it ages. Can be stained to match the floor. Needs the same care as timber skirting, so oil or wax every so often. Not a big faff, just one of those small things that keeps it looking right.
Aluminium and metal are what you see in commercial spaces and modern homes. Unbothered by water. Reads more architectural than domestic. Some people love that. Some people think it looks like an office. (I am in the second camp, personally, but I get the appeal.)
Vinyl and flexible profiles bend around curved walls and awkward corners. Not as durable as the others, but they solve problems the rigid stuff simply cannot.
Picking the right grade
Bathroom, utility, kitchen: moisture-resistant MDF or go metal. Everywhere else, standard MDF is fine. This is not the place to save a few pounds. Beading for flooring is the last thing that touches the floor, so any failure is right there in your eyeline.
How to Fit Beading for Flooring Yourself
Fitting is easier than most people expect. The whole job is measure, cut, stick. That is really it.
What you need: mitre saw or a mitre box with a hand saw, tape measure, pencil, adhesive or panel pins, soft mallet. Nothing exotic. Most people already have most of this.
Measure and cut one wall at a time. Measure the full length, mark it, cut at 45 degrees for external corners. Keep your offcuts to check the corner lines up. Fiddly at first, gets much easier after the first wall. The common installation mistakes guide covers layout in more depth.
Fix to the skirting, not the floor. This is the important bit. Why? Because the beading is not supposed to hold the floor down. Adhesive (grip or grab) is the usual route. A dab every 300 to 400mm holds fine without lumps. Panel pins work on timber skirting. Hidden clips look best but take longer.
Do not lock the floor down. The beading sits on the skirting and covers the gap from above. Touch the floor with it and the floor cannot move. When the floor expands, joints open. Very common mistake. Very annoying to fix later.
Cutting clean mitres
Buy a mitre box if you do not own a saw. Mark the angle before you cut. Support both sides of the cut so the offcut does not tear. Test the fit before you glue. A tiny gap can be filled later. A glued gap cannot.
Beading Mistakes to Avoid
A handful of mistakes come up over and over on beading for flooring jobs. Skip these and you are most of the way there.
Matching the wrong colour is the big one. The shade that works in the showroom might look strange against your skirting. Order a sample length and try it at home first. Costs almost nothing.
Buying thin is another. A beading that just covers the gap will look wrong and let dust through. Size up.
Gluing to the floor. Yes, this really happens. The beading goes on the skirting. Lock the floor down and the joints open when it moves. Six months later you are looking at a buckled floor wondering what went wrong.
Rushing corners. Corner cuts are where DIY jobs fall apart. Measure twice, cut once, test before gluing. Standard advice, and also very easy to skip when you are three hours in and want to be done.
Filling the expansion gap. Some people stuff foam or sealant in there because it feels tidy. Do not. The gap exists to let the floor move. Block it and you will be dealing with a buckle in a year.
Forgetting thresholds. Beading is not the right thing at a doorway. Use a T-moulding or an end bar where one floor meets another.
Beading for flooring is one of those jobs that takes an afternoon and changes how a room feels. Get the profile right, size it properly, stick it to the skirting. That is really it.
If you want to see what is on the shelf, the Pro-Tek™ flooring accessories page has scotia and profile options matched to the collections. Order samples if you want to see colours in your own light before committing. And the FAQs page covers anything else that comes up.
Two thousand words about a strip of wood. I know. But at least now when the fitter says scotia, you can nod and actually mean it.