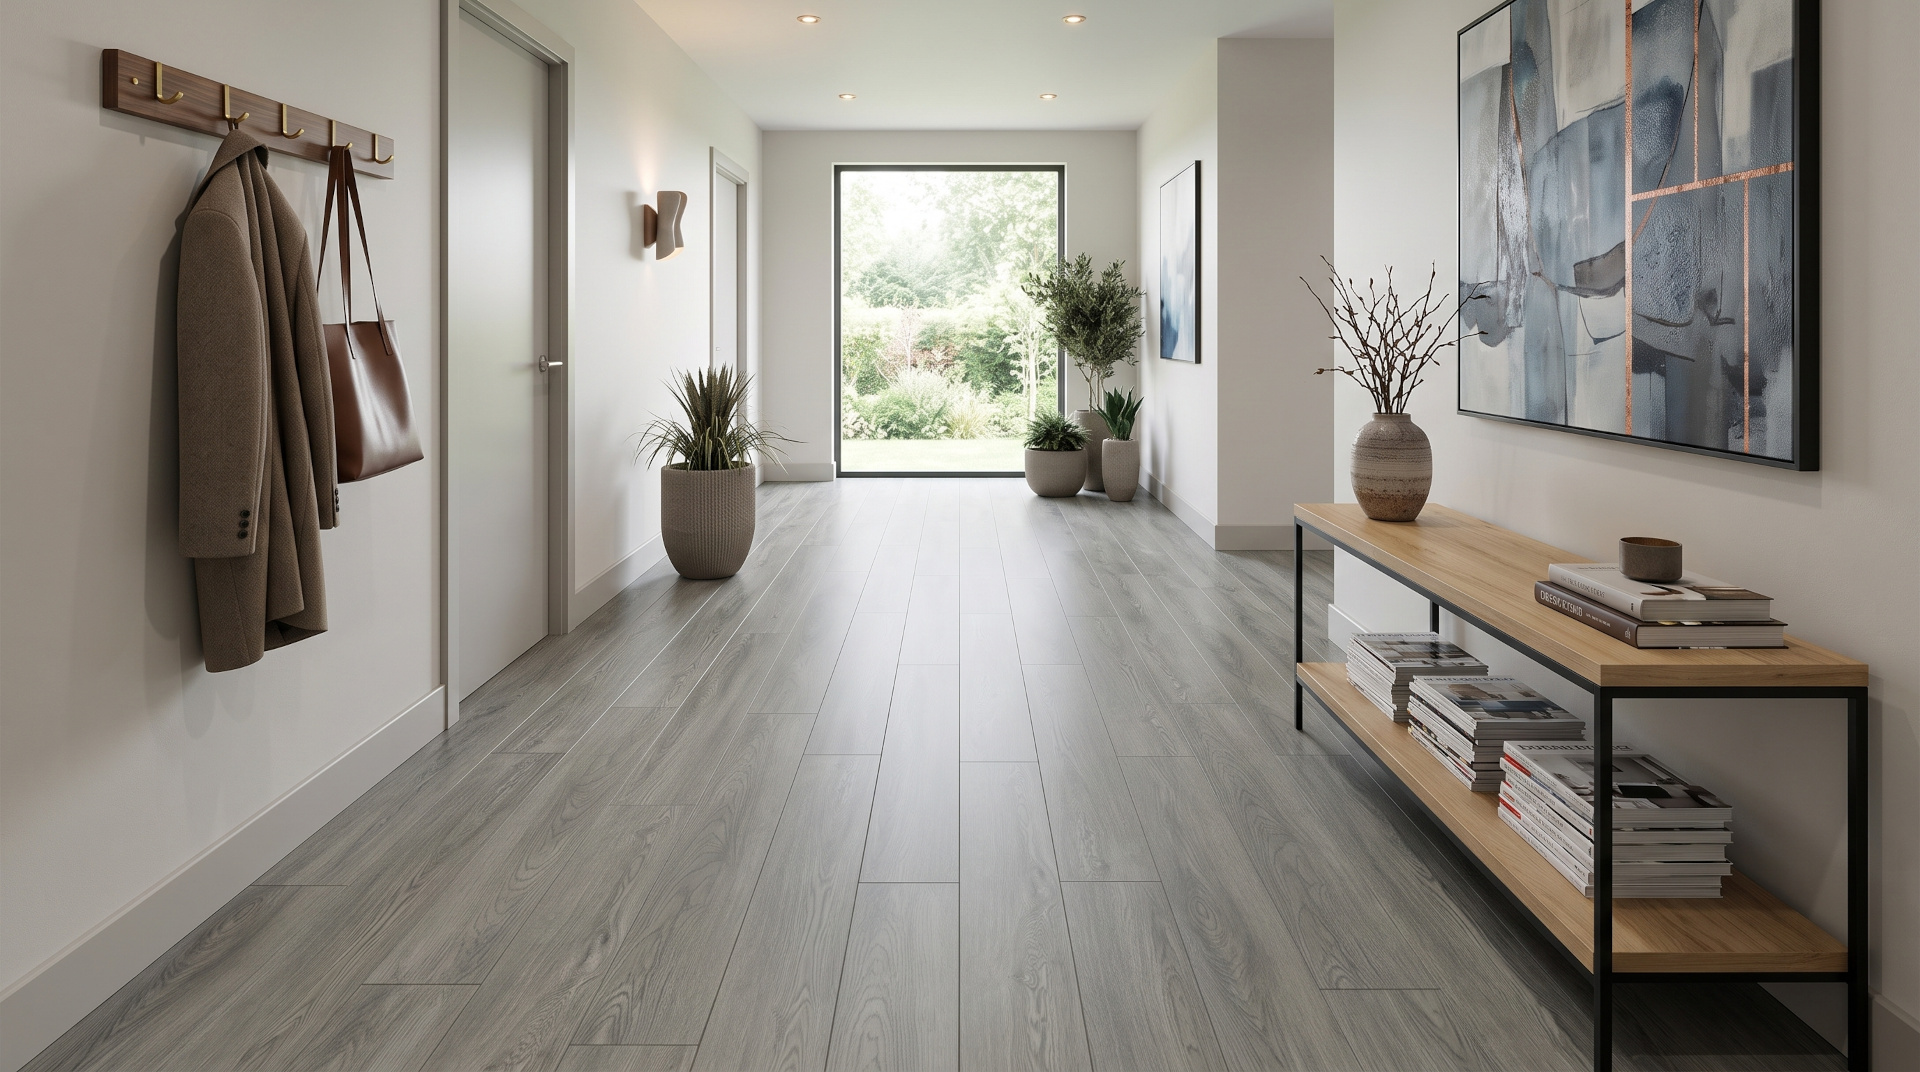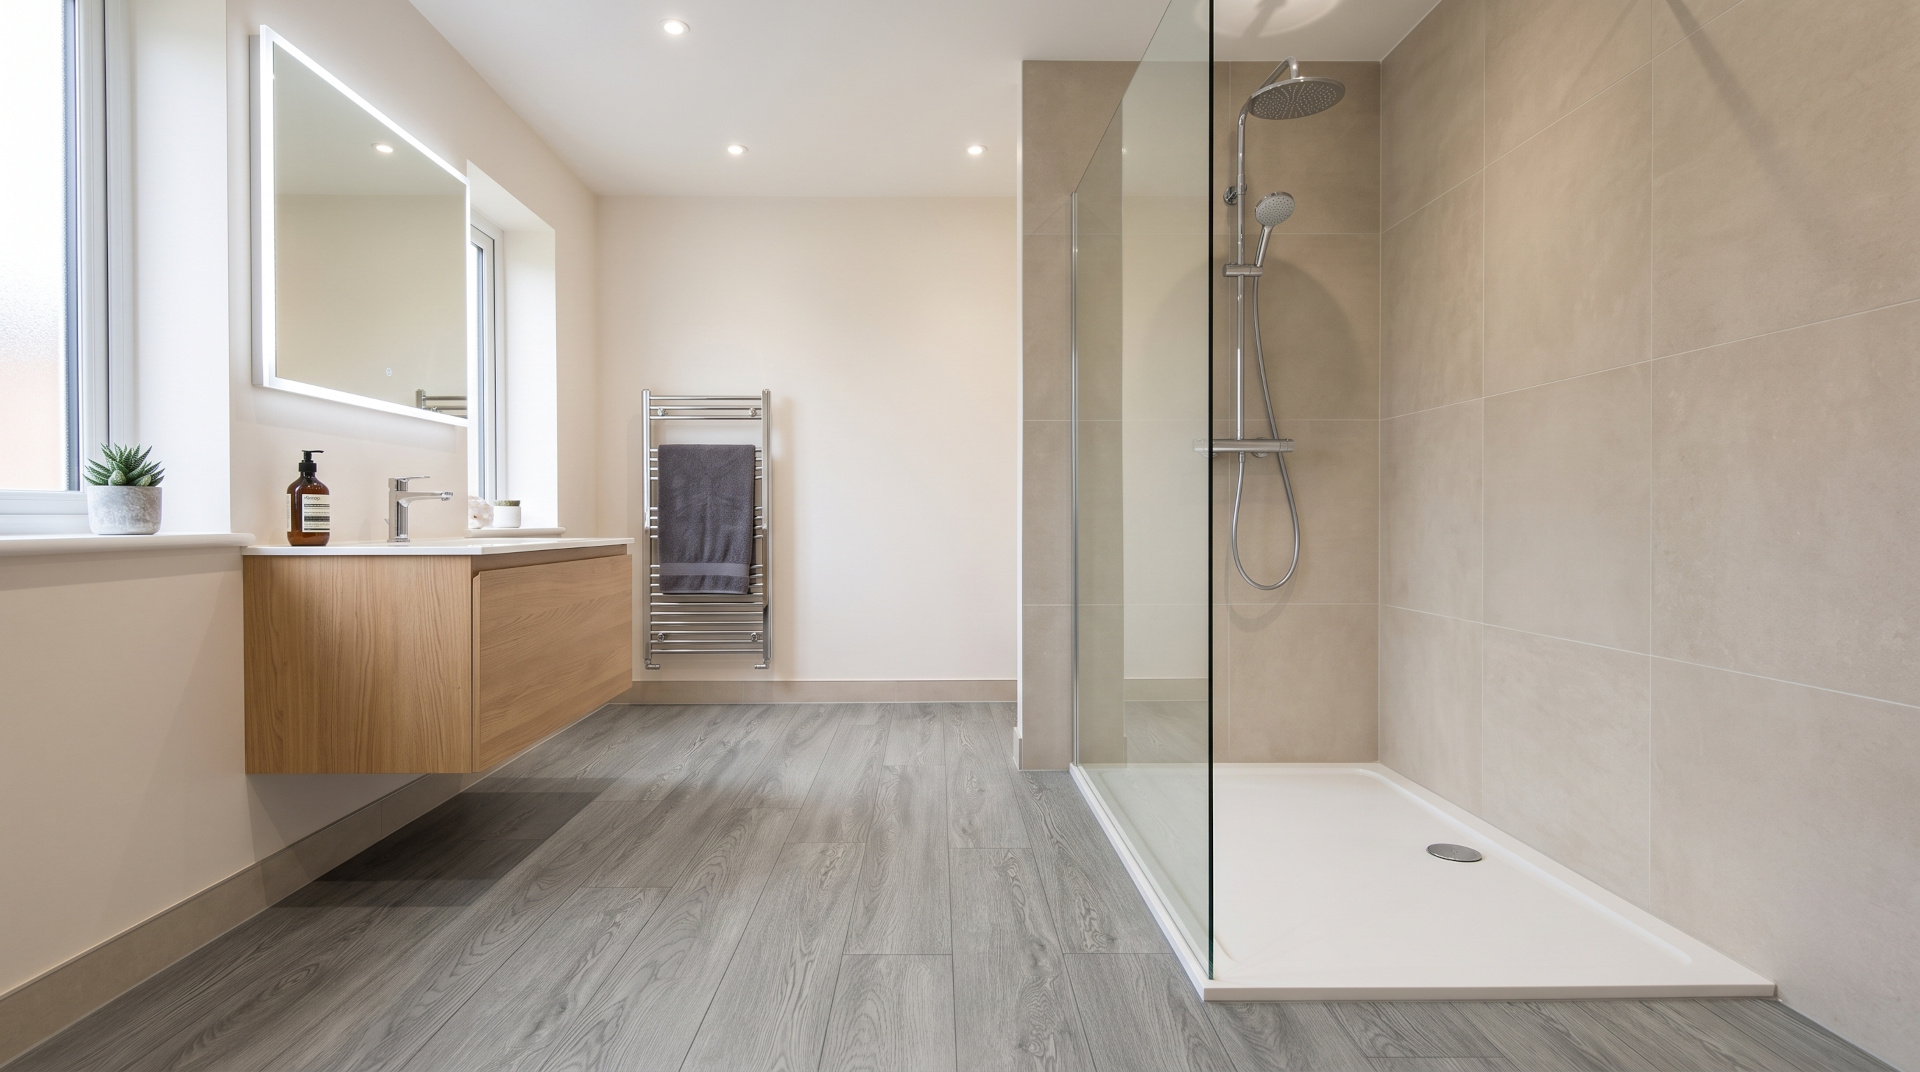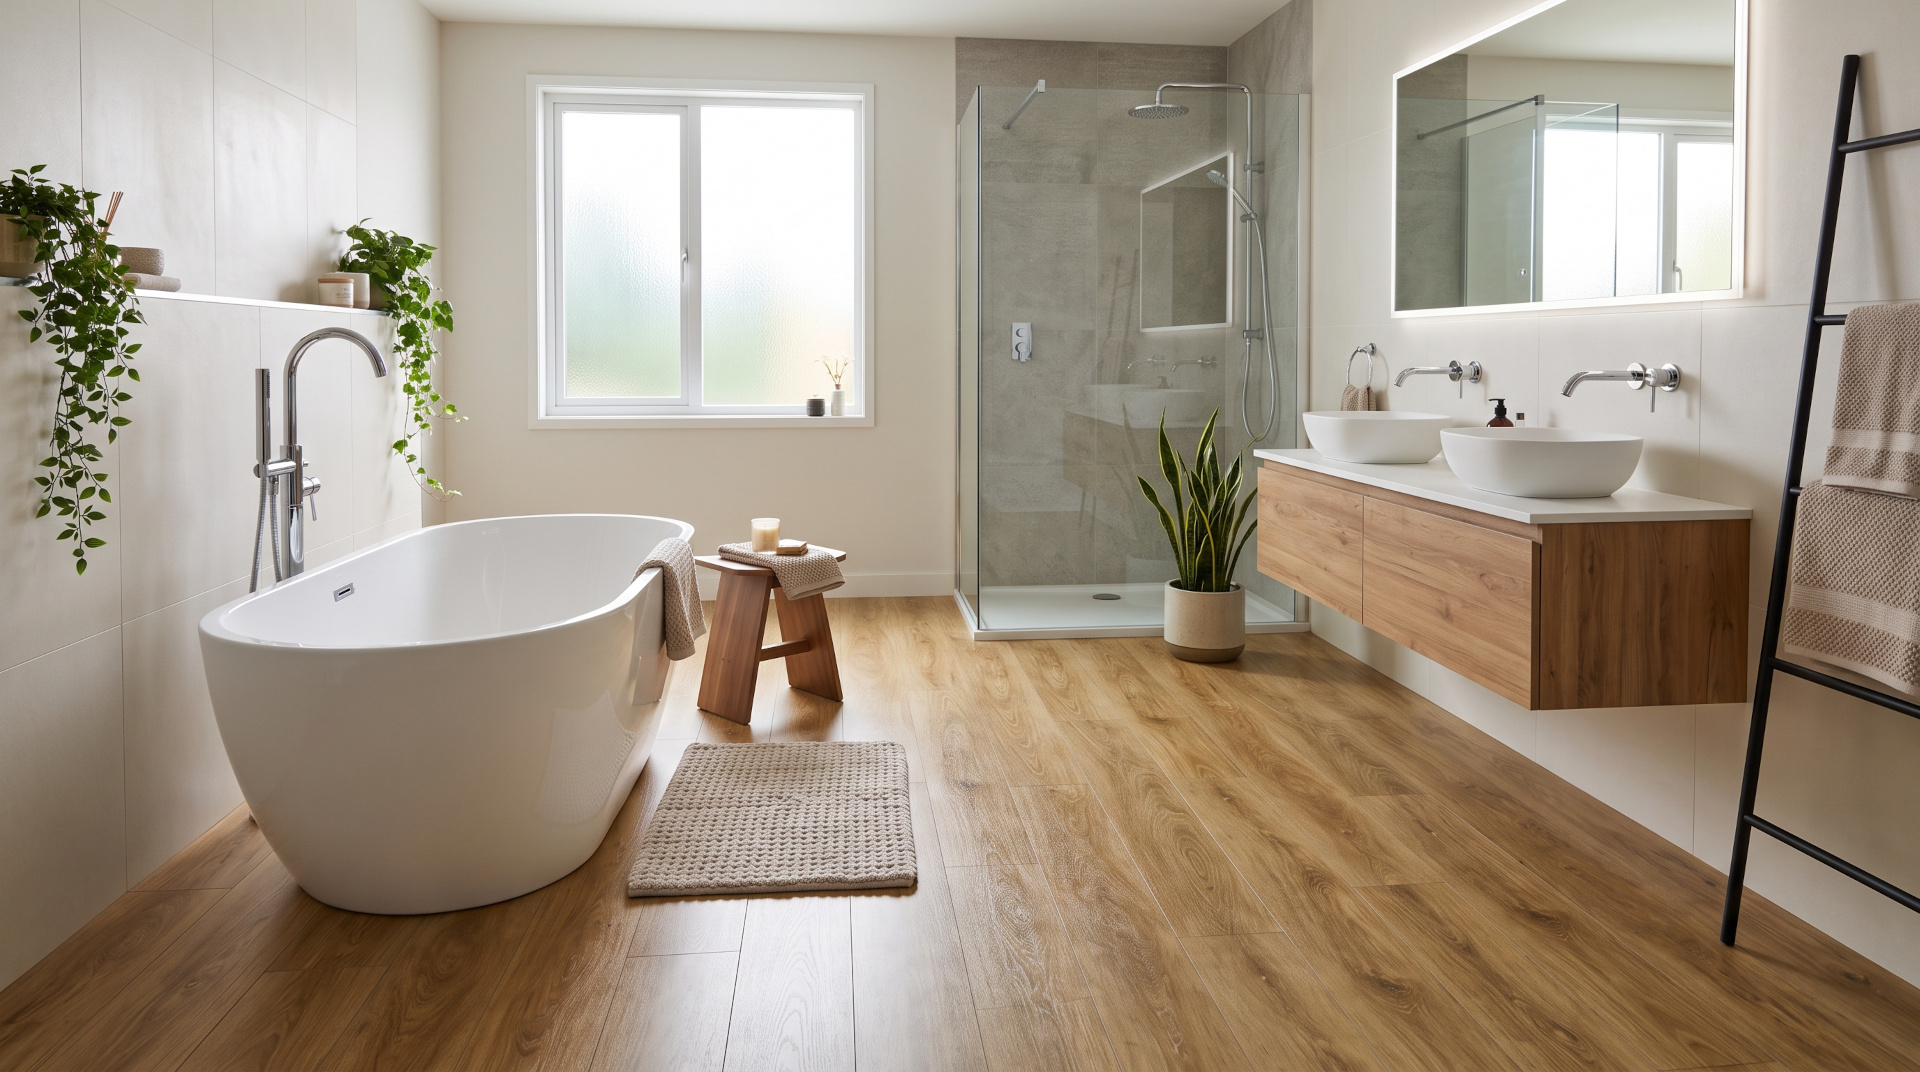
Vinyl flooring for bathroom renovations is one of those choices that quietly makes everything else work. Warm underfoot, waterproof, and forgiving on a wet day. (Wet being the operative word in a bathroom.)
Here is the thing though. Not every vinyl is equal. Get the waterproof rating wrong or the slip rating wrong and you will regret it. Bathrooms are wet, warm and full of awkward shapes to cut around.
What follows is what I would tell a friend before they order. Waterproofing, slip ratings, wear layers, design, how to fit it, and where the Pro-Tek™ ranges sit on all of that.
Jump to section:
- Why Vinyl Flooring for Bathroom Spaces Works
- What to Look for in Vinyl Flooring for Bathroom Use
- Slip Ratings and Underfoot Safety
- Waterproofing and Wet Room Details
- Vinyl Flooring for Bathroom Installation
- Colours and Styles for Bathroom Vinyl Flooring
- Common Mistakes with Vinyl Flooring for Bathroom Projects
Why Vinyl Flooring for Bathroom Spaces Works
Bathrooms are the hardest room in the house to floor properly. Water on the floor. Steam in the air. Bare feet. Cleaning chemicals. Add a small space with three walls of awkward cuts and you have a proper test of any material.
Vinyl handles all of it without complaint. Rigid core (SPC or hybrid) is fully waterproof at the plank level. Water sits on the surface rather than soaking in. That alone puts it ahead of laminate and most woods.
Warmth is the second reason. Tile is cold underfoot in winter. Vinyl is warmer and softer. If you step out of a shower onto a cold tile floor versus a vinyl floor, the difference is immediate. Ask anyone who has done both. (Ask me how I know. Actually, do not. It involves a 6am start and a very cold bathroom. My feet have not forgiven me.)
Cleaning is a sweep and a mop. No grout lines to scrub, no sealing, no special products. In a room that gets cleaned more than any other, this matters. (Real talk. This is my favourite part of having LVT in a bathroom.)
Then there is the design range. Vinyl prints are so good now that people genuinely cannot tell the difference between a wood effect vinyl and a real oak floor without getting on their knees. I have tested this at dinner parties. It is quite funny. Someone always gets defensive about their real oak.
What to Look for in Vinyl Flooring for Bathroom Use
Not all vinyl is created equal and bathrooms punish the wrong choice faster than any other room. Let’s walk through the shortlist.
Start with the wear layer. 0.55mm handles most bathrooms. 0.7mm is where I would be for a busy family bathroom. It handles dropped bottles, wet feet and the general chaos of a room everyone uses. The LVT wear layer guide goes into the detail. (0.7mm is not overkill in a bathroom. Just sensible.)
Waterproofing in rigid core is a given at the plank level. What people forget is the joints. Modern click systems lock tight. Cove skirting and sealed edges matter more in a bathroom than a hallway.
Then there is slip resistance. Look for an R10 rating as a minimum. R11 is better if the bathroom gets properly wet. (R11 is where I would be. Not overkill. The right answer.)
Comfort underfoot is the thing nobody thinks about until they step out of the shower on a cold morning. Vinyl is warmer and softer than tile. Your feet will notice. (So will your back.)
Colour, pattern, and whether the design works in a small space come later.
Slip Ratings and Underfoot Safety
Slip incidents in bathrooms are more common than people realise and vinyl flooring for bathroom projects has to take this seriously. Water on a smooth surface is a slip hazard. Water on a textured surface is much less so.
Look at the slip rating first. R10 is the minimum for a bathroom. R11 is the safer choice for family bathrooms, wet rooms, and anywhere older family members use. R12 is heavy duty and rarely needed in a domestic bathroom.
PTV (Pendulum Test Value) is the other number to check. 36 and above is the standard for wet areas. Below that and the floor is a slip risk. (I know. The numbers sound like weather reports. They matter.)
Textured finishes matter more than the material itself. A textured R11 vinyl will outperform a smooth R10 tile every time. The grip comes from the surface profile. (Sounds obvious written down. People still specify on brand name. Do not be those people.)
Underfloor heating plays a role too. Warm floors dry faster and reduce standing water. If you are going for UFH, check that the specific vinyl product is approved. Water-based systems are compatible with more products than electric mat systems.
Bath mats are worth keeping, but they should not be the safety plan. Get the floor right first. (The non-slip bathroom flooring guide has more on this. Worth a read if slip is your main worry.)
Waterproofing and Wet Room Details
Rigid core vinyl is fully waterproof at the plank level. That is a given in modern LVT. The trick is what happens at the edges.
Coving (where the floor curves up the wall by 50 to 100mm) is the difference between waterproof and looks-waterproof. It removes the sharp junction where water collects and sits. In a bathroom this matters more than anywhere else in the house. (Coving is not the place to save a few pounds.)
Around the bath and shower, seal the junction properly. Silicone or a proper trim. Do not rely on the floor alone.
Wet rooms are a different conversation. If the whole room is going to be a wet zone, the vinyl has to be specified for that use, the falls have to be right, and the coving has to be continuous. This is specialist territory. Talk to the supplier before ordering. (Seriously. Talk to them. I have seen people guess and it did not end well.)
Underfloor heating in a bathroom is a strong move. It warms the floor, speeds up drying after a shower, and reduces standing water. Just check the specific product is approved for UFH type.
For more on the detail, the bathroom vinyl flooring page covers bathroom-specific specification in more depth.
Vinyl Flooring for Bathroom Installation
Fitting is straightforward if the subfloor is right. Bathrooms add one twist: moisture. (Moisture is not the floor’s problem. It is the subfloor’s problem. Sort it first.)
Subfloor prep matters more here than anywhere else. Concrete needs a damp-proof membrane. Timber needs plywood. The subfloor has to be flat (within 3mm over 2 metres), clean and dry. Any hint of damp gets sorted before the floor goes down. The how to lay vinyl flooring guide covers the detail. (Not a DIY job if the subfloor has issues. Get a specialist.)
Acclimatisation is not optional. Leave the planks in the room for 24 hours before fitting. I know. It feels like a faff. Do it anyway.
Around the toilet, bath and basin you will need careful cuts. Real story: I saw someone cut the vinyl tight around a toilet and skip the expansion gap. Six months later it had buckled. (The toilet was fine. The floor was not. The homeowner was not thrilled.)
Coving and skirting finish the job and they are where budgets get squeezed. Do not squeeze them. The flooring accessories page has coving, trims and the rest.
Underlay is worth it in a bathroom. Warmth, acoustic comfort, and it smooths minor subfloor imperfections. If you are going for UFH, check the underlay is compatible.
Colours and Styles for Bathroom Vinyl Flooring
Design is where vinyl has quietly overtaken everything else. Actually, I say quietly. It has been pretty loud. The prints are so good now that a bathroom with vinyl plank and a bathroom with real oak are genuinely hard to tell apart.
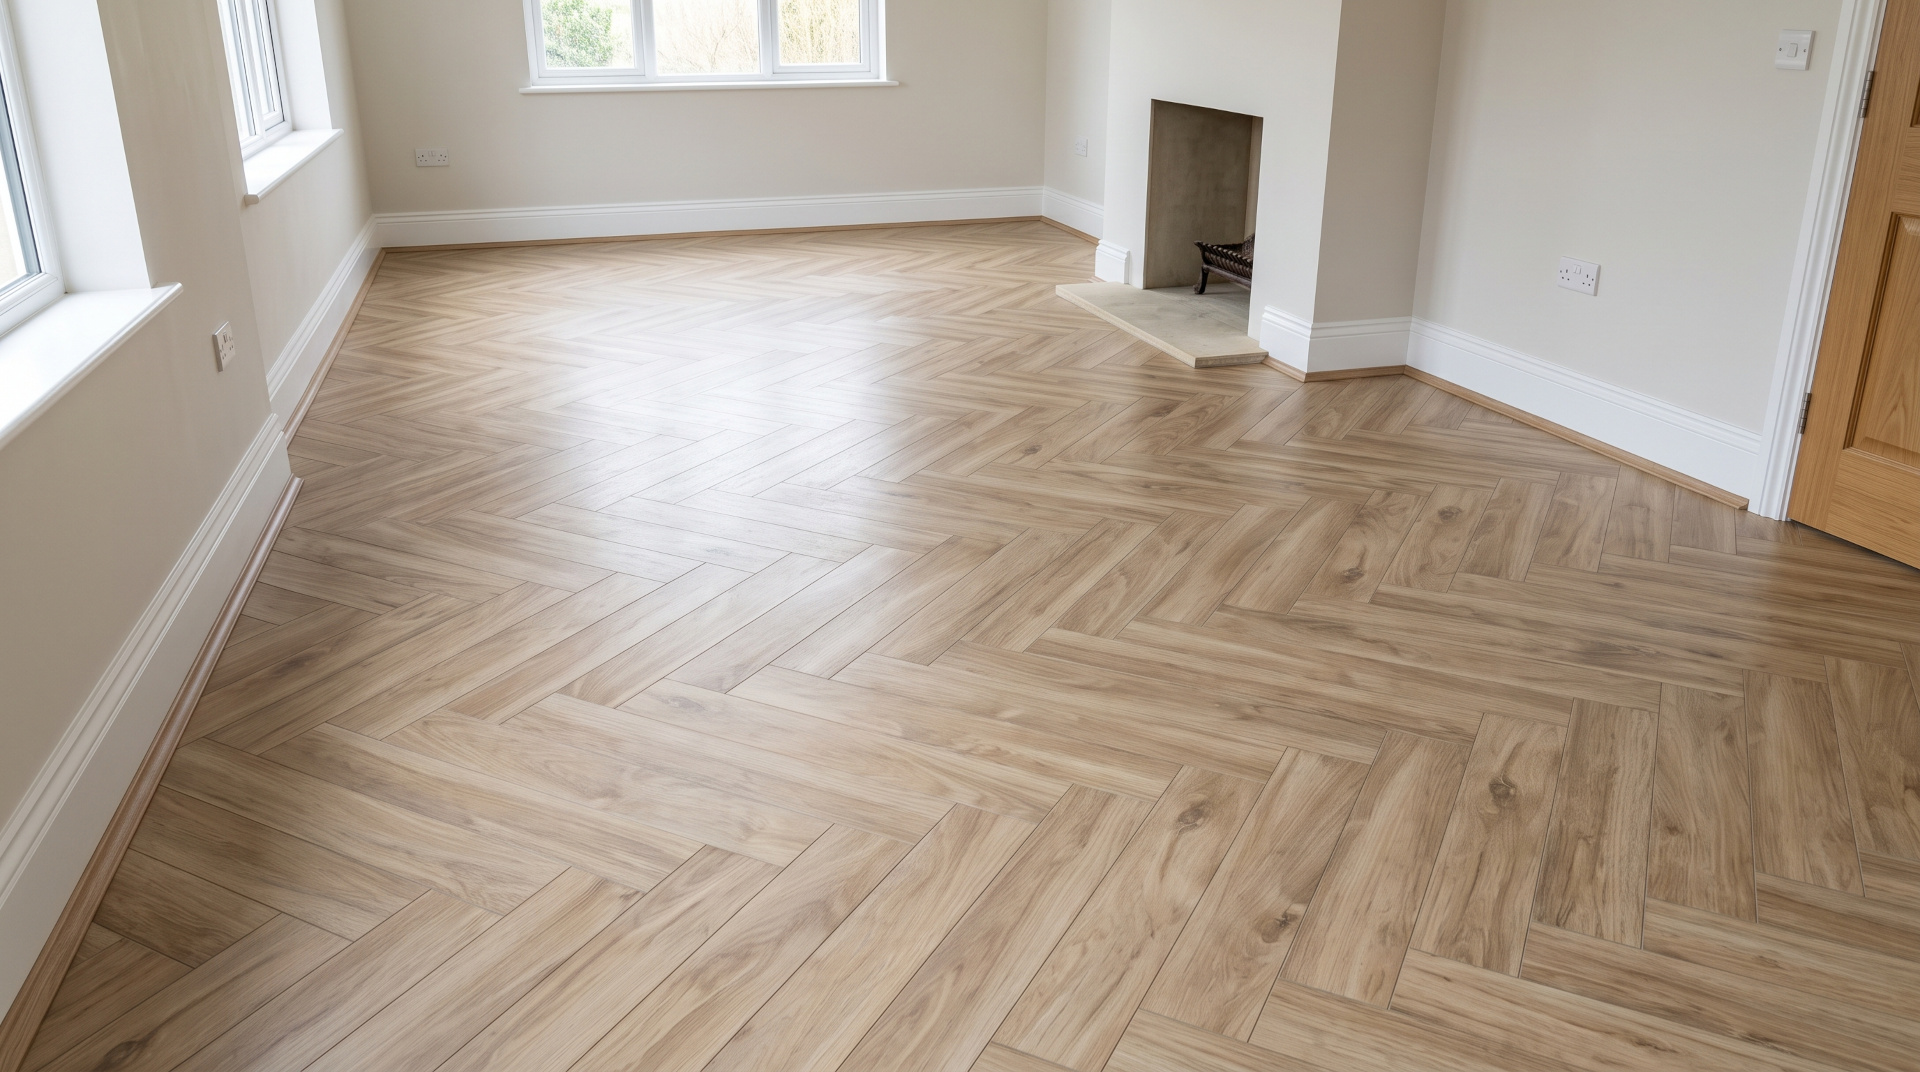
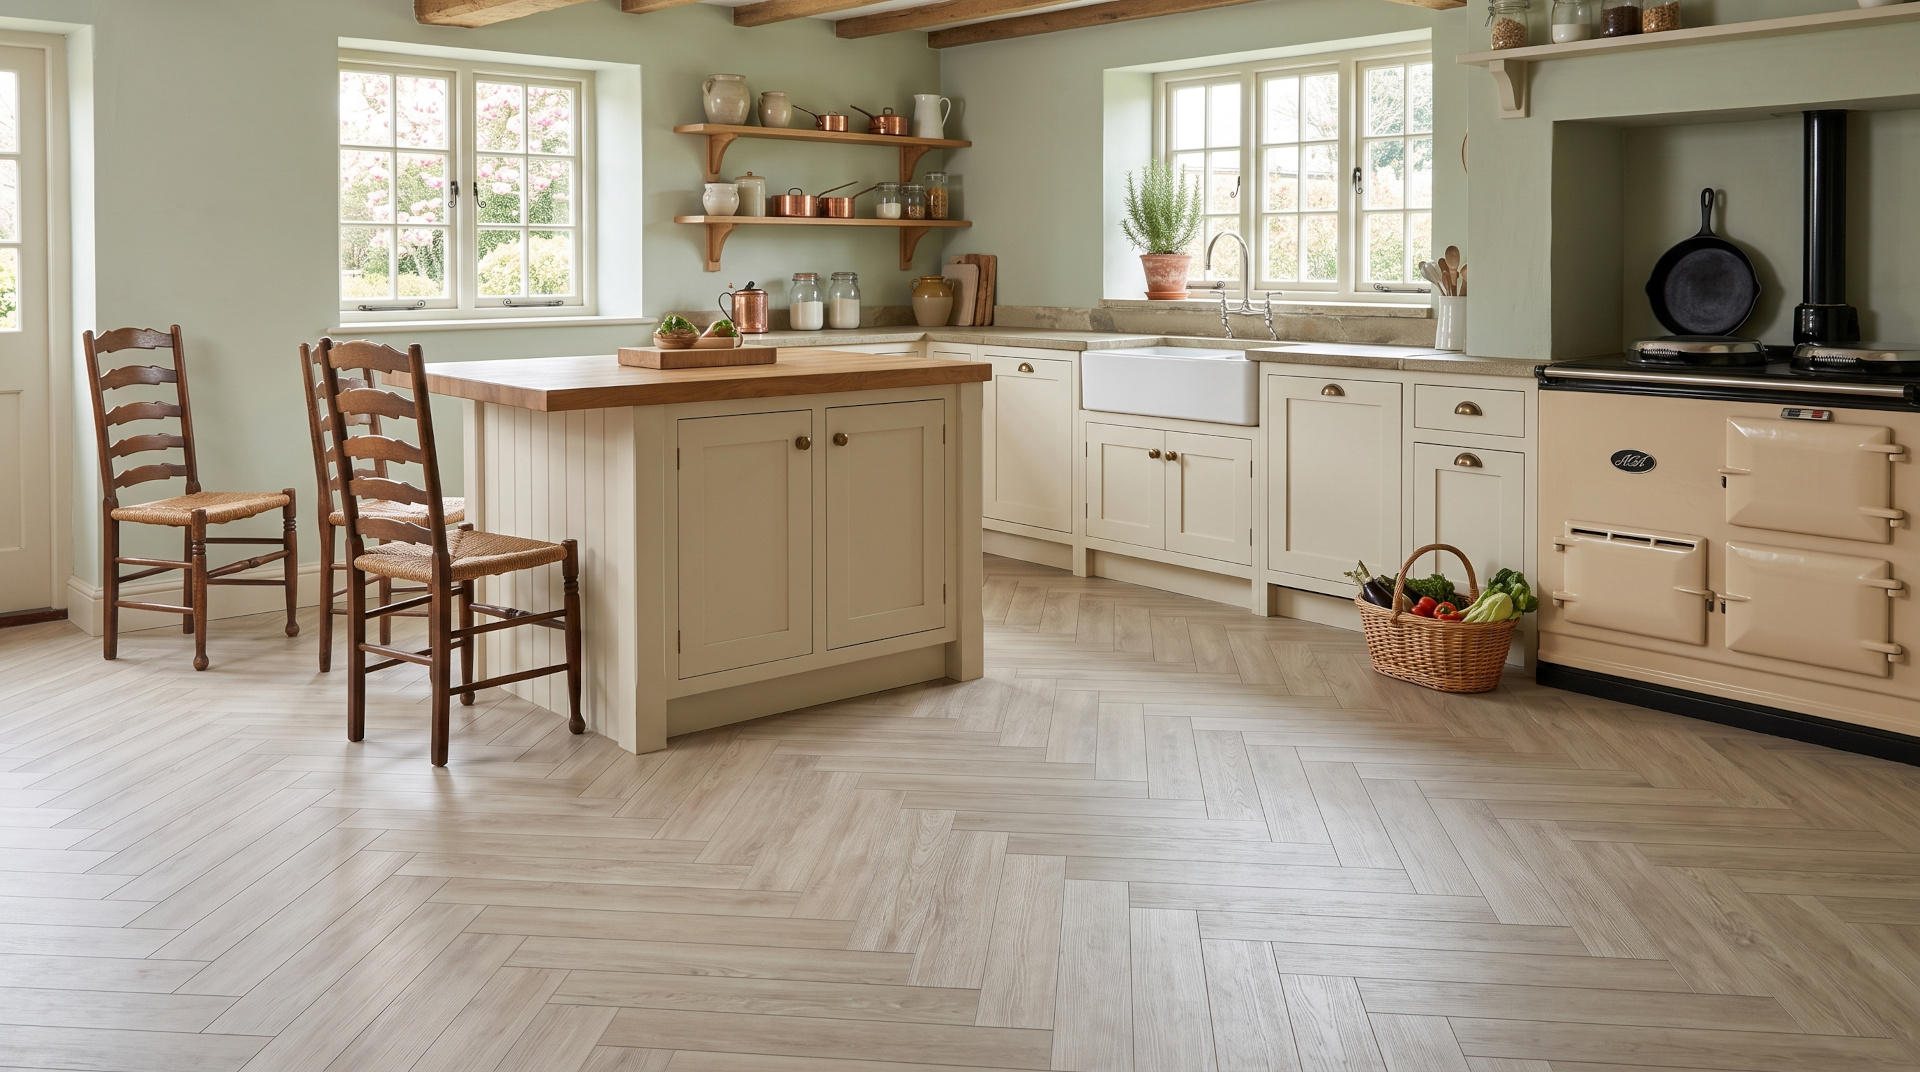
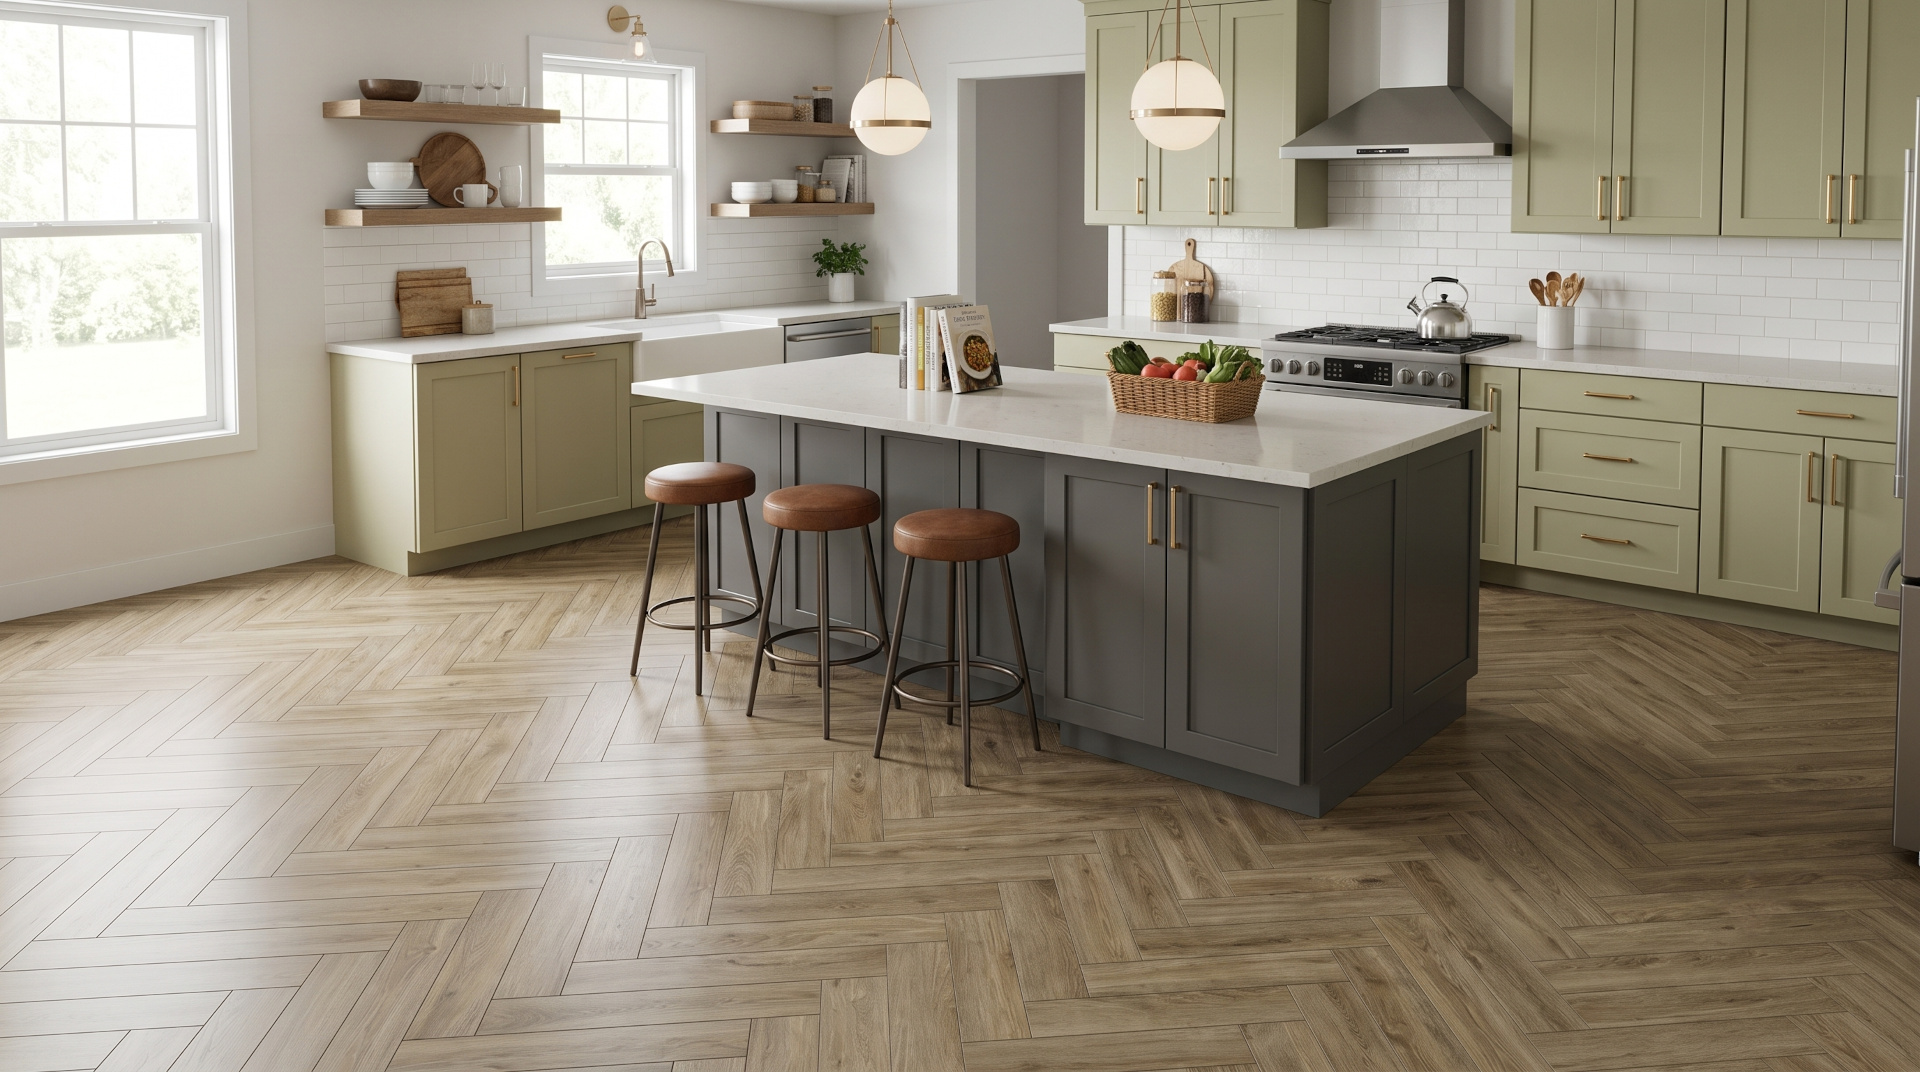
Wood effects are the most popular. Oak is the safe bet. Walnut is warmer. Ash is lighter. Herringbone draws the eye and turns the floor into part of the design rather than just something to walk on. The catch is the wastage. Straight planks run 5-10% extra for cuts. Herringbone runs 10-15%. Order short and you will find out halfway through the room. (Yes, I have seen people do this. Twice.)
Stone effects suit modern bathrooms. Slate and limestone prints look great with shaker units and stone worktops. The catch is that stone effect prints show hair and dust more easily than wood effect. (Learned that on a light limestone job. Beautiful floor. Constant sweeping. Client was not thrilled.)
Colour matters more than pattern in a bathroom. Light floors show every hair. Dark floors show every water mark. Mid-tone oak is where most people land. Not a coincidence. (If you want to argue about mid-tones with me, my DMs are open. Sort of.)
For a small bathroom, keep the pattern simple and run the planks lengthways. It makes the room feel longer.
Pro-Tek™’s Editions Classic Plank is the safe starting point for most bathrooms and the Value plank range is where most budget-conscious projects begin. Both carry a lifetime residential warranty on most lines. (Worth having in a room that gets used every day.)
Common Mistakes with Vinyl Flooring for Bathroom Projects
A handful of mistakes come up over and over. Cheap floors in wet rooms always cost more in the end. Here is what to watch out for.
The big one is skipping the waterproof check. Not all vinyl is waterproof. Rigid core (SPC or hybrid) is. Sheet vinyl is. Cheap click LVT with a fibreboard core is not. Check before you order.
Then there is wear layer thickness. A 0.30mm wear layer will not survive a busy family bathroom. 0.55mm is the floor. 0.7mm is better.
Ignoring slip ratings is another one. Smooth glossy finishes can be slippery when wet. Textured R10 or R11 finishes are safer. In a bathroom, this is not optional.
Wrong colour for the space catches people out. Light floors show every hair. Dark floors show every water mark. Order samples and live with them for a few days. (Order free samples if you want to see colours in your own light. Yes, I keep saying this. It is that important.)
DIY fitting around toilets and basins is fiddly. Get the expansion gap right. Cut slowly and check twice. Real story: someone cut the vinyl tight around a toilet and skipped the gap. Six months later it had buckled. (Learn from their mistake.)
Some people forget the accessories. Cove skirting, transition strips, sealant around the bath. These finish the job and they are often where people stop.
And then there is future planning. If you might add UFH later, choose a floor that handles it now. If you might convert to a wet room, specify accordingly.
Vinyl flooring for bathroom projects is one of those choices that quietly makes everything else work. Get the waterproofing right, the slip rating right and the wear layer right, and the floor handles the wet, the warmth and the awkward shapes for years.
If you want to see colours in your own light, order samples. The Pro-Tek™ collections explained page walks through the differences if you want to narrow it down first. And the room visualiser shows how each shade works in a real bathroom. Get in touch if you want to talk through a specific project.
Treat the bathroom floor like the working surface it is. Warm feet, safe steps and a room that cleans up easily. (Yes, same message as the opening. Bathrooms are wet, warm and awkward. The floor has to handle all three.)