How to Fit ProTek Around Radiator Pipes
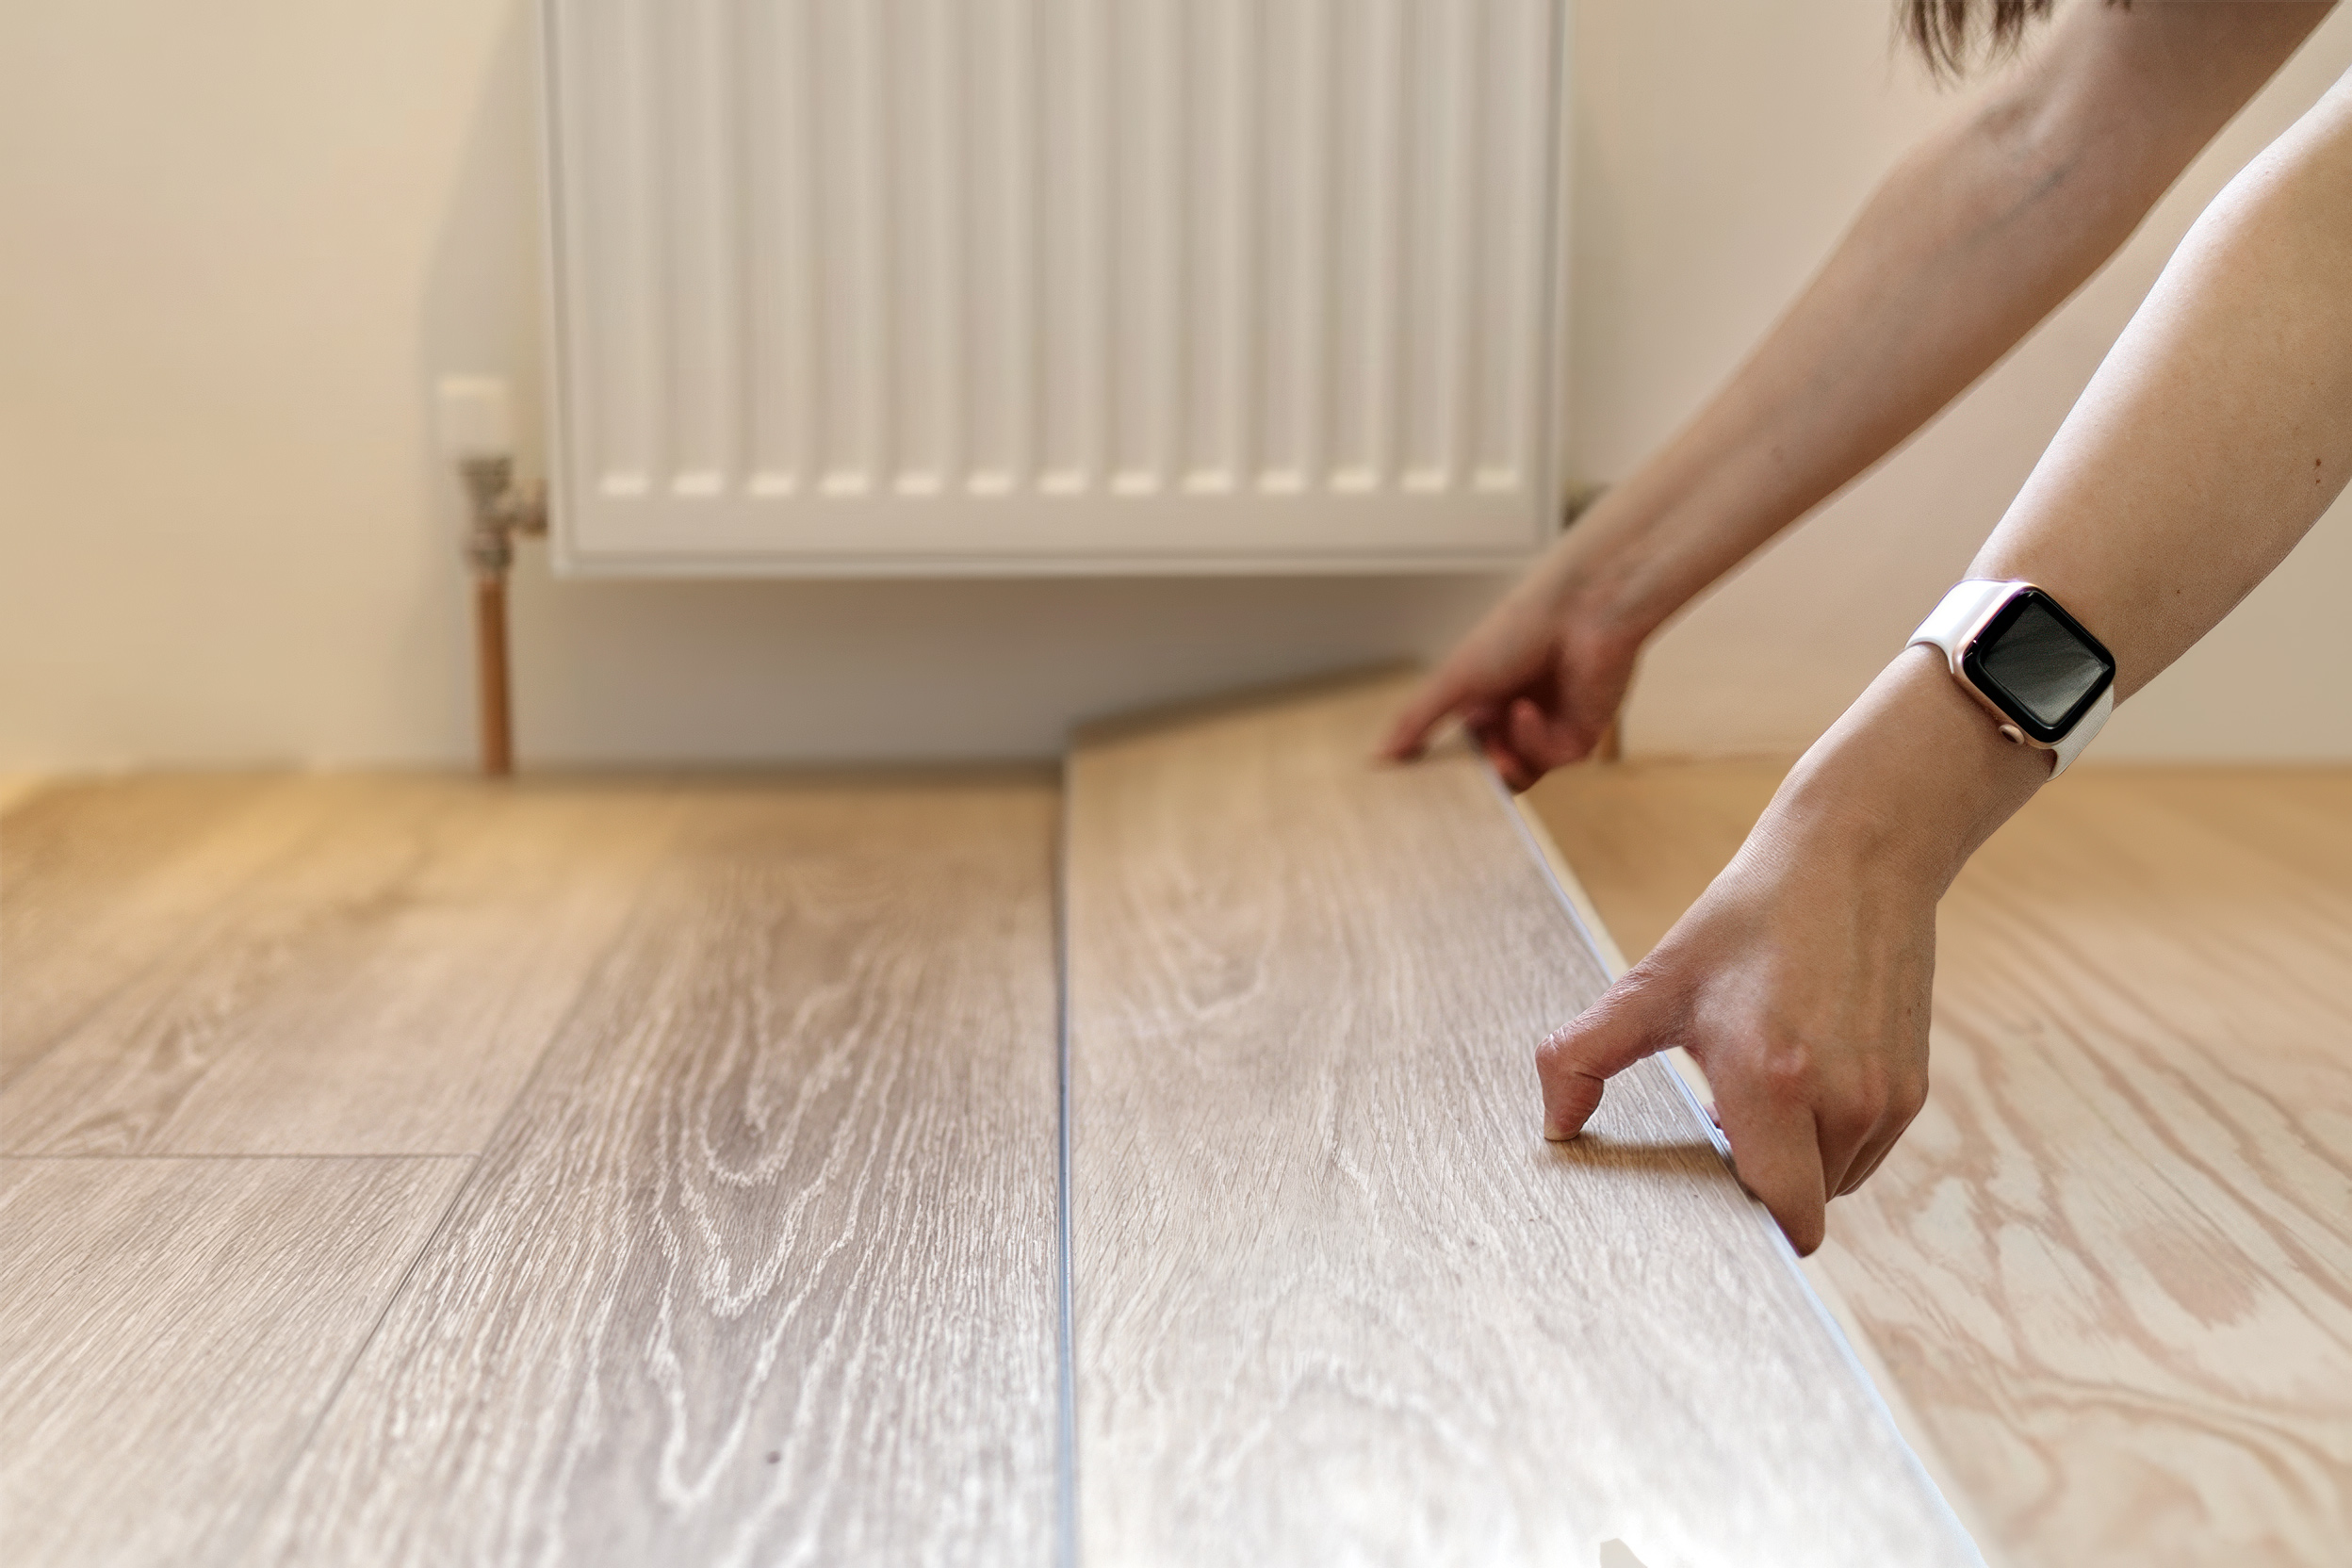
When installing ProTek flooring, one of the trickiest parts can be fitting vinyl around radiator pipes. Proper installation is crucial for ensuring a professional finish and long-lasting durability. Fortunately, with the right flooring tools, cutting techniques, and a little patience, this process can be straightforward. This guide will walk you through the steps for Pro-Tek flooring installation around radiator pipes, including tips on precision cutting, maintaining expansion gaps, and using epipe cutouts for a clean finish.
Why It’s Important to Fit ProTek Around Radiator Pipes
Fitting vinyl around radiator pipes might seem like a small detail, but it plays an important role in the overall look and longevity of your Pro-Tek flooring installation.
- Aesthetic Appeal: Properly cutting and fitting vinyl around pipes ensures a seamless look that enhances the overall appearance of your room.
- Durability: Incorrect cuts or poorly installed planks can lead to gaps, which may damage the vinyl over time.
- Avoiding Expansion Issues: Ensuring that there’s enough space for expansion gaps around pipes will help prevent warping or buckling as the flooring adjusts to temperature changes.
Tools You Will Need for Fitting Vinyl Around Radiator Pipes
Before starting, make sure you have the right flooring tools to help you execute the installation with precision. Here’s what you’ll need:
- Measuring Tape: For accurate measurements around the pipes and to ensure proper expansion gaps.
- Utility Knife: For cutting vinyl planks to the right size, especially around complex areas like radiator pipes.
- Jigsaw or Handsaw: For more intricate or precise cutting around pipes.
- Pen or Chalk: To mark where you need to cut.
- Pro-Tek Underlay (optional): Helps with soundproofing and adds insulation underneath the flooring.
Step-by-Step Guide for Fitting ProTek Around Radiator Pipes
1. Measure the Area Around the Pipe
Accurate measurements are essential for a professional finish. Begin by measuring the distance between the pipe and the wall, and then the space from the pipe to the adjacent planks.
- Use a measuring tape to measure the distance from the center of the pipe to the wall.
- Make sure you leave an expansion gap of at least 5mm (or as recommended by the manufacturer) between the vinyl and the pipe.
2. Mark the Plank for Cutting
Once you’ve taken your measurements, it’s time to mark the plank you’ll be cutting. Place the plank against the wall, positioning it where it will fit best, and use a pen or chalk to mark the spot where the pipe will intersect with the plank.
- Mark both the diameter of the pipe and the space required for expansion gaps.
- Ensure that the marked area is as precise as possible to avoid unnecessary gaps after installation.
3. Cut the Vinyl Plank
With your markings in place, it’s time to cut the vinyl plank around the pipe. This step requires precision cutting to ensure a clean fit.
- Cutting Around the Pipe: For a simple circle or square cut, use a utility knife to carefully slice along the markings. If the shape around the pipe is more complex, a jigsaw may provide more control.
- Cutting Techniques: Score the plank lightly before going deeper to avoid cracking or splintering the vinyl. If you are cutting around epipe cutouts, use a circular motion for more precision.
Pro Tip: If you’re struggling with the curve around the pipe, try cutting in small sections and gradually adjusting to the shape you need.
4. Install the Vinyl Plank
Once the plank is cut to fit around the pipe, it’s time to install it in place.
- Snap or Click Fit: If you are using click vinyl flooring, line up the edge of the plank with the adjoining plank and lock it into place.
- Make sure the expansion gap remains consistent around the pipe to allow for movement of the flooring.
If the installation requires glue, apply the adhesive to the subfloor according to the manufacturer’s instructions, ensuring a strong bond.
Tips for Precision Cutting Around Radiator Pipes
Fitting vinyl around pipes can be tricky, but with a little attention to detail, you can achieve a perfect fit.
Use Epipe Cutouts for Clean Results
For a flawless look, epipe cutouts allow the vinyl planks to wrap seamlessly around the pipes. This involves cutting small notches at precise intervals, ensuring the flooring hugs the pipe without leaving gaps.
- Measure Carefully: Take the time to measure and mark every part of the pipe for the most accurate cuts.
- Cut Slowly: For complex pipe shapes, it’s better to cut slowly and test the fit before making further cuts.
Account for Expansion Gaps
Remember that expansion gaps are critical for the long-term performance of your flooring. Vinyl expands and contracts with temperature changes, so be sure to leave a gap around the pipe to prevent damage over time.
- 5mm Gap: Most vinyl flooring requires a 5mm expansion gap between the flooring and walls, pipes, or other fixed structures. This helps the vinyl move naturally and prevents buckling or warping.
- Seal the Gaps: You can fill these gaps with baseboards, quarter round trim, or caulk for a neat finish.
Use the Right Flooring Tools
Having the right flooring tools on hand will ensure that your cuts are as clean and precise as possible.
- Straight Edges: Use a straightedge or ruler when cutting to help keep the blade aligned and make sure your cuts are smooth.
Small Sections for Detailed Cutting: If the pipe is in a corner or hard-to-reach area, consider cutting the plank in small sections to ensure better control and precision.
Troubleshooting Common Problems
1. Uneven Pipe Cuts
If your cuts around the pipe aren’t perfectly even, you can fix them by carefully trimming the edges with a utility knife to remove any excess. Remember to cut slowly and test fit often.
- Use a file: For smoother edges, use a fine file to smooth out any jagged cuts.
2. Not Enough Expansion Gaps
If you accidentally cut the vinyl too tightly around the pipe and don’t leave enough expansion gaps, this can lead to warping as the vinyl expands. If you’ve already installed the flooring, you can carefully remove it, trim back the edge, and reinstall it with the correct gap.
- Double-check gaps: Ensure that the expansion gap is at least 5mm or as per manufacturer recommendations before securing the plank permanently.
3. Misaligned Planks
If the planks aren’t aligning properly around the pipes, it’s essential to re-check the cuts. Sometimes, the vinyl may not fit due to slight miscalculations in the measurement.
- Test fit often: Before securing the vinyl in place, test the fit around the pipe regularly to make adjustments as needed.
Conclusion: Achieving a Flawless ProTek Installation Around Radiator Pipes
Fitting ProTek vinyl flooring around radiator pipes requires careful measurement, precision cutting, and the right flooring tools. By following these steps, you can ensure a clean, professional installation that enhances the overall aesthetic of your space.
Key Takeaways:
- Use epipe cutouts for a precise fit around radiator pipes.
- Always leave enough expansion gaps to accommodate temperature changes and prevent damage to the flooring.
- Choose the right flooring tools and cutting techniques to achieve clean cuts and a flawless finish.
With these tips and techniques, you’ll be able to complete your Pro-Tek flooring installation around radiator pipes with confidence, ensuring a perfect, lasting result.