Installing LVT can differ in complexity between brands and it is worth checking before you choose a supplier. Pro-Tek™ click vinyl flooring is quick to install, with only minimal preparation needed.
It has a simple click lock system making it easy to lay. Plus a built-in underlay, saving time and money. It only takes a few steps to transform your space with this luxury floor, enabling you to complete a makeover to any room with little effort.
Preparation
Both the Pro-Tek™Excel and Editions ranges of vinyl click waterproof flooring can often be installed over an existing floor, reducing the amount of preparation that is needed. Wood, tiled, laminate, linoleum or concrete sub floors can all have Pro-Tek™ installed on top of them. As long as they are flat and in good condition. Check our detailed guidelines for specific advice on installing LVT and what preparation to consider. The general principles are:
- The sub-floor must be clean, flat and dry.
- Sweep or vacuume any debris and grit.
- If there are any high/ low areas they should be sanded down or filled.
- Nail or screw any loose areas of the sub-floor.
- On a concrete subfloor, any low areas should be filled with a self-levelling compound.
Installation
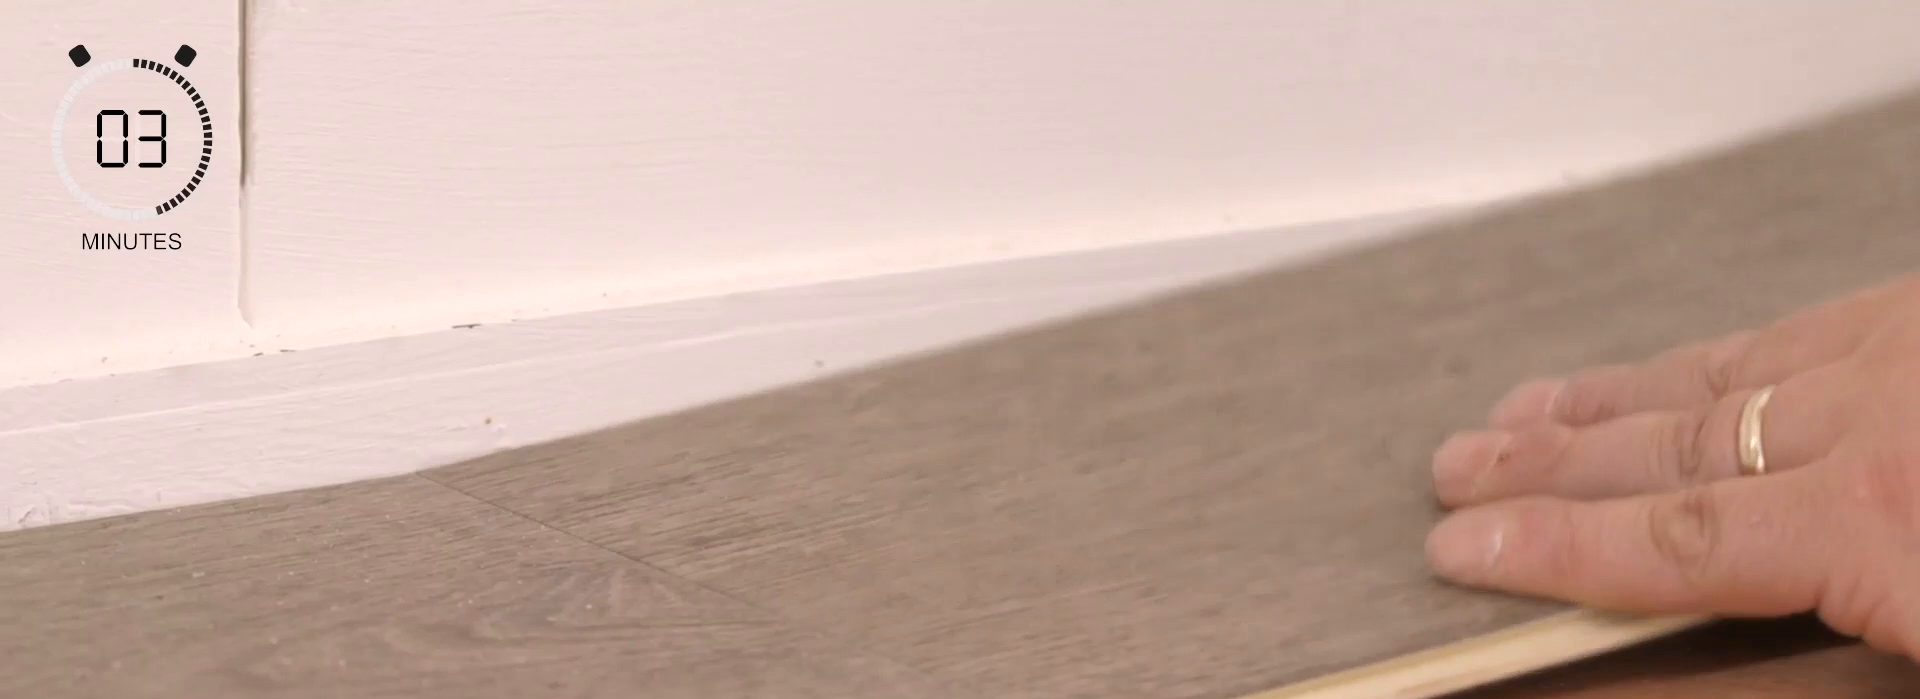
Once the preparation is complete, you can start installing your flooring.
Whether the flooring is wood design planks, Herringbone, stone effect and even the longer and wider wood design planks, Pro-Tek™ flooring is installed straight from the pack. Leave the packs opened in the room where they will be used for 48 hours to acclimatise to the environment.
There are 5 steps to installing LVT:
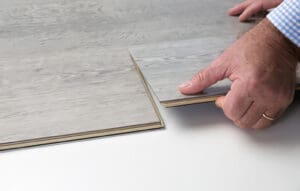
1: Engage the plank along the long side using the angle system.
2: Slide the plank up until it reaches the end of the previous laid plank.
3: Let the plank drop slightly.
4: Press with your thumb on both sides of the short end of the plank.
5: Continue with the pressure until you hear the ‘’click’’ sound of the one piece drop-lock system. Gently tap with a soft faced-hammer on both sides of the short end if needed. Your planks are now fully locked!
The click lock systems for the Excel and Editions ranges are slightly different, so remember to look at the installation videos and diagrams for the right product.

Result
When all of your planks are in place, your flooring is ready to use immediately. Although you should clean it first to ensure there is no surface dirt or grit present.
You could finish off your installation by adding door bars or other accessories to cover gaps between the flooring and walls or doorways. This gives a professional look to any space and is also a great way to transition seamlessley between rooms. At Pro-Tek™ we have a full range of doorbars to match all our collections.
Have you installed Pro-Tek™ flooring? We’d love to hear your feedback on how easy you found it to install. Let us know @ marketing@protekflooring.co.uk.
