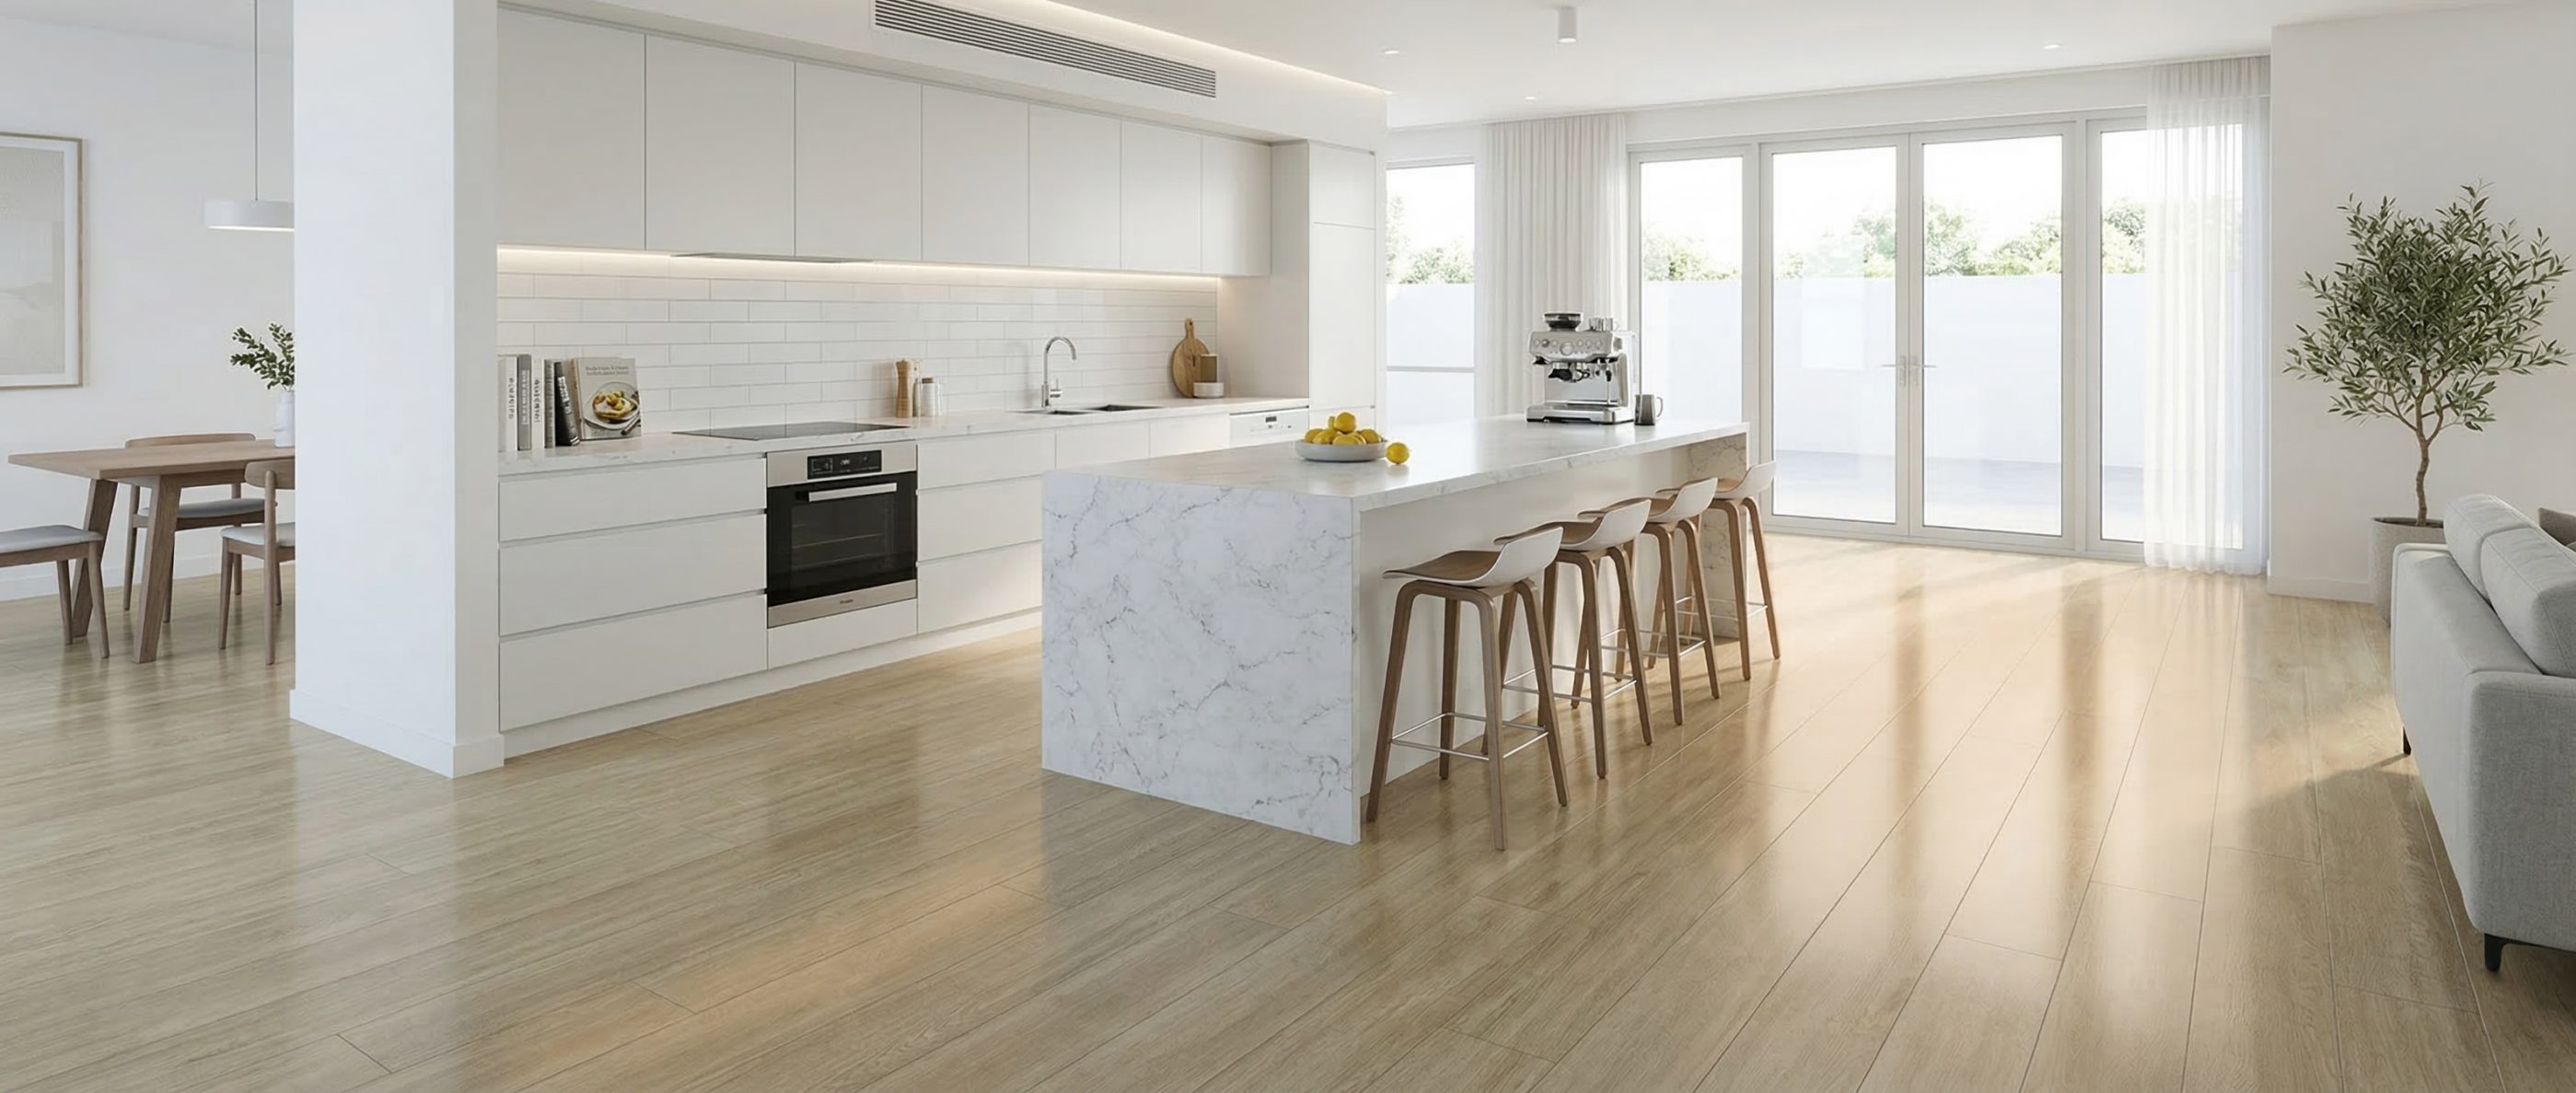
Top Tips for Choosing the Best Kitchen Flooring
A kitchen is the heart of any home – it’s where you cook, eat and gather at a party! It’s also an expensive investment if you want to update it. We share our top tips for kitchen flooring using click vinyl – a cost effective way of creating a new look in a short amount of time with a lower budget.
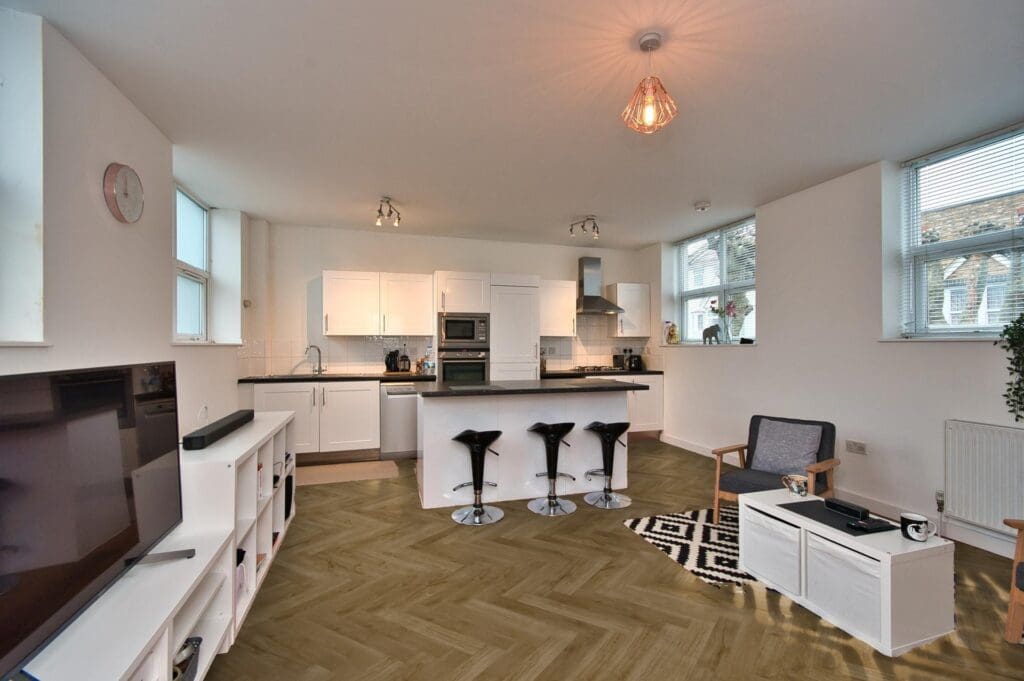
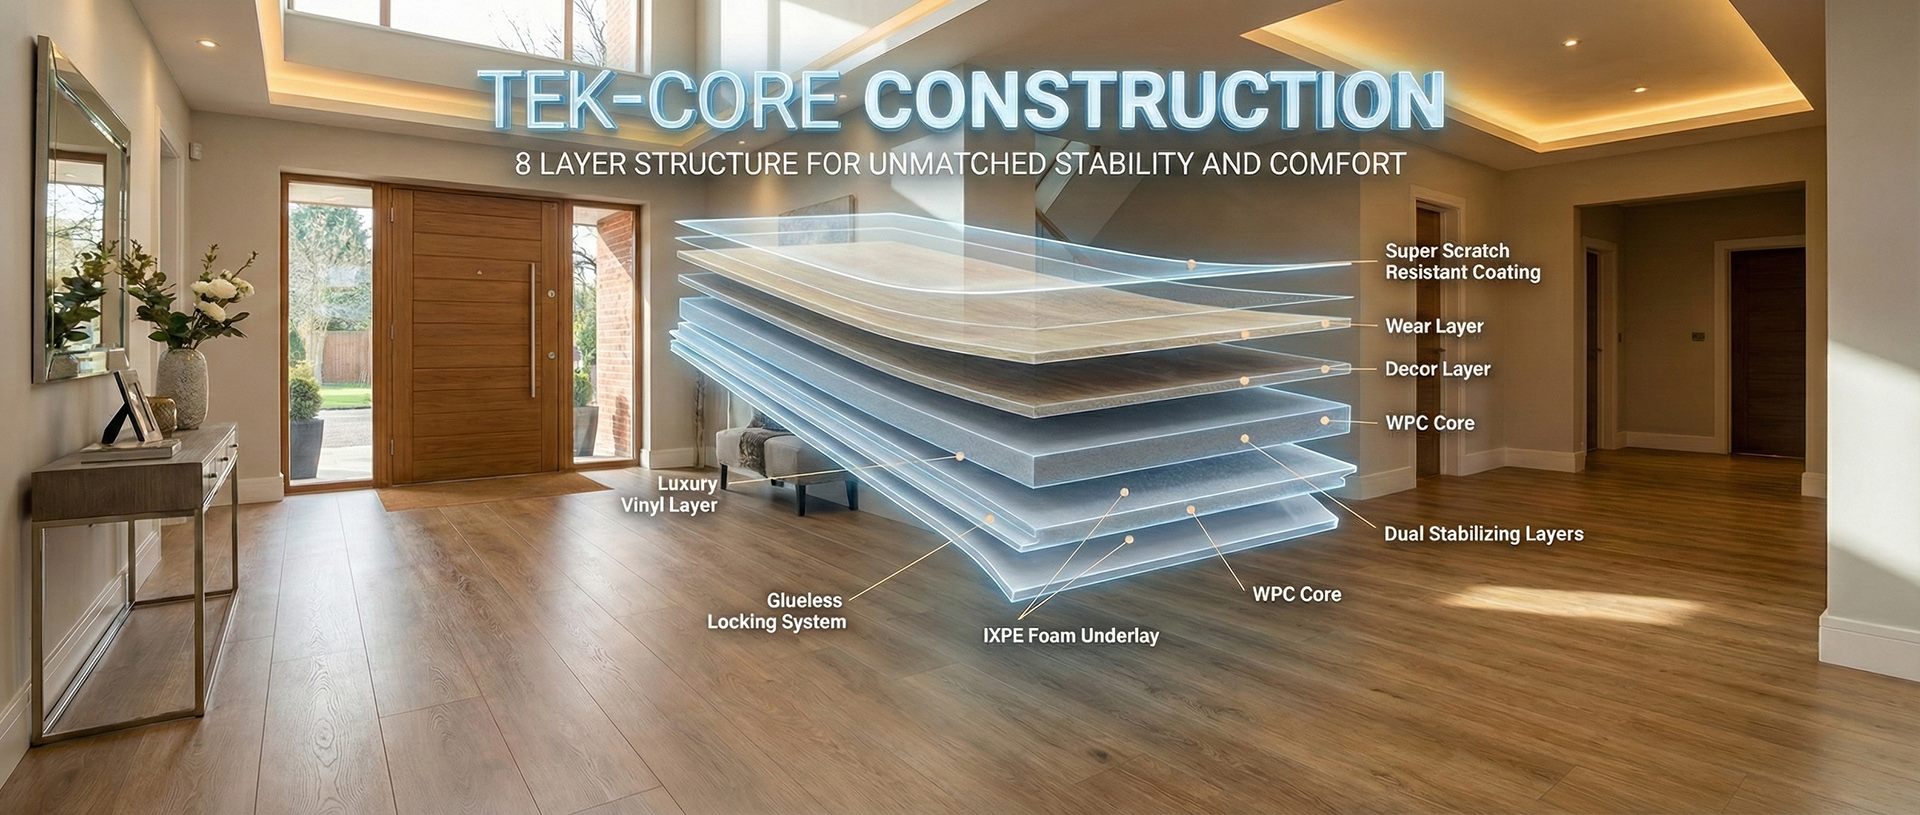
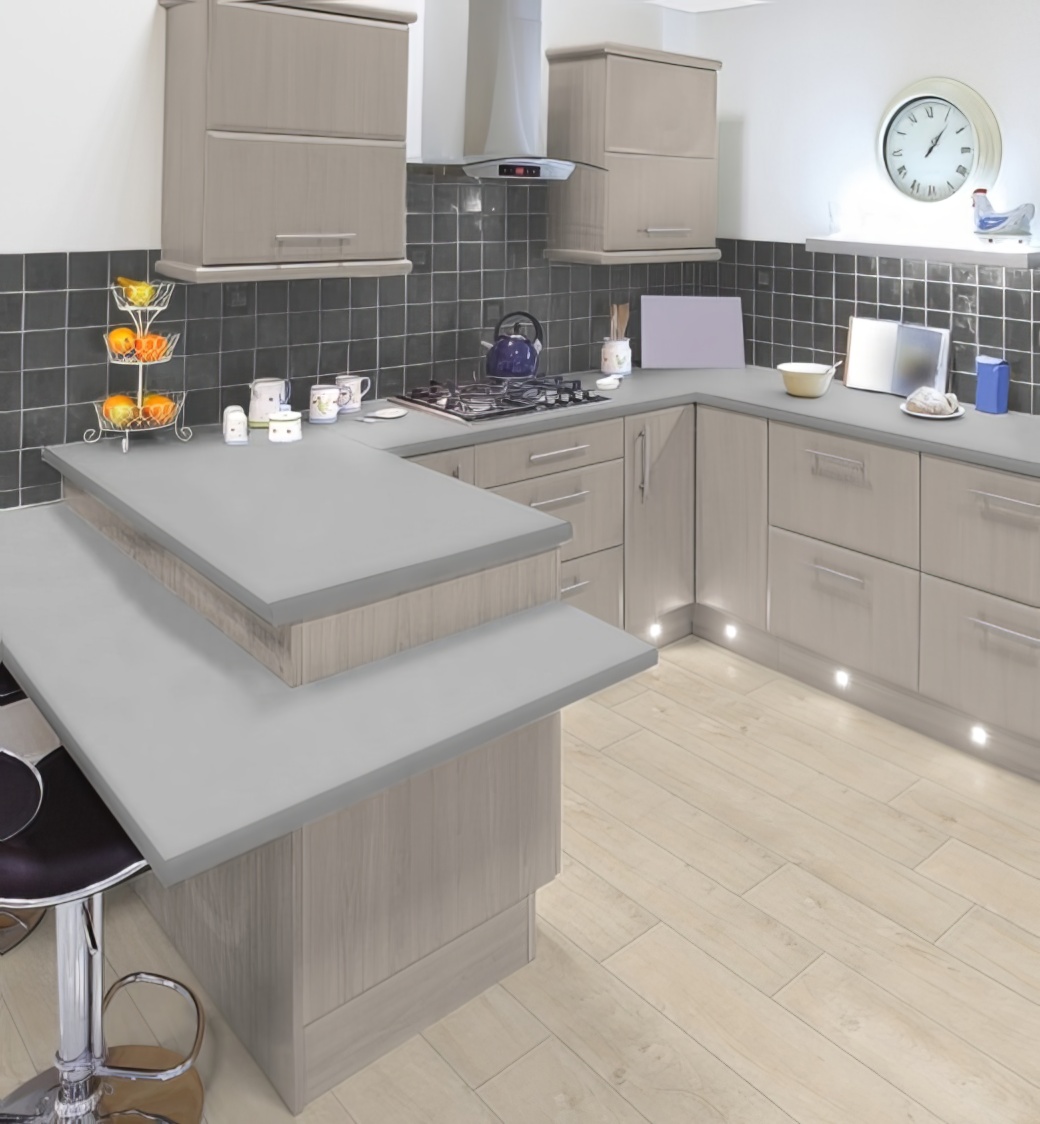
Click vinyl is an excellent choice to revamp your kitchen, no matter what the size. It gives you the style of wooden, herringbone or tiled floors but with a host of practical benefits.
1. Planning and measuring
It is vital to get this part right or you could end up with too much or too little flooring.
We always recommend measuring and then measuring again to make sure! Any professional flooring company will have guides to help with measuring and if this is too tricky then calling in a professional might be your best option.
2. Find the right flooring for your project
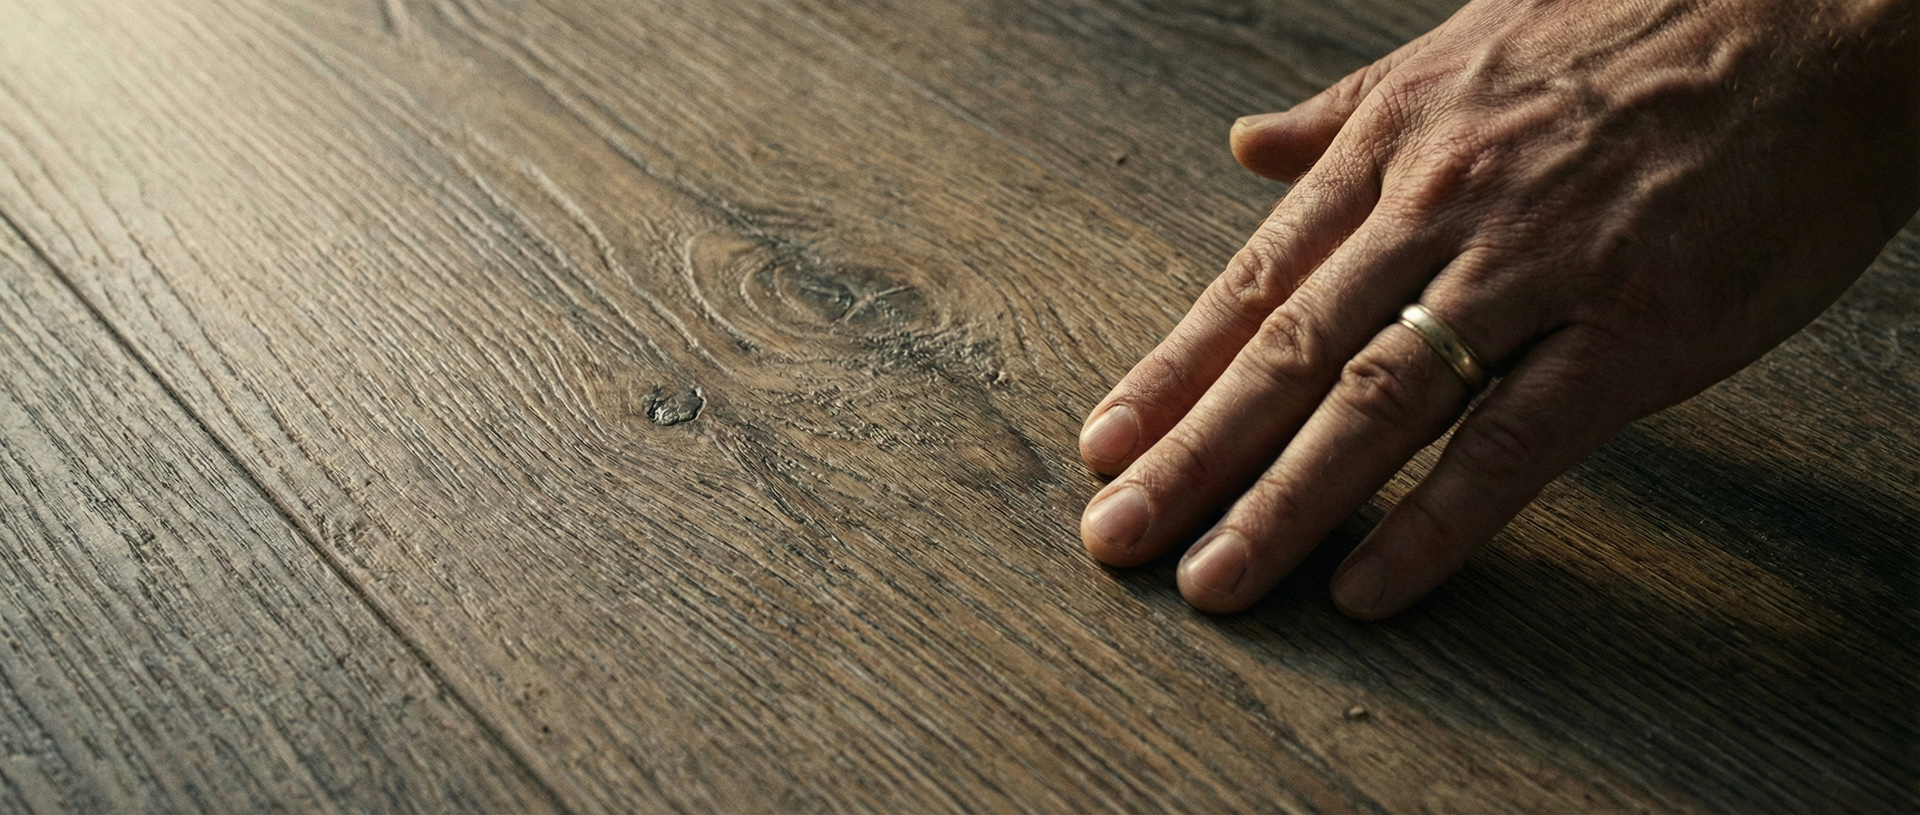
Samples are a great way to check the colour and pattern of your flooring and how it will complement the rest of the room. Pro-Tek™ offer free samples on all flooring. Order your samples on our website.
3. Preparation
Whilst there is minimum preparation required when using click vinyl, your subfloor will need to be clean, level, dry and free of any debris.
It is best practice to ensure that any cracks or imperfections are repaired to ensure the surface is as smooth as possible. On some occasions you may need to use a self-levelling compound.
4. Acclimitisation
Once you have received your LVT flooring, it is vital to allow them to acclimatise to their environment. Take off the packaging and leave the planks in the room where it will be fitted for at least 48 hours prior to installation.
This will allow the flooring to get used to the kitchen’s humidity and temperature. It provides time for it to contract or expand to avoid buckling or gaps to form in between the planks once installed.
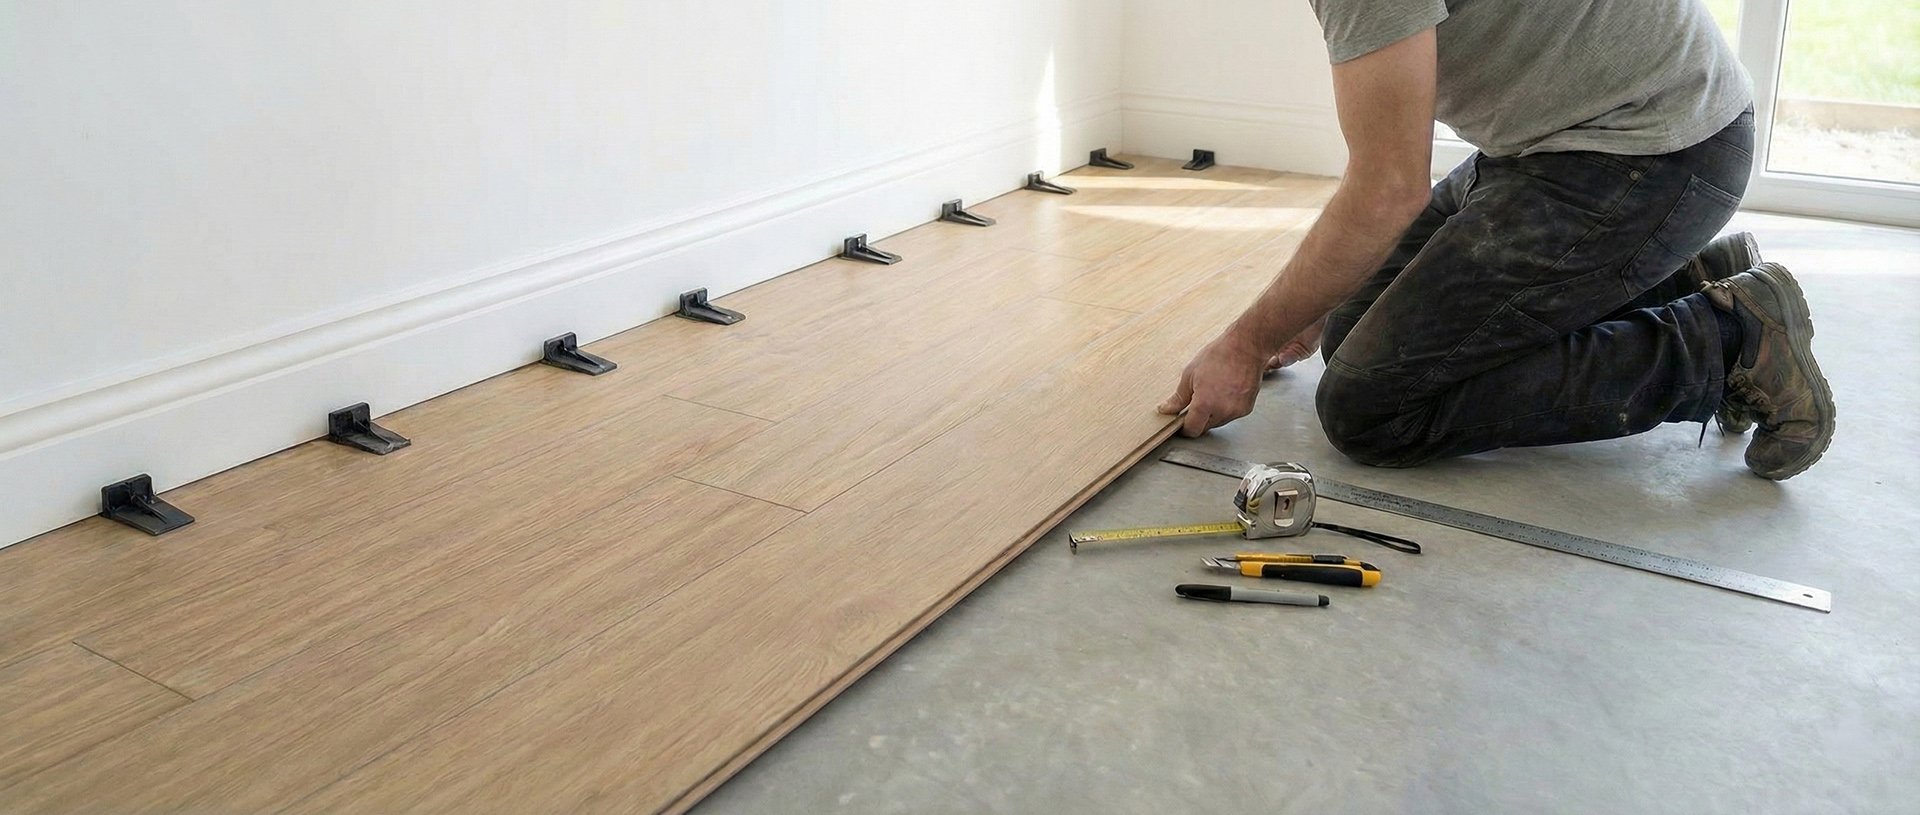
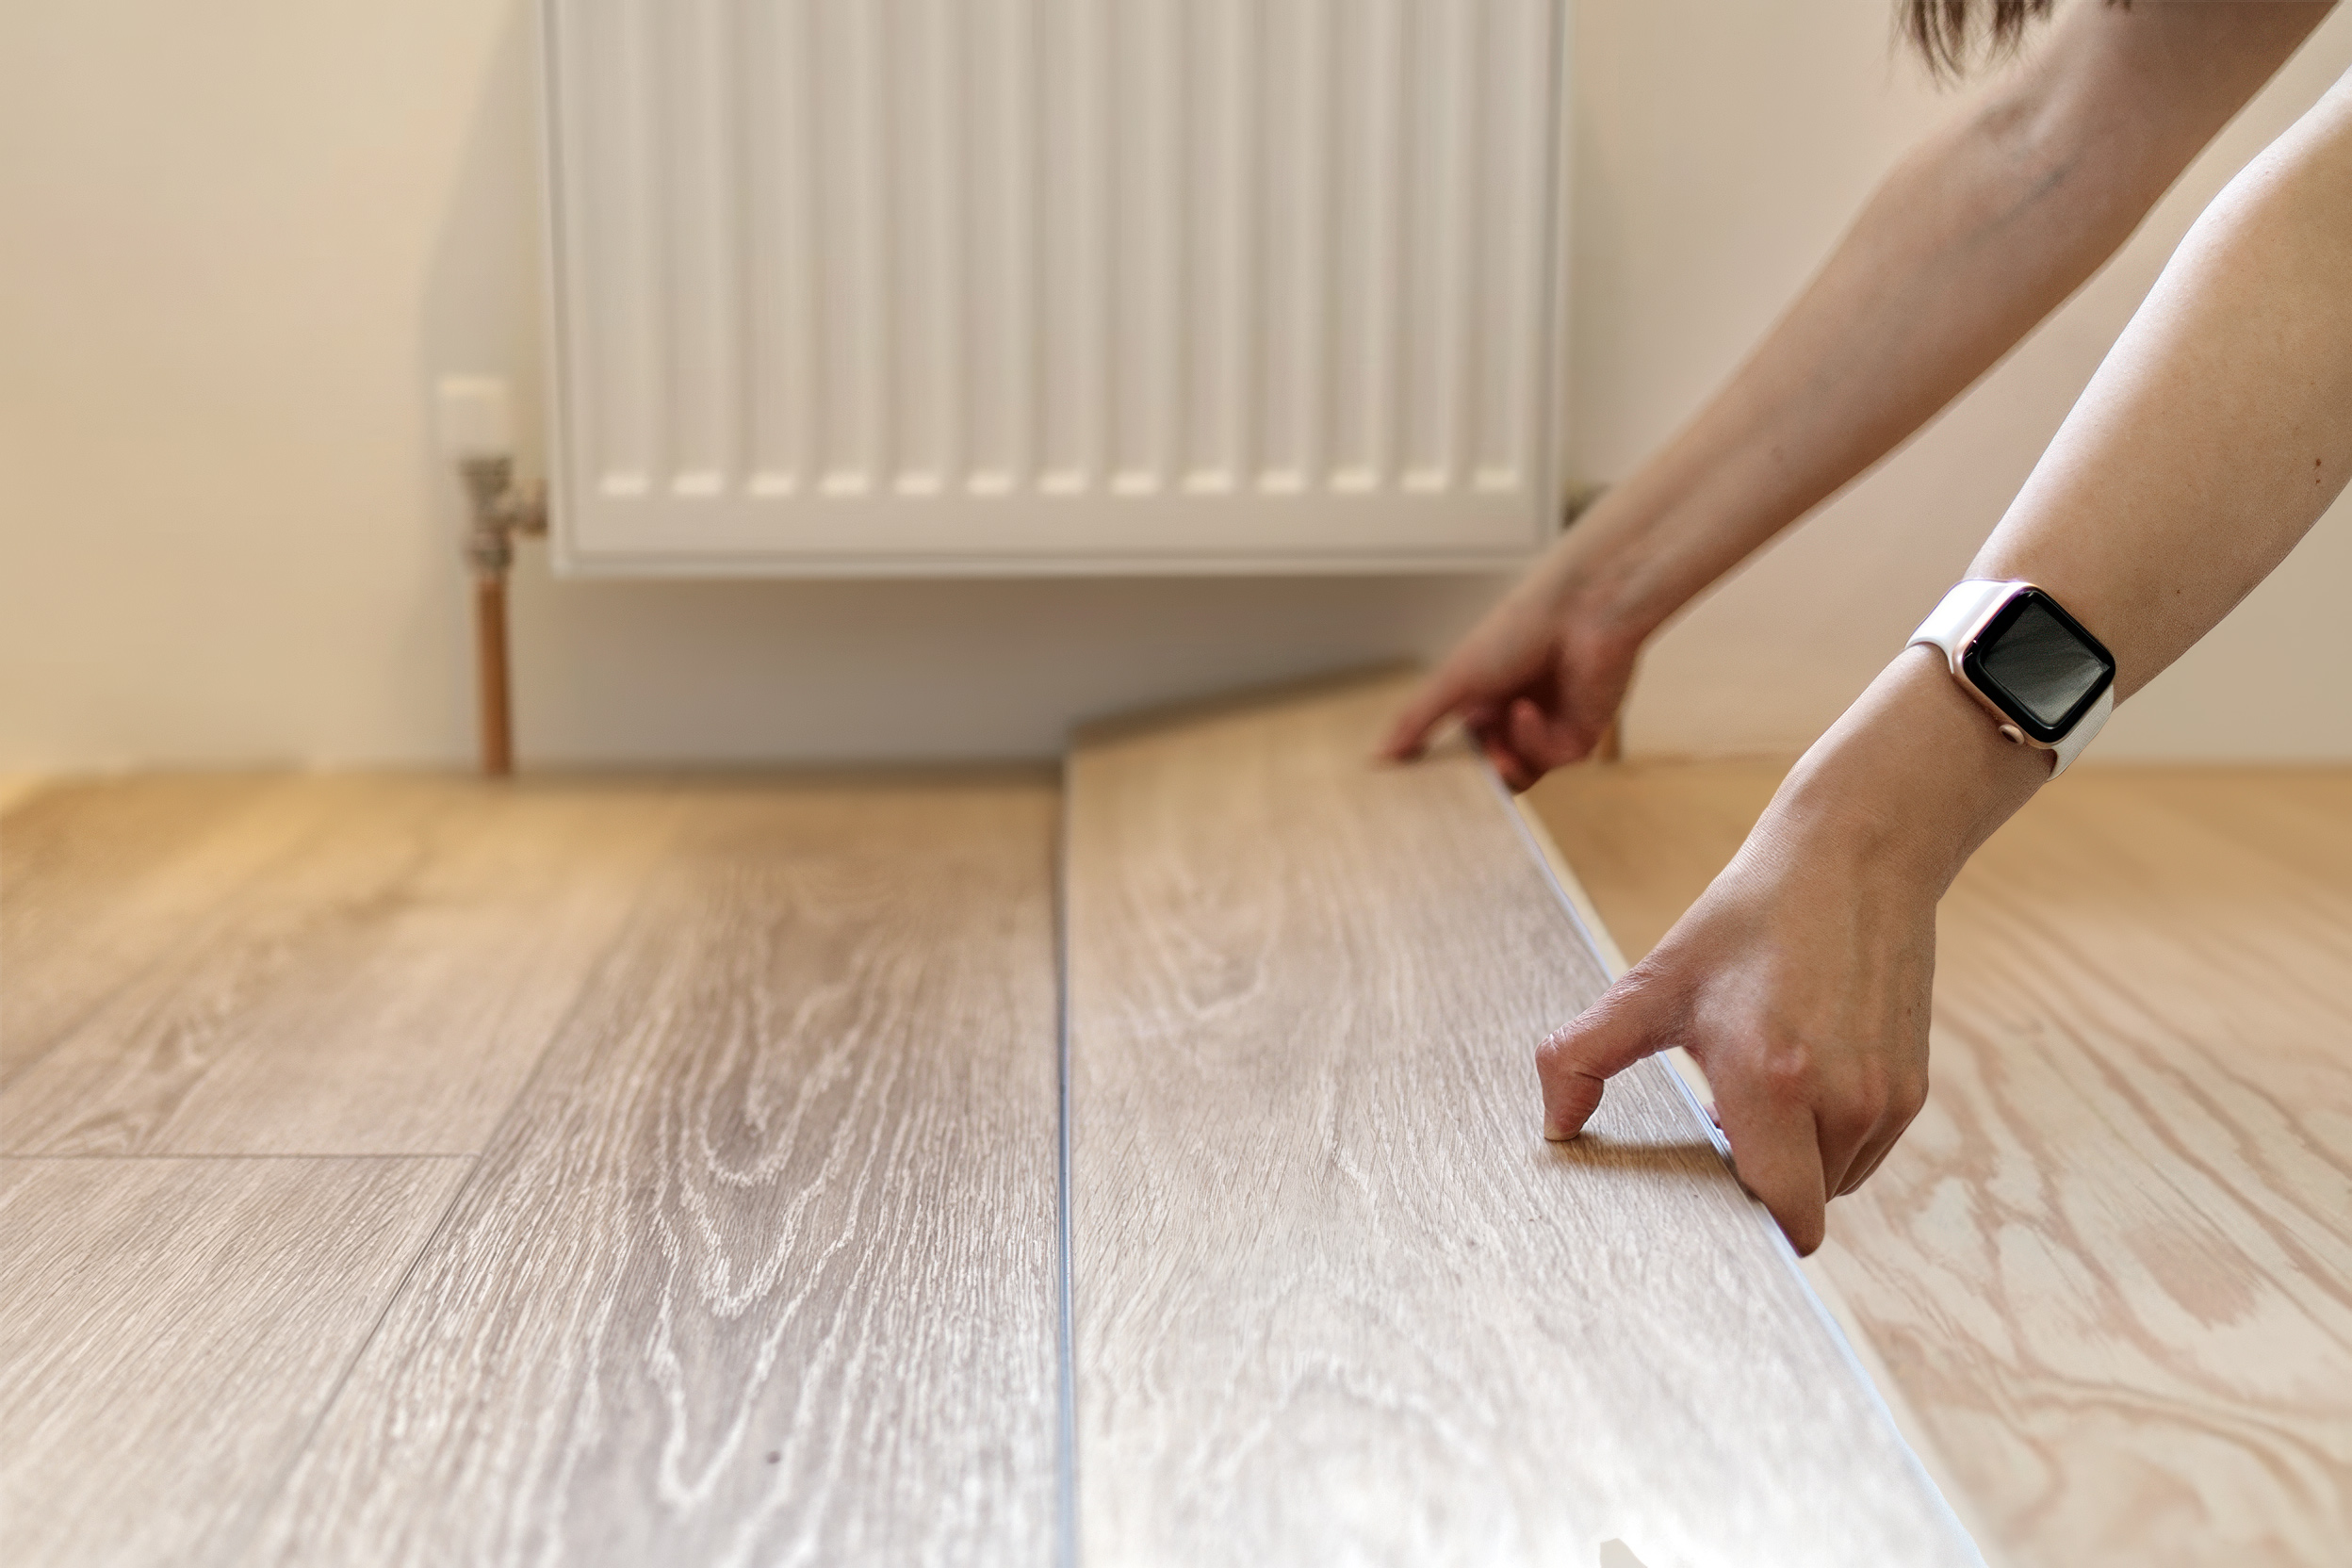
5. Installation
It’s a good idea to always check the manufacturer’s instructions before you start and follow any guidelines or recommendations.
Begin the installation in a straight line to give you a reference point. This reference line will work as a guide for laying the rest of the planks.
6. Avoid gaps between the planks
Make sure you are securely fitting your planks into place and ensure a tight fit by paying close attention to the ‘click’ sound made by the locking mechanism of your click vinyl planks. This will show you that they have engaged properly.
7. Measuring and cutting
The flooring should be cut around cupboards and heavy freestanding appliances, such as fridges.
Measure your floor and around corners, kitchen cupboards or any obstacles and then measure again! Accuracy in your measuring means you will minimise any waste.
If you don’t have a vinyl cutter, you can use a sharp utility knife to ensure precision cuts and clean lines.
8. Pattern
Consider the pattern your flooring will take on and stagger the end joints of the planks in the adjacent rows. Not only will this create a great look for your floor, it will also help to prevent the seams from being visible and create a more stable fit.
9. Expansion gaps
Naturally your click vinyl planks will expand and contract due to any temperature changes or humidity. This is a likely occurrence in a kitchen. It is therefore recommended to leave a gap around the perimeter of the room and obstacles, typically around 6mm.
10. Finishing touches
Use a matching colour end bar to cover expansion gaps and transition strips in doorways and areas where your new click vinyl flooring will meet another type of flooring. Pro-Tek™has exact match accessories to finish off the floor for a perfect and professional touch for all flooring colours.
Clean up as you go. Removing any debris or dirt from the planks as you fit them will help to keep the subfloor clear for the next plank.
Once complete you can walk on your new flooring within minutes!
Remember as well, regular maintenance of your flooring. Ensure you keep it clean, following the manufacturer’s instructions. Although it is waterproof, spills should still be cleaned up.