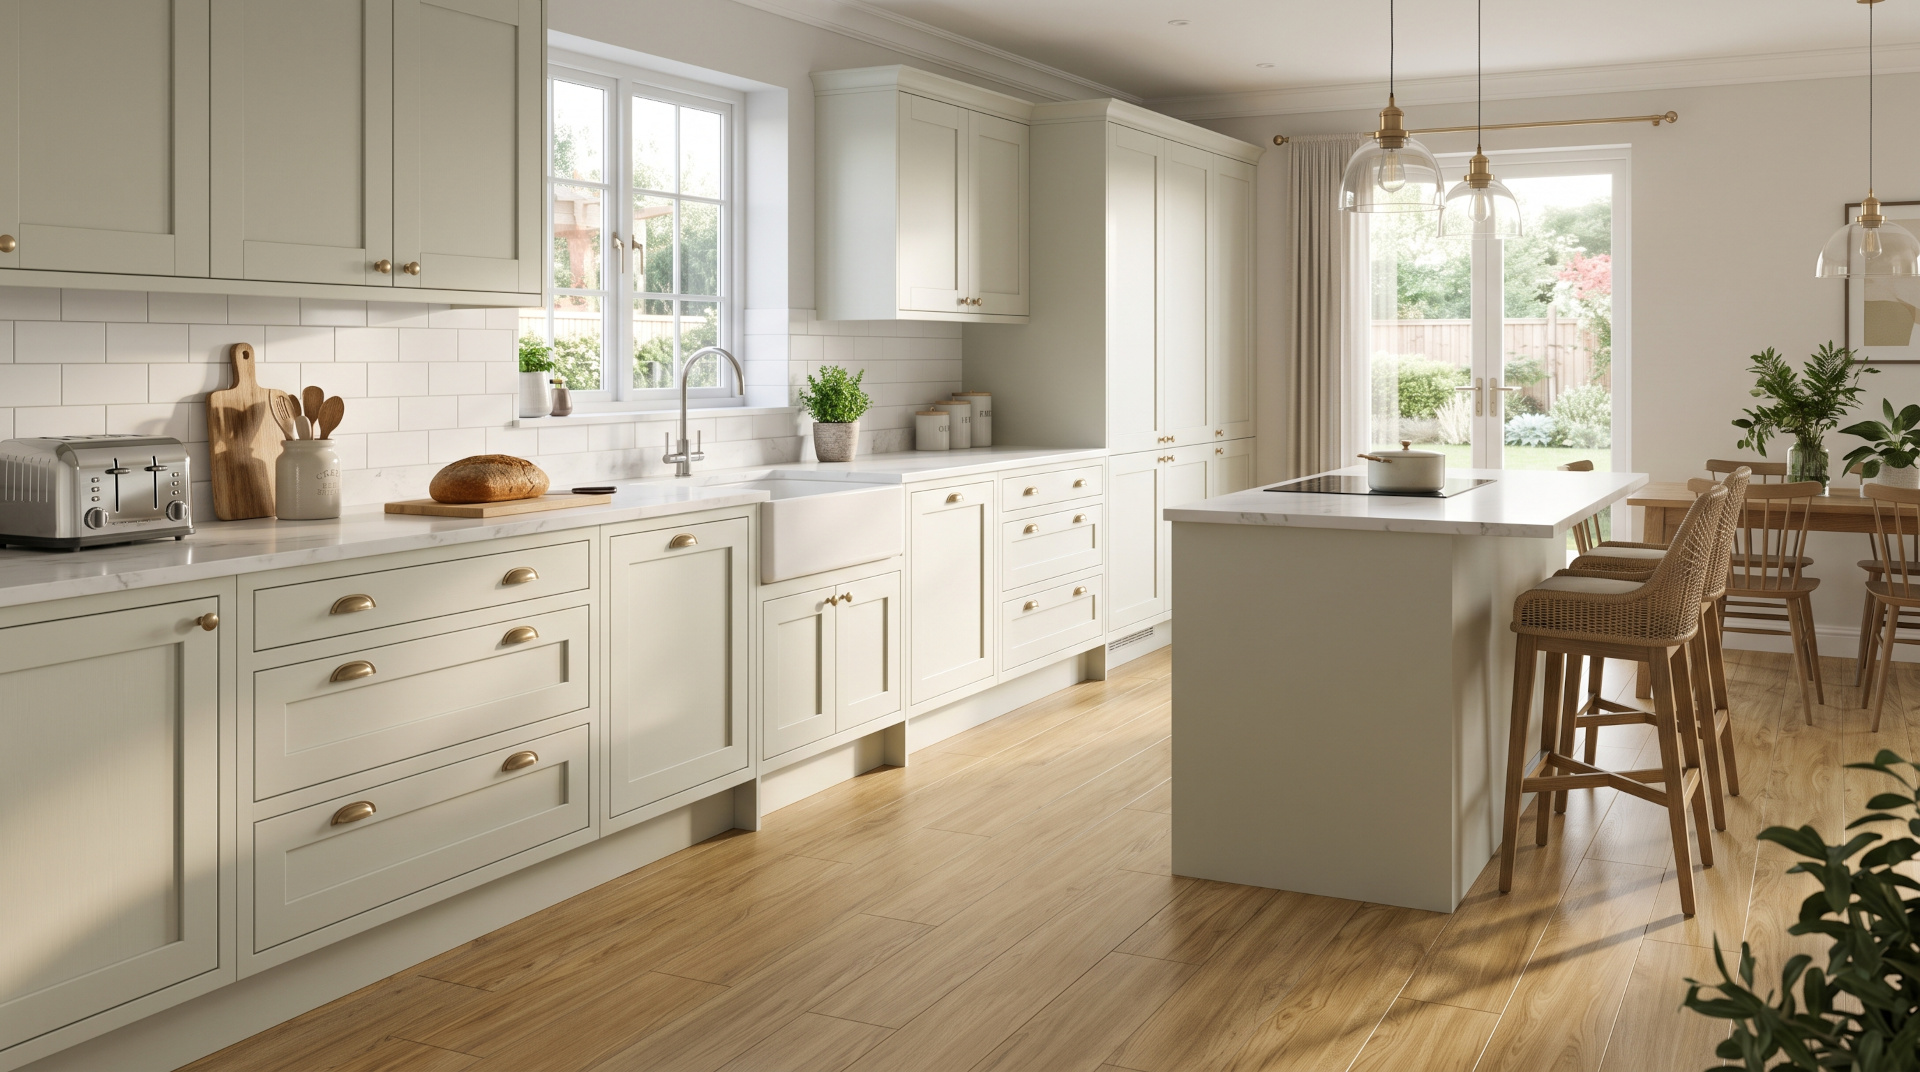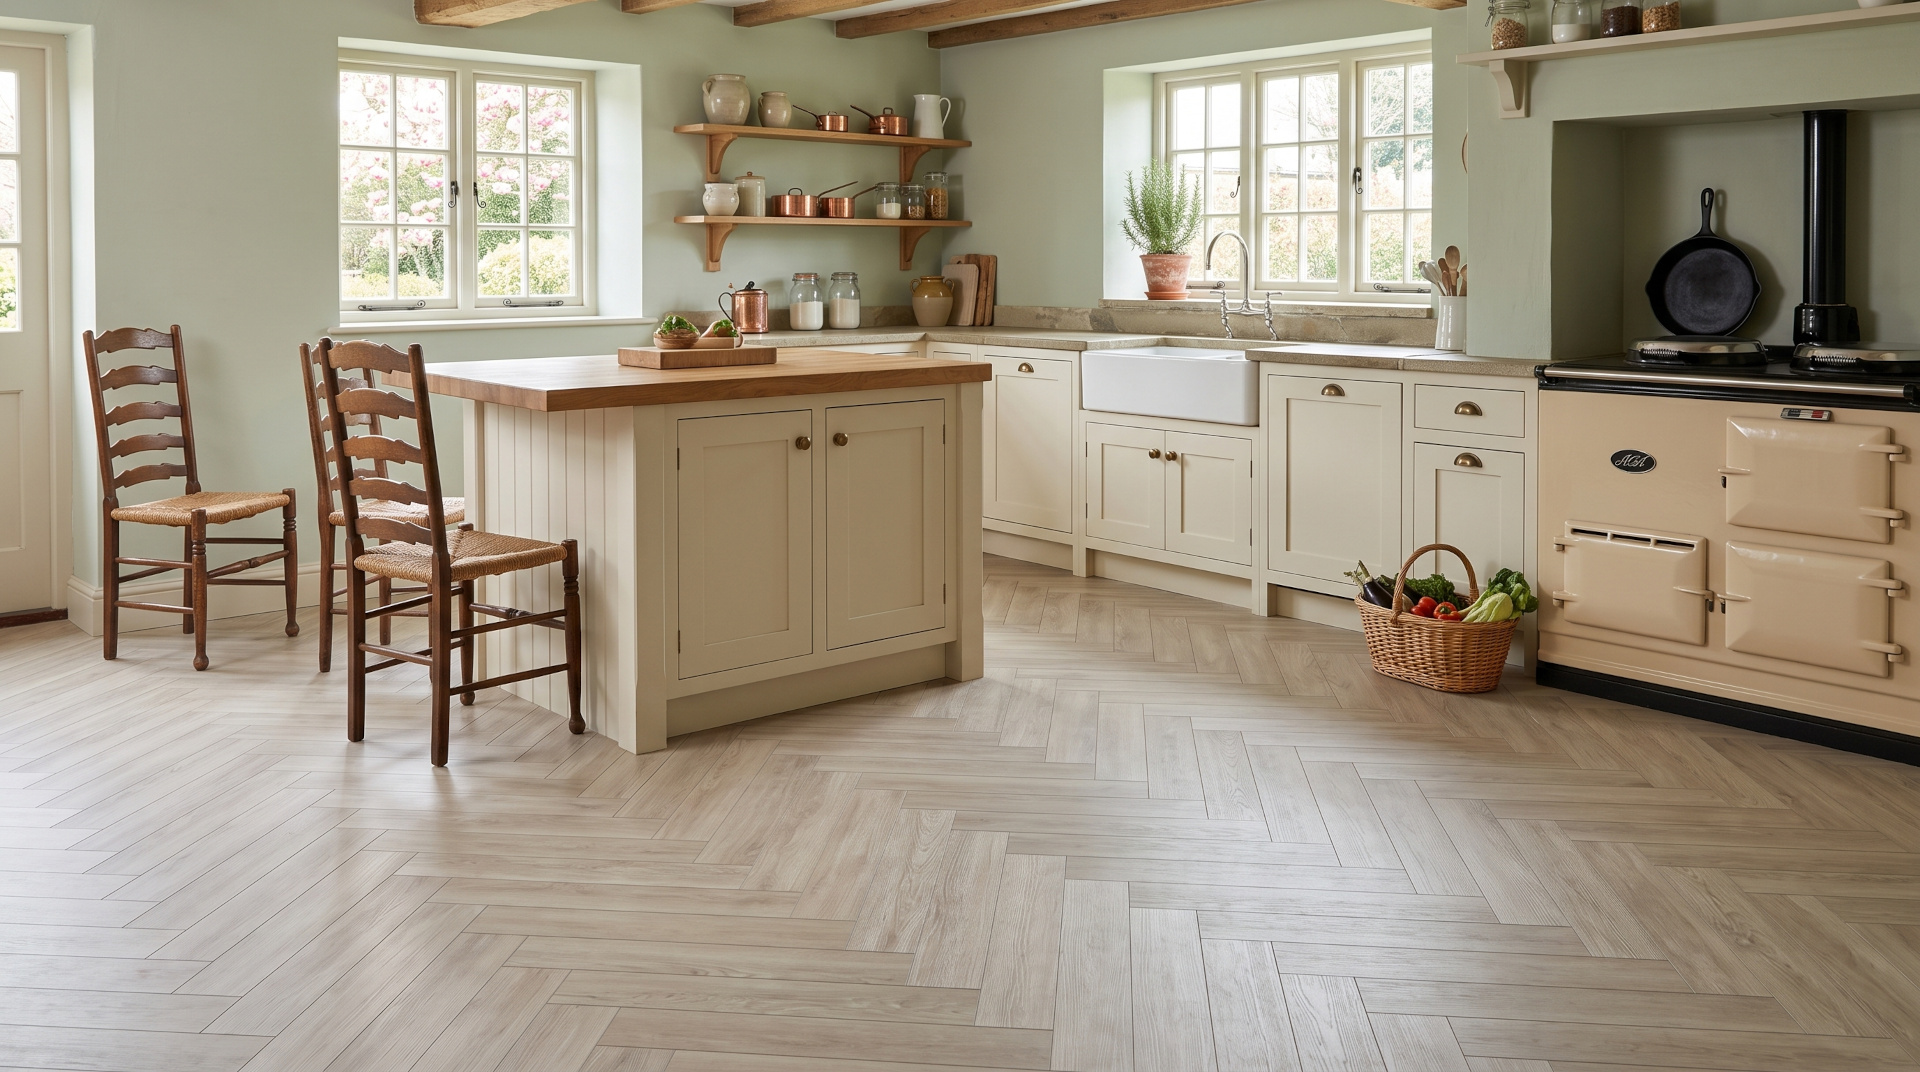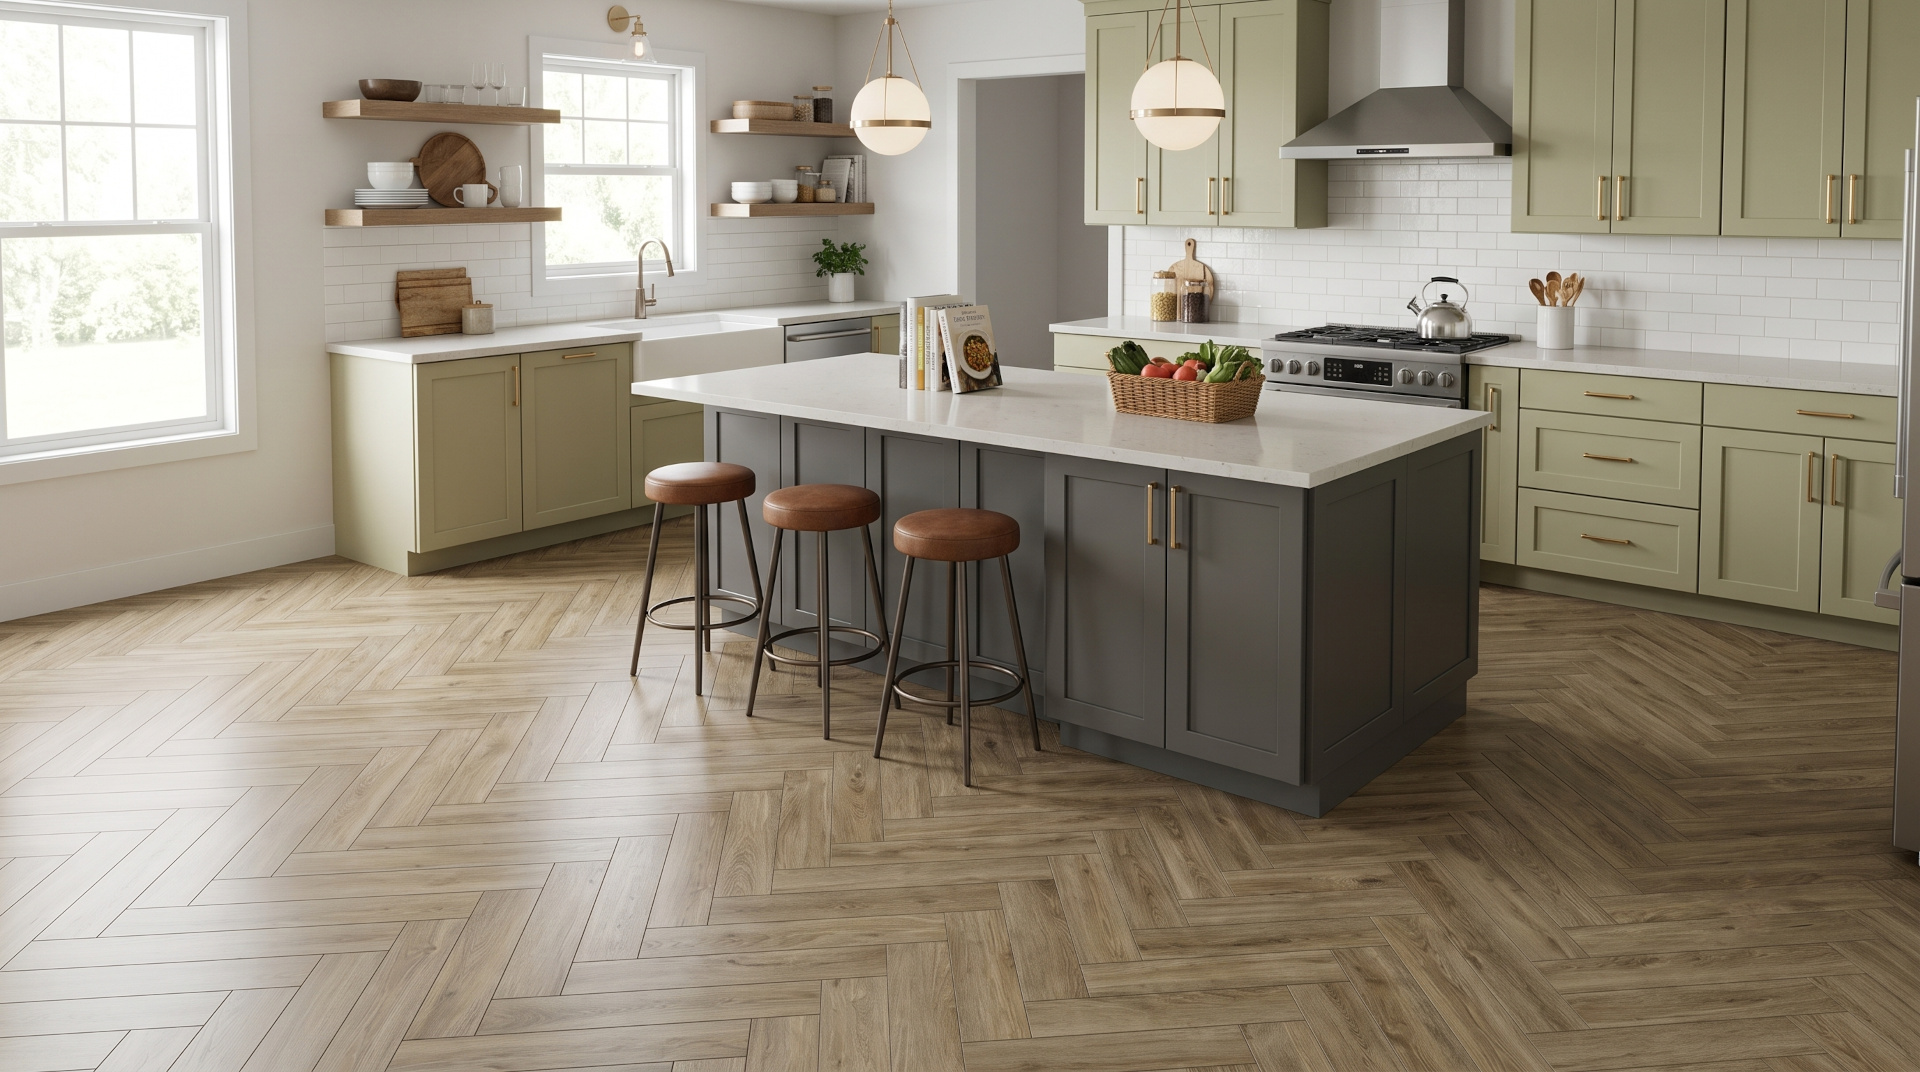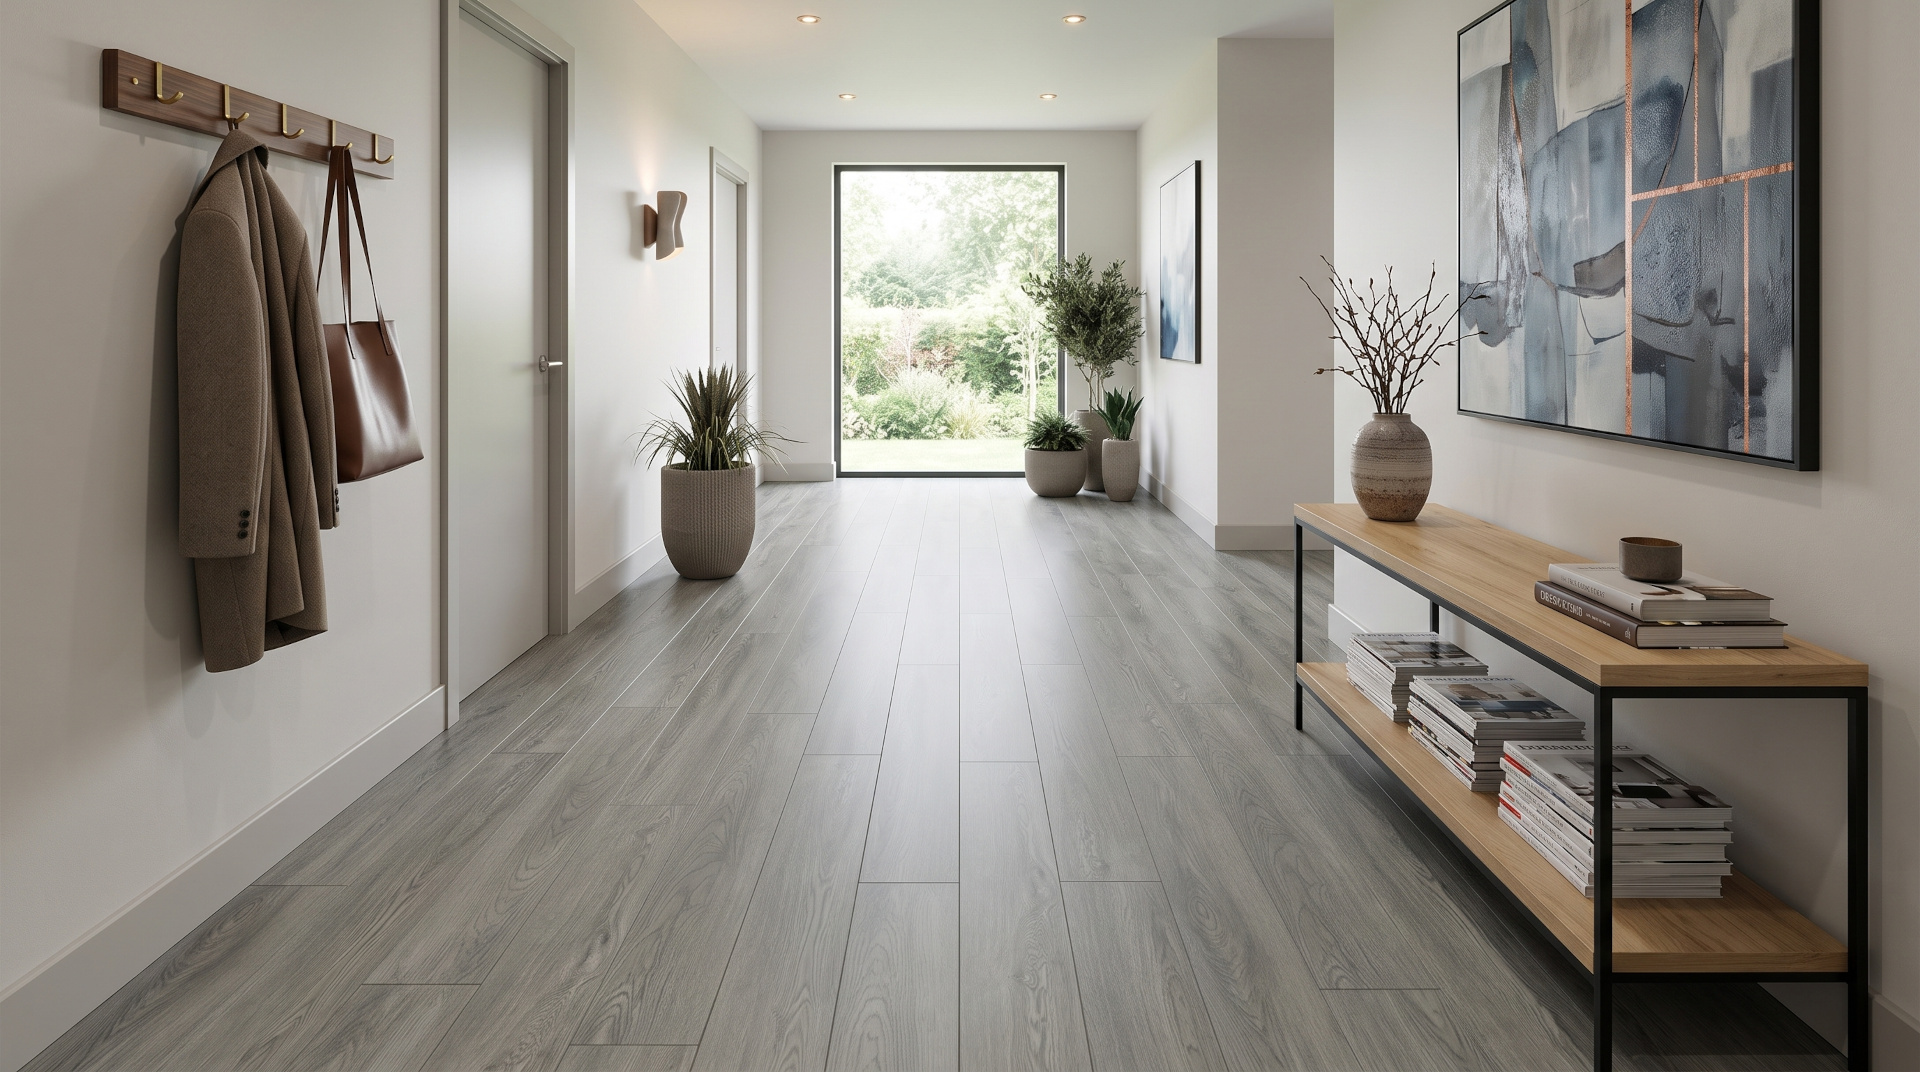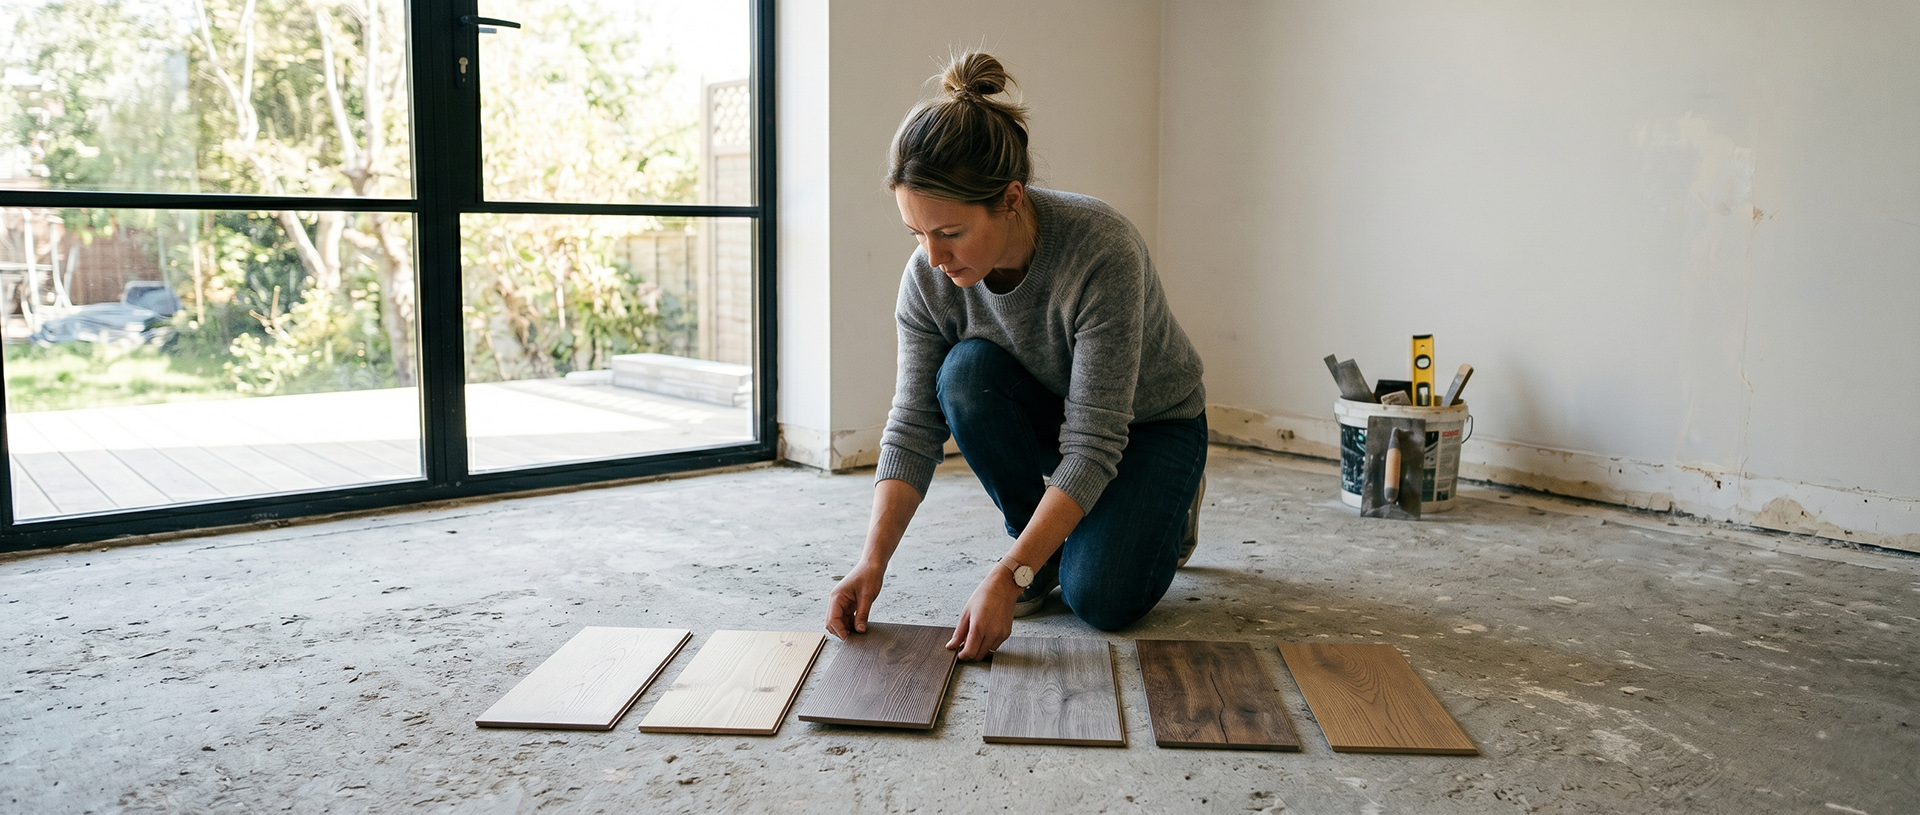
When planning a renovation, ordering free flooring samples provides a physical benchmark before committing to a full order. Relying solely on digital images often leads to ordering the wrong shade, as computer screens distort tones. By obtaining physical offcuts, you can review the material in your property under real lighting conditions and assess its physical properties.
The journey from browsing online to walking on a completed floor requires a structured process. This guide outlines the complete workflow, from the moment your test pieces arrive through to the final installation of a rigid core vinyl floor.
Jump To Section
- Why You Need Free Flooring Samples
- Phase 1: Testing Free Flooring Samples at Home
- Phase 2: Measuring and the 10% Waste Rule
- Phase 3: Subfloor Preparation Requirements
- Phase 4: Using Free Flooring Samples to Avoid Mistakes
- Phase 5: The Floating Floor Installation Process
- 10 Reasons to Order Free Flooring Samples
- Final Thoughts on Your Flooring Project
Why You Need Free Flooring Samples
Ordering materials online provides access to a wider range of products and trade pricing. However, to make an informed decision, you need to handle the material. Requesting free flooring samples allows you to physically assess the product specification.
You can inspect the exact components of the plank:
| Sample Feature | What to Check For |
|---|---|
| Wear Layer | Thickness indicates wear resistance (e.g., 0.55mm for heavy residential traffic). |
| Core Material | SPC (Stone Plastic Composite) for rigid stability; WPC (Wood Plastic Composite) for acoustic absorption. |
| Click System | The Uniclic™ profile for secure, glue-free joint connections. |
Phase 1: Testing Free Flooring Samples at Home
Once your free flooring samples arrive, place them flat on the subfloor in the intended room. Move them around throughout the day. Review the boards in morning daylight and under artificial LED lighting in the evening.
Compare the test pieces directly against fixed elements like kitchen cabinets, skirting boards, and painted walls. A finish that appears as a warm oak in a showroom may display grey or green undertones in a north-facing room. This physical check confirms if the undertone of the wood or stone effect matches the specific light profile of your room.
Phase 2: Measuring and the 10% Waste Rule
After confirming your choice, calculate the required area. Measure the length and width of the room at the widest points and multiply them to find the total square metrage (m²).
You must apply a waste allowance of 10% to this total. This extra material covers the offcuts generated when cutting boards to fit around doorways, radiator pipes, and corners. Retaining a few spare planks is also a standard requirement for future repairs should a board suffer heavy impact damage.
Phase 3: Subfloor Preparation Requirements
The subfloor must be clean, dry, and flat before laying Luxury Vinyl Tile (LVT) or SPC. British Standards dictate a maximum deviation of 3mm over a 2-metre span.
For timber subfloors, this involves laying flooring-grade plywood to create a flat base. For concrete bases, a self-levelling compound is required to fill dips and level the surface. A flat base supports the click-lock mechanism and stops joints from flexing or separating under foot traffic.
Phase 4: Using Free Flooring Samples to Avoid Mistakes
Utilising your free flooring samples for physical testing helps avoid costly ordering errors. Walk on the sample boards with shoes, drop small household objects on them, and wipe them with a damp cloth.
This process tests the wear resistance and the surface grip. Textured surfaces, such as those with a registered emboss, hide dust and surface marks better than flat, high-gloss finishes. Physical testing reveals these traits before the full batch is delivered to the site.
Phase 5: The Floating Floor Installation Process
Pro-Tek™ click vinyl uses a floating floor system, meaning no adhesive is required. The fitter starts the first row perfectly straight. A 6 to 10mm expansion gap is mandatory around the entire perimeter of the room, including fixed objects, to accommodate natural material expansion.
Planks are fitted row by row using a staggered pattern, ensuring end joints are spaced at least 15cm apart to strengthen the floor structure. The Uniclic™ system removes the need for adhesive curing times, meaning the floor can be walked on immediately after the fitting is complete.
10 Reasons to Order Free Flooring Samples
Before starting your project, testing the material is standard practice. Here are the main reasons to request free flooring samples:
- Check the true colour in your specific room lighting.
- Feel the surface texture and registered emboss profiling.
- Test the wear layer against everyday use.
- Compare multiple shades side by side on the subfloor.
- Match the tones against existing furniture and fixed cabinets.
- Review the locking strength of the click system.
- Avoid the cost and delay of returning a bulk order.
- Check the thickness and weight of the rigid core.
- Review the quality of the built-in IXPE underlay.
- Make a verified, practical decision based on physical facts.
Final Thoughts on Your Flooring Project
Every stage of a fitting project requires a structured approach. Evaluating physical offcuts removes the guesswork from the initial selection, ensuring the product fits the intended use. By testing the material, preparing the subfloor correctly, and maintaining perimeter expansion gaps, the resulting installation will perform reliably. Order your samples from Pro-Tek™ today to start assessing your options.