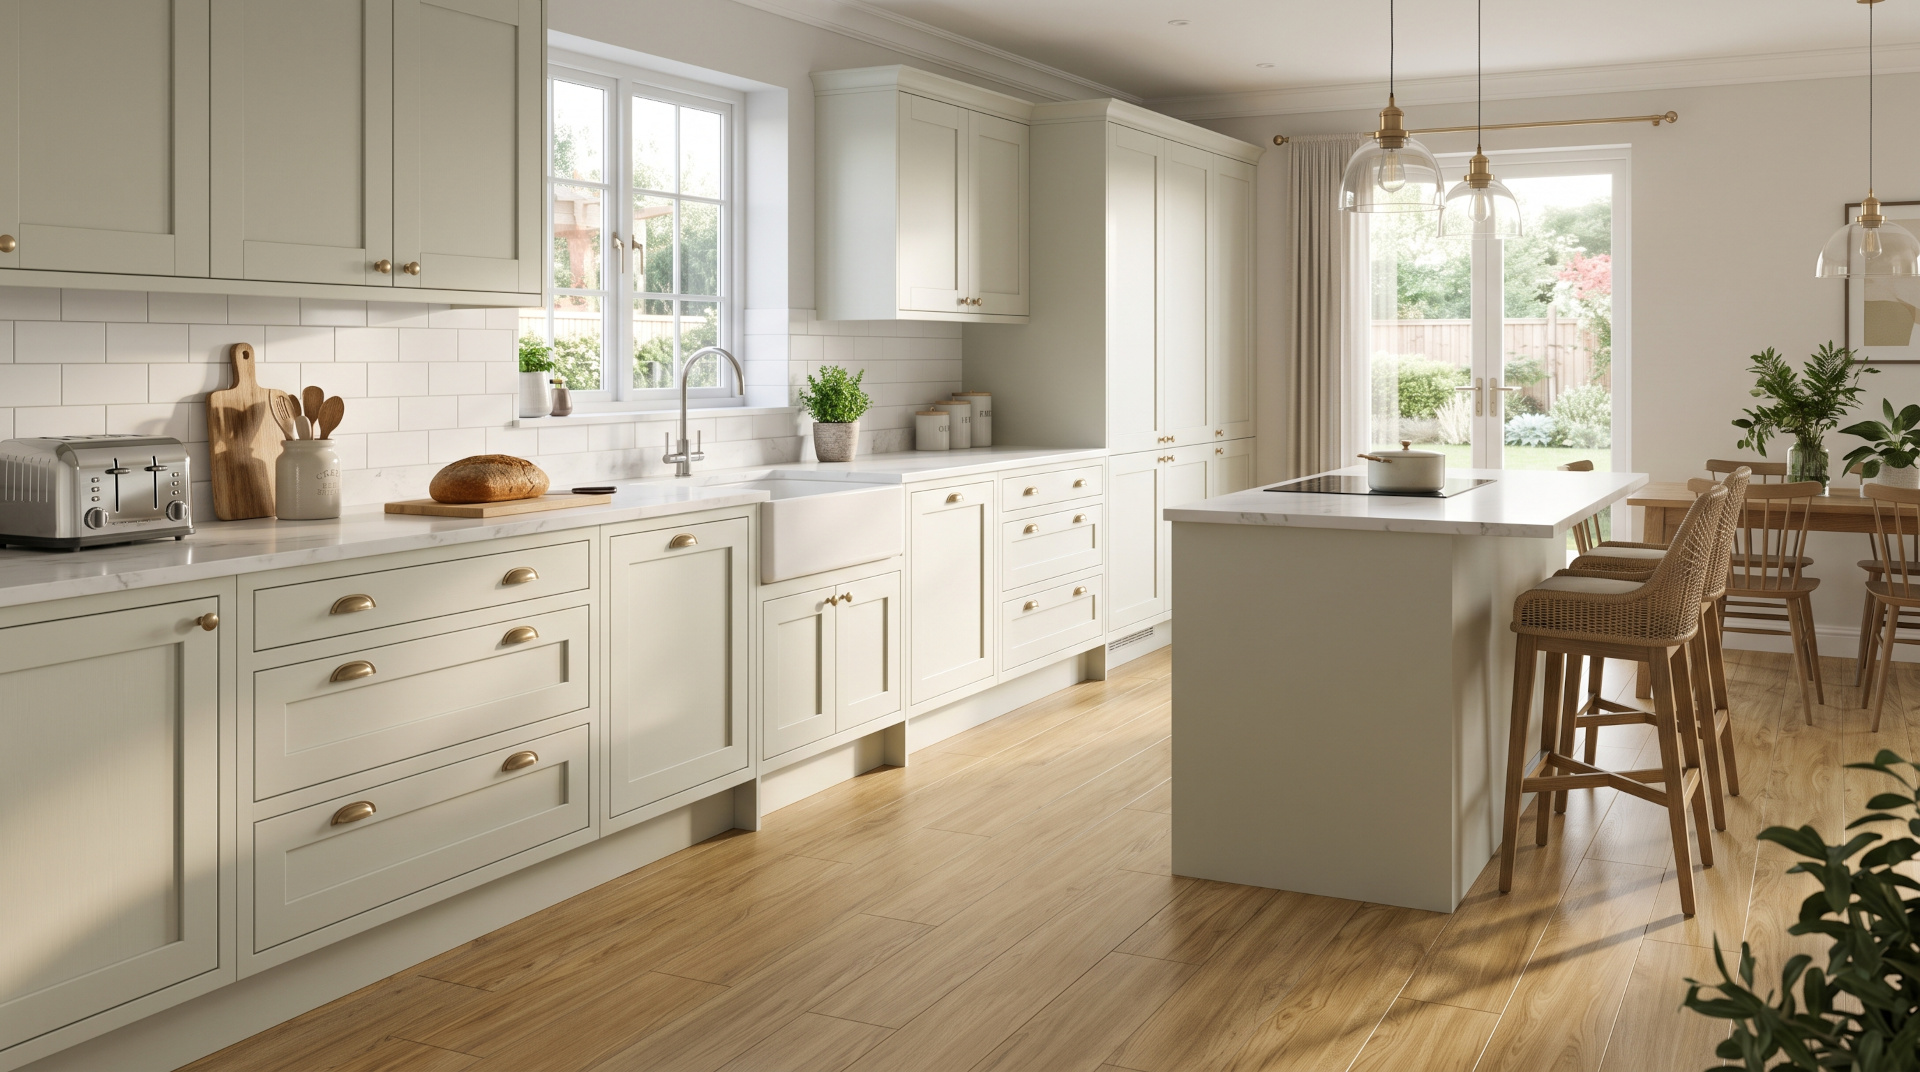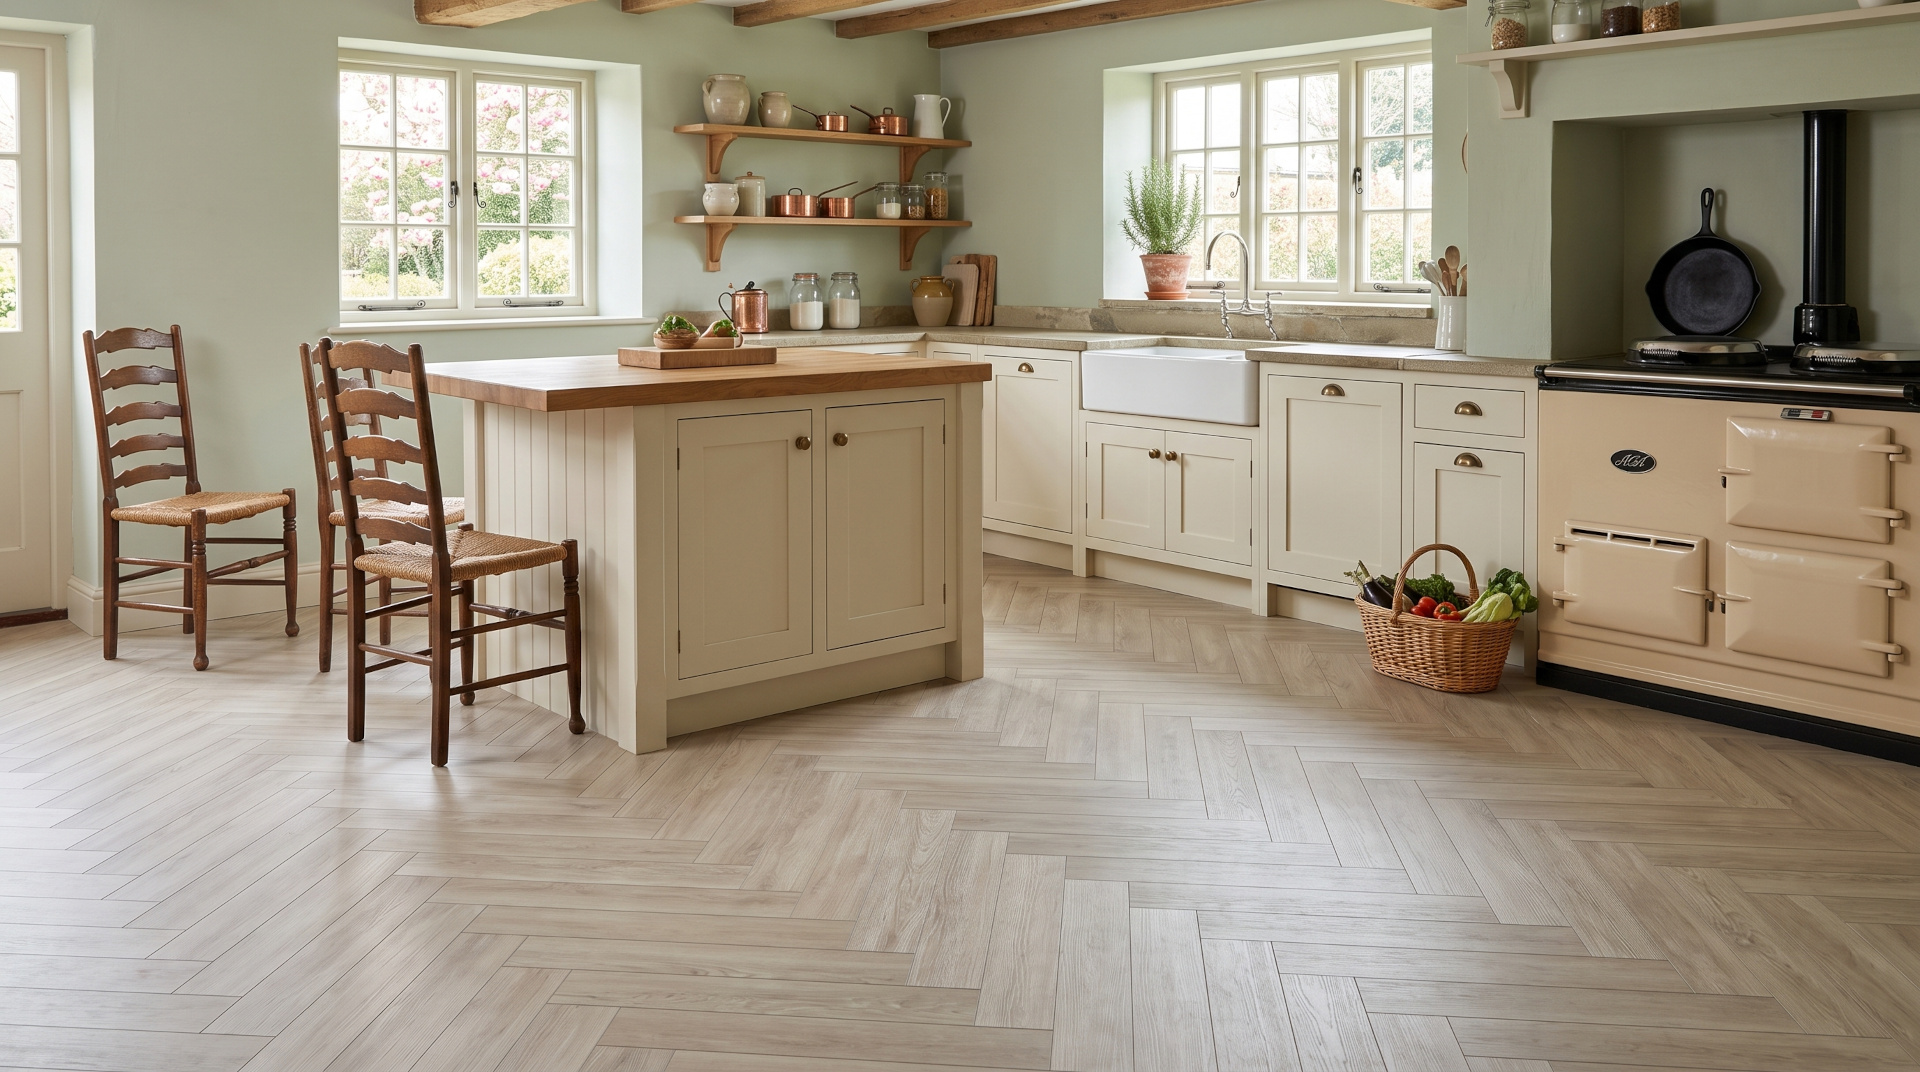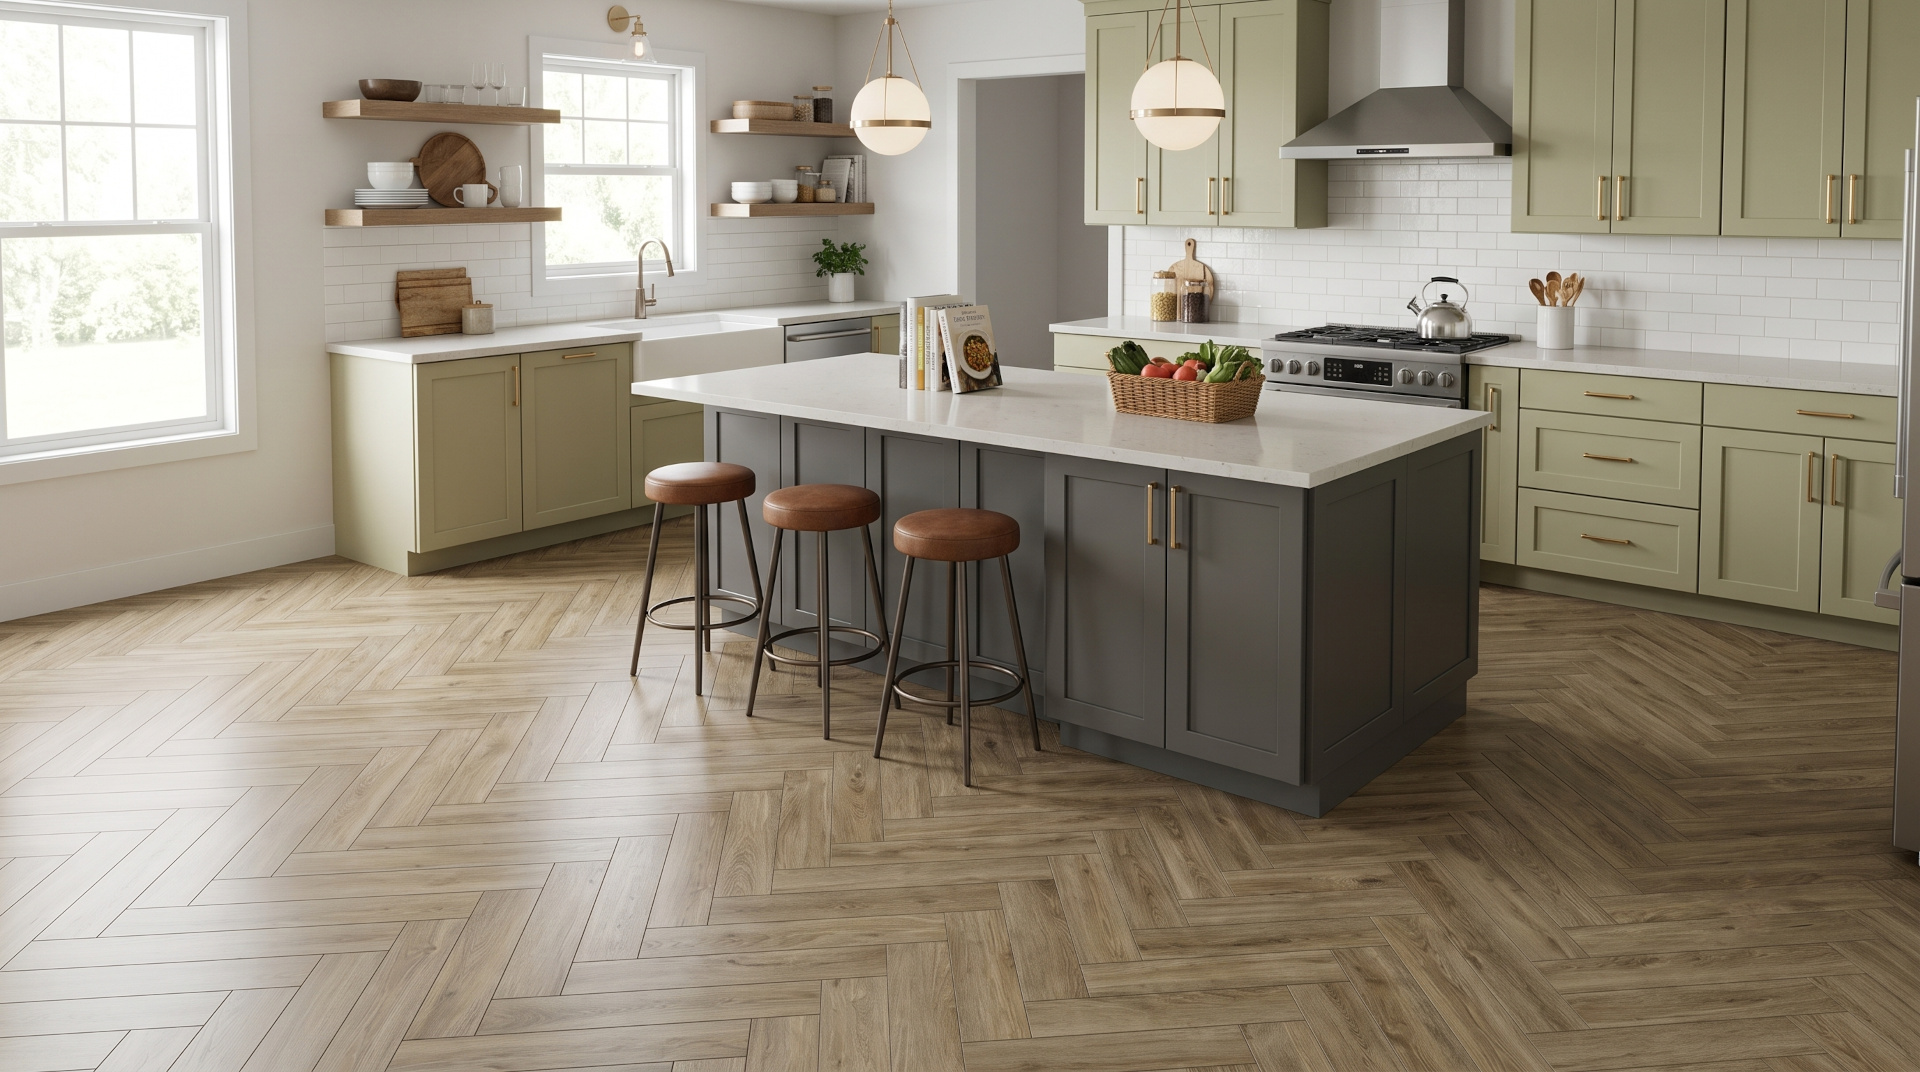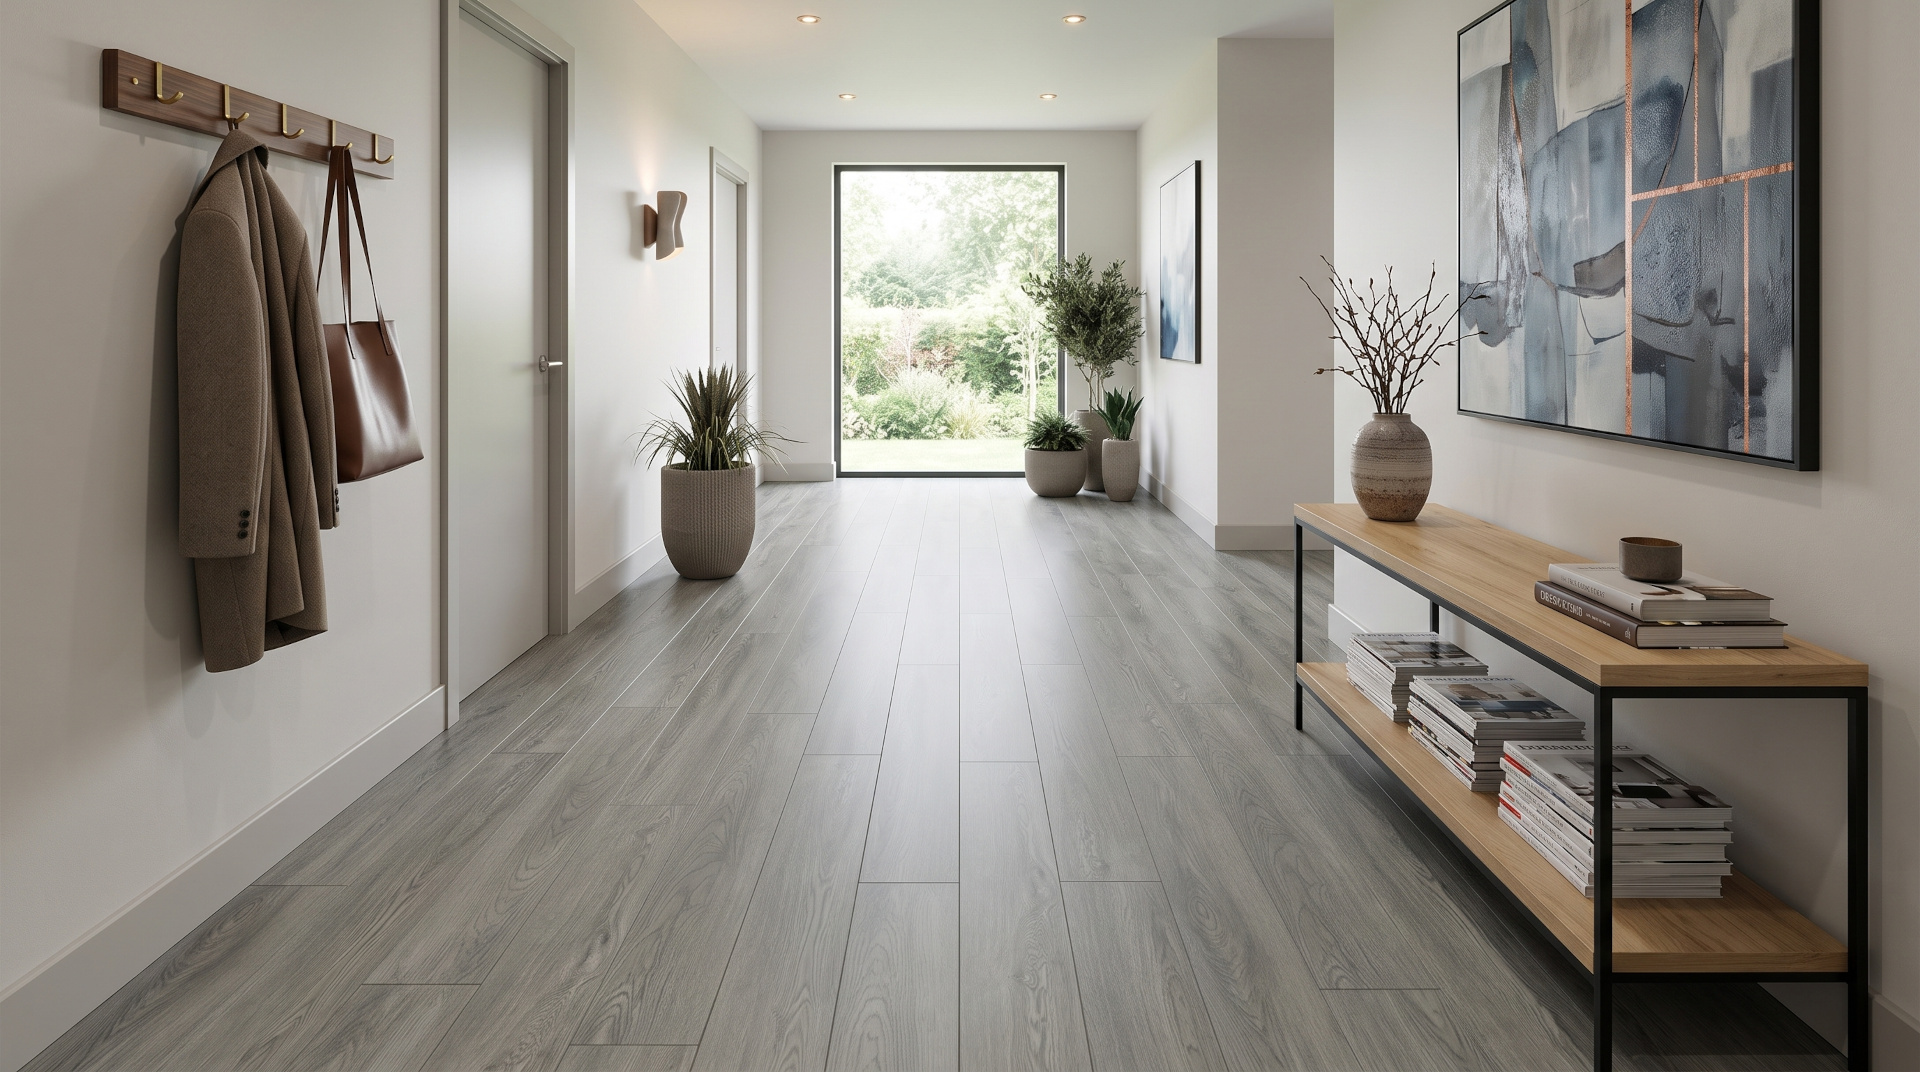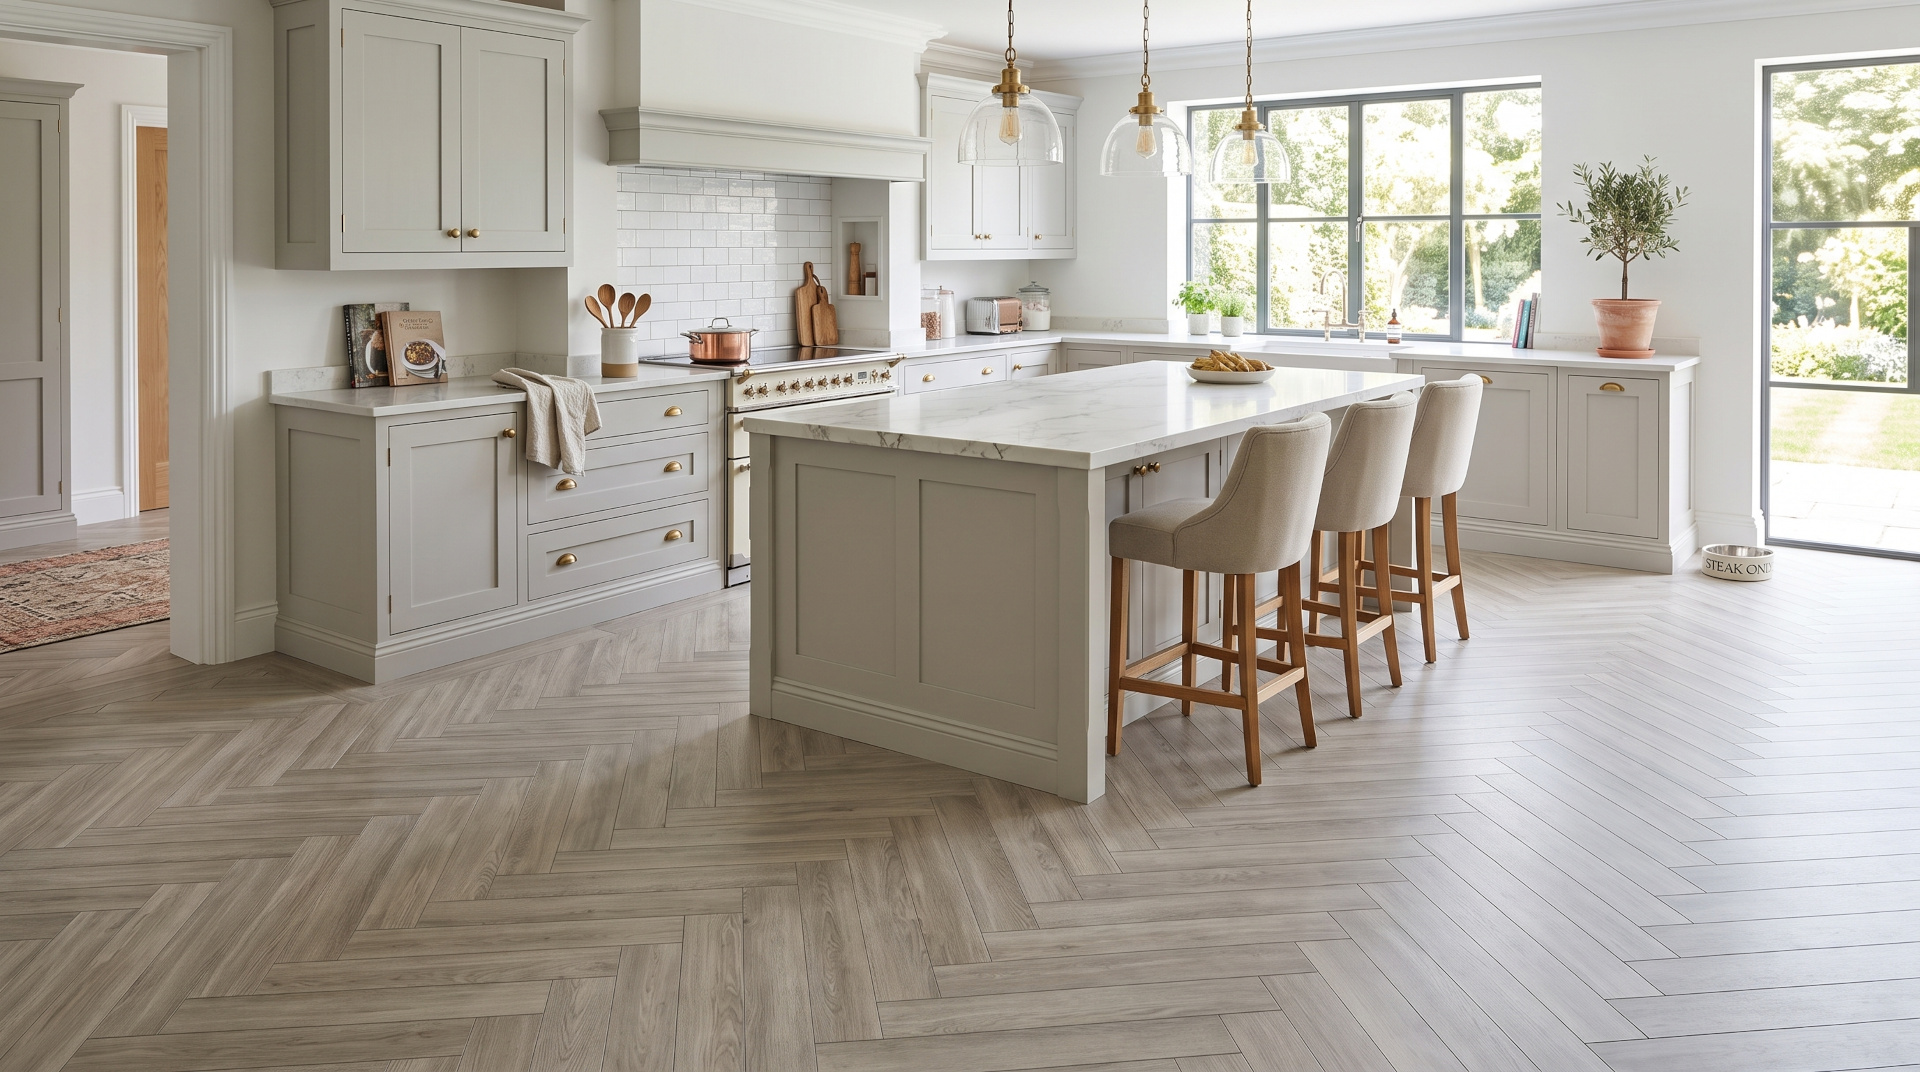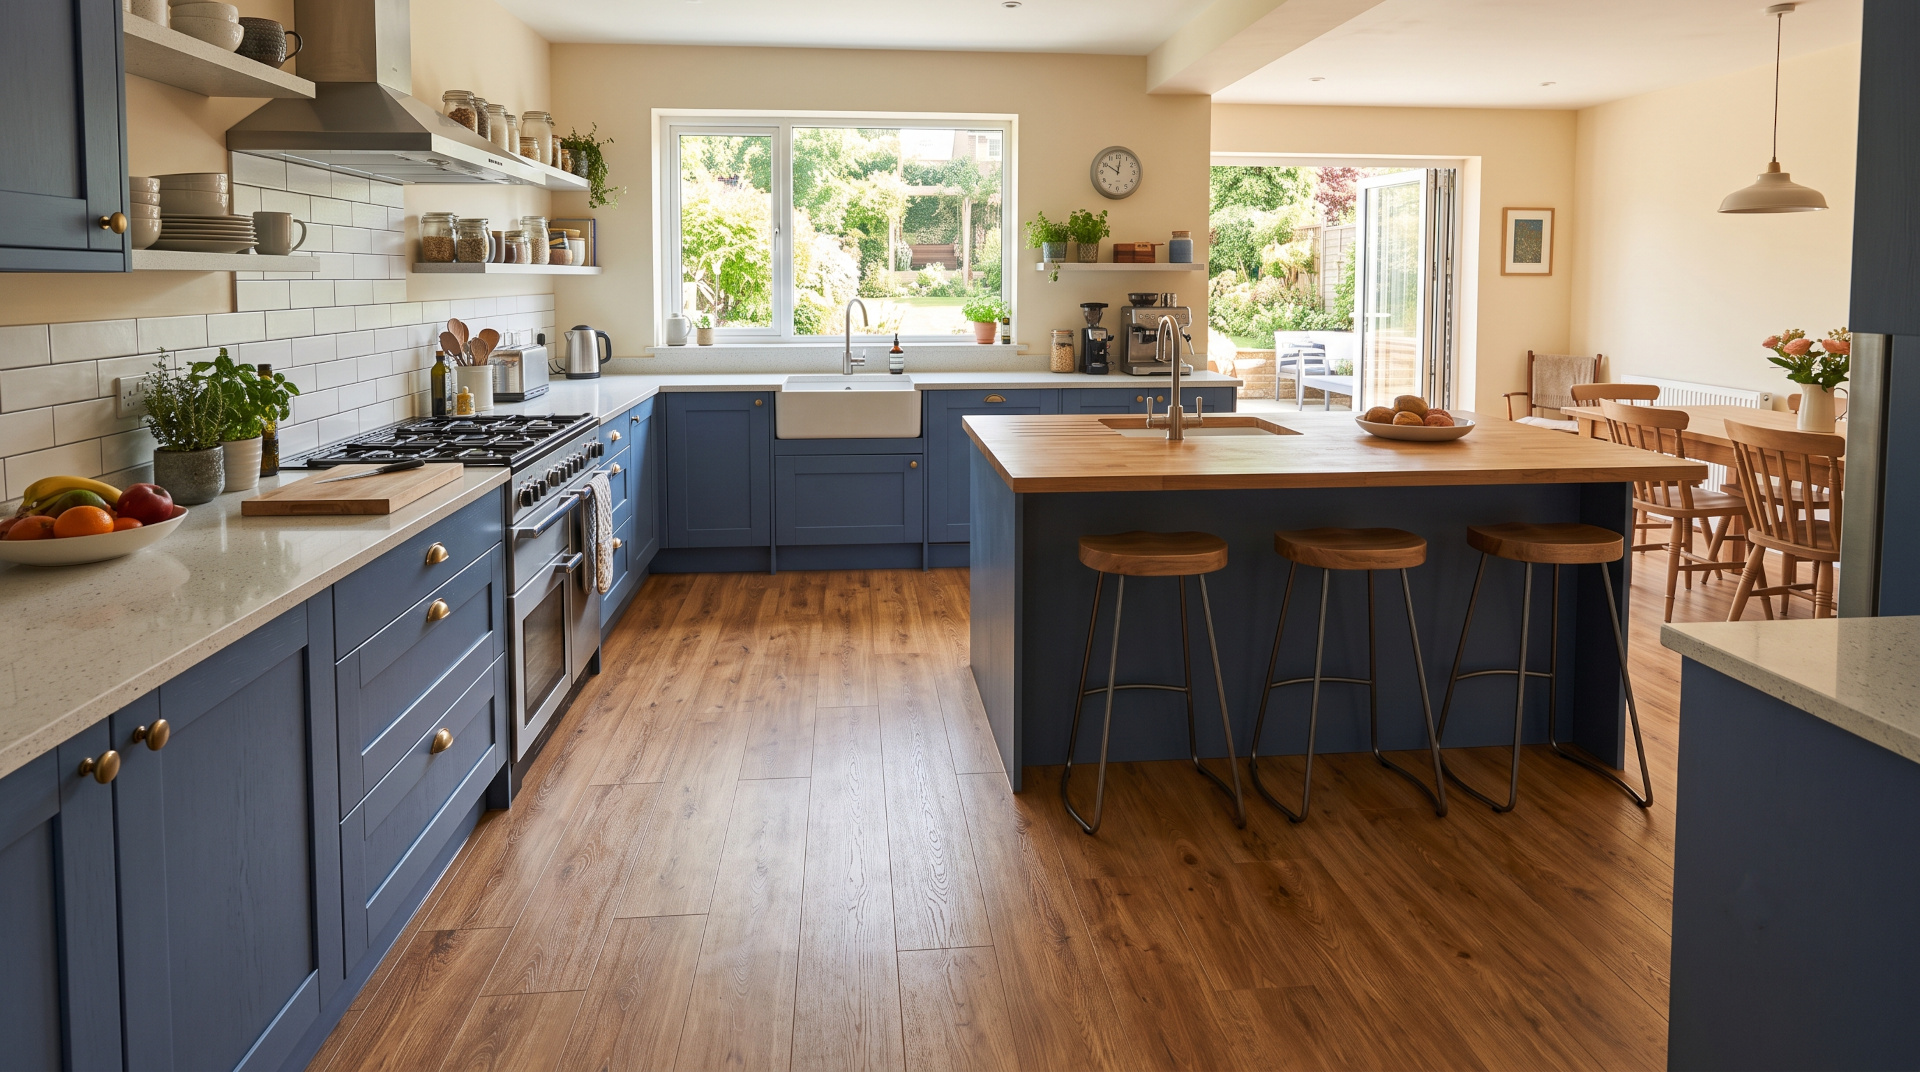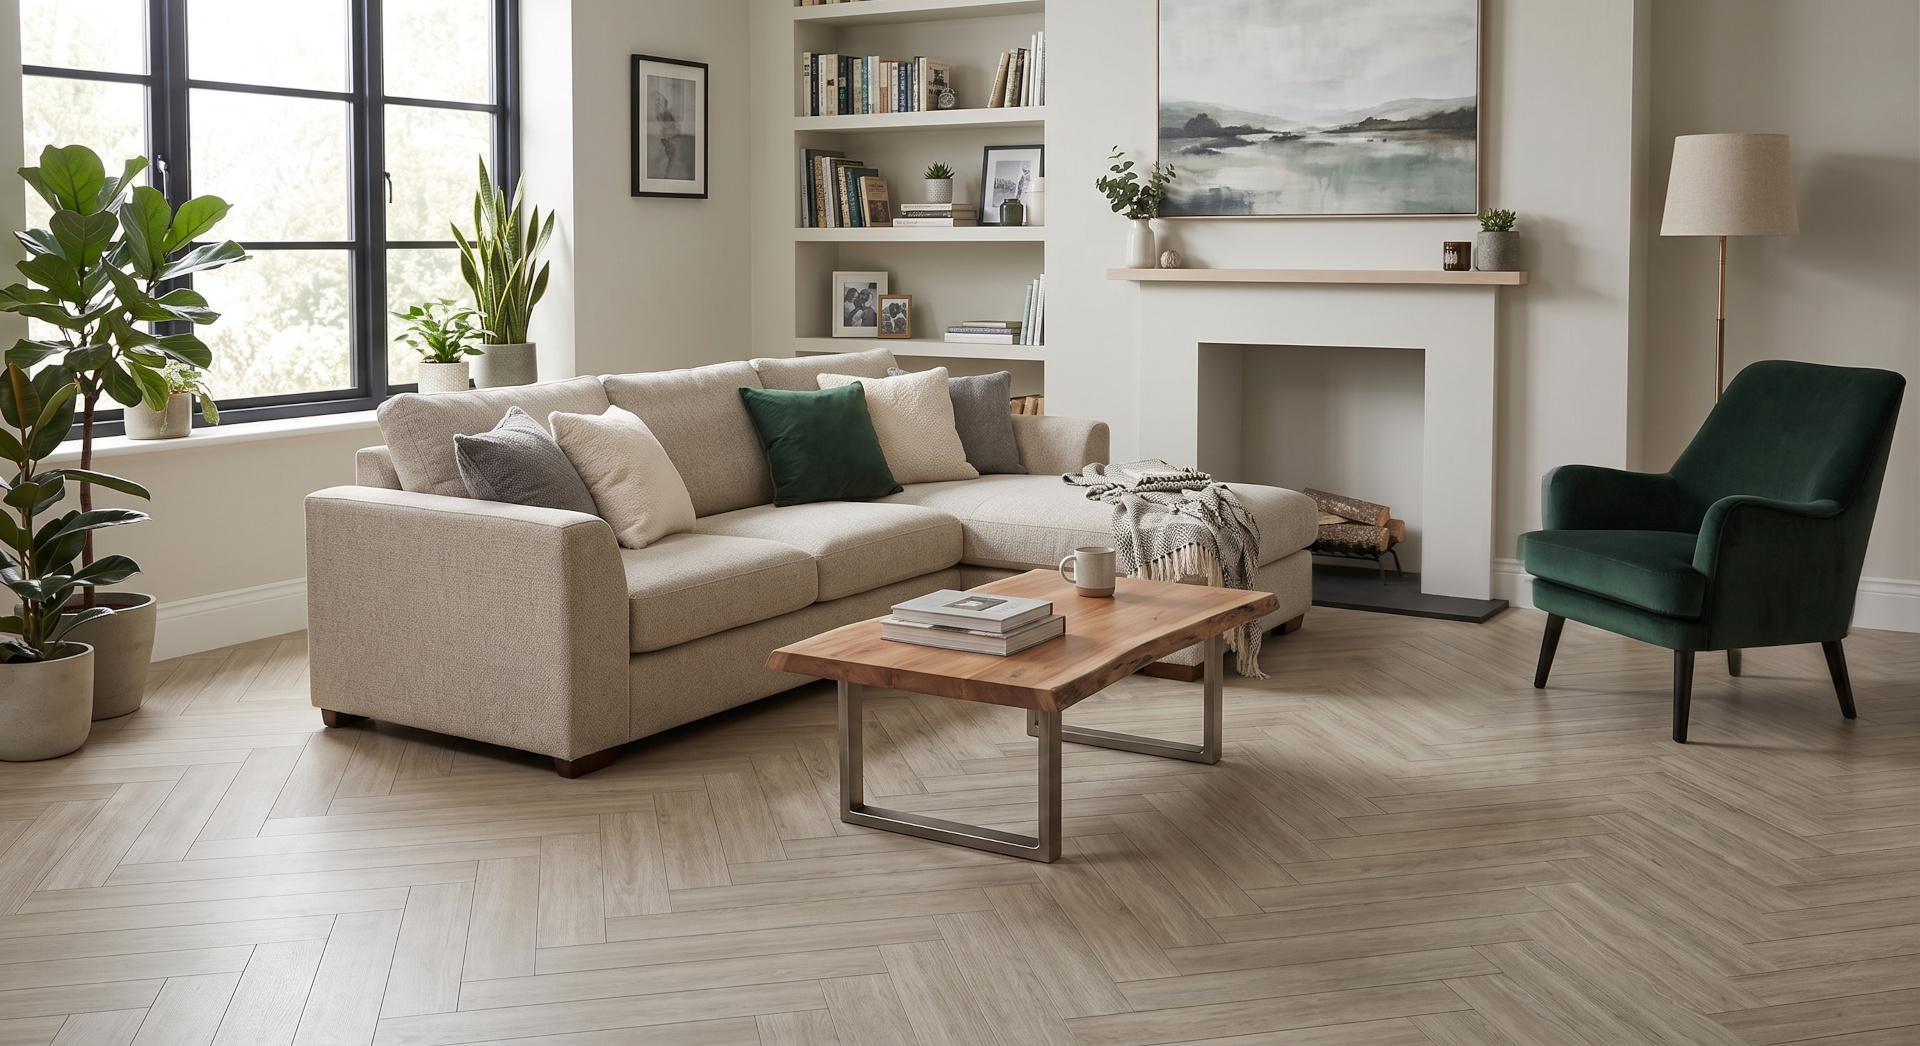
When picking a new floor, you usually have to choose between something that looks beautiful and something that can handle everyday life. Real wood looks great, but it scratches easily and gets ruined by water, making it a bad choice for busy hallways, kitchens, or bathrooms.
Herringbone LVT (Luxury Vinyl Tile) solves this problem perfectly. It gives you that classic wood look, but because it is vinyl, it is incredibly tough and waterproof. You don’t have to choose between the look and the strength of your floor anymore.
Here is everything you need to know about this popular flooring, from why people love it to how to install it and everything else in between.
Jump To Section
- The History and Evolution of the Herringbone Pattern
- Why Herringbone LVT is Leading Modern Interior Design
- Choosing Your Installation Method: Click-Lock vs. Glue-Down
- Step-by-Step Installation Guide for Herringbone LVT
- 10 Frequently Asked Questions (FAQ)
The History and Evolution of the Herringbone Pattern
The herringbone layout is not a modern design trend. Its distinctive v-shaped pattern boasts a rich history spanning thousands of years, evolving from a functional engineering technique into a symbol of architectural luxury.
Ancient Roman Infrastructure
The origins of the herringbone pattern date back to the Roman Empire. Roman engineers discovered that laying bricks at interlocking angles created a highly stable, interlocking grid system. Known as opus spicatum (spiked work), this structural layout was used to construct the vast network of Roman roads. The angled design effectively absorbed the structural stress of heavy foot traffic and passing chariots, preventing the stones from shifting or cracking over time.
The Renaissance and Royal Parquet
During the 16th century, the pattern transitioned from outdoor roadways into prestigious indoor spaces. The earliest recorded usage of interior wooden herringbone flooring occurred in France at the Chateau de Fontainebleau in 1539. Designed by Italian craftsmen commissioned by King Francis I, this complex wooden flooring layout quickly became a defining feature of the Renaissance era.
Throughout the 17th and 18th centuries, intricate parquet patterns—specifically herringbone and chevron—spread across European palaces, chateaux, and grand manor houses. Because each wooden block had to be painstakingly cut and laid by hand, these floors served as a direct status symbol for the wealthy elite.
The Modern Resurrection via LVT Technology
For a long time, getting a classic herringbone floor meant spending a lot of money and constantly maintaining it. Real wood swells and shrinks with changes in temperature and humidity, which means it can easily warp in damp rooms.
Luxury Vinyl Tile (LVT) changed all that. Today’s manufacturing is so good that they can make vinyl planks look and feel exactly like real wood. Now, you can have that expensive, classic look in a floor that is totally waterproof, hard to scratch, and super easy to look after in any room of your house. Plus you can achieve all this for a fraction of the cost of Real Parquet or engineered wood flooring options.
Why Herringbone LVT is Leading Modern Interior Design
The popularity of herringbone LVT flooring is mainly down the look final finished look. The difference it can make just by changing the flooring to a herringbone pattern really makes a difference in how luxury the space can feel.
Visual Expansion and Spatial Illusion
The directional flow of a herringbone pattern creates a powerful optical illusion. The staggered, V-shaped lines naturally draw the human eye outward toward the furthest corners of a room. This dynamic movement makes tight, narrow spaces—such as entry hallways, galley kitchens, and small utility rooms—feel significantly wider and more expansive than they actually are.
Structural Resiliency and Performance
Unlike standard sheet vinyl of the past, high-quality LVT is built using a robust, multi-layered construction process:
- The Base and Core Layers: Provide stability, ensuring the planks lay flat and resist indentation from heavy furniture.
- The High-Definition Photographic Layer: Delivers hyper-realistic visuals of the actual design of the flooring itself
- The Wear Layer: A clear, heavy-duty protective top coating. For residential spaces, a wear layer of 0.3mm to 0.55mm offers exceptional defense against pet claws, high heels, and dropped items. At Pro Tek we offer an even higher wear layer of 0.7mm on all our Tek Core Pro and Tek Core Long Plank ranges.
Complete Moisture Resistance
True hardwood planks rot, swell, and cup when exposed to standing water. Herringbone LVT is completely impervious to moisture. This allows you use the floor in high-moisture spaces like bathrooms, kitchens, without worrying about water damage.
Choosing Your Installation Method: Click-Lock vs. Glue-Down
Here is the simplified, everyday version that keeps all the important details:
When choosing herringbone vinyl flooring, your biggest decision is picking between “click-lock” and “glue-down” planks. Both look great, but they are fitted differently and need different prep work.
Click-Lock (The DIY Choice) These planks click together and “float” over your existing floor without being stuck to it.
- Easy to fit: It is perfect for DIYers because there is no messy glue and no waiting for it to dry.
- Less prep work: Because the planks are stiff, they can hide small bumps on the floor underneath. Your base floor doesn’t have to be totally perfect.
- Quiet: These floors are thick and usually have a built-in pad, making them very quiet to walk on.
- Harder to fix: If a plank in the middle of the room gets damaged, you have to unclick the floor all the way from the nearest wall to replace it.
Glue-Down (The Pro Choice) These planks are glued directly to the floor using a strong adhesive.
- Super strong: The floor won’t shift or lift at all, even under rolling office chairs, heavy foot traffic, or hot sunlight from big windows.
- Needs a perfect base: Because these planks are thin and flexible, your base floor must be completely smooth and flat. If there are any bumps or dips underneath, they will eventually show through the vinyl.
- Easy to fix: If one plank gets ruined, it is very easy to replace. You just warm it up with a hair dryer to loosen the glue, pull it up, and stick a new piece down in minutes.
Step-by-Step Installation Guide for Herringbone LVT
Installing a herringbone pattern requires far more precision than a standard straight-plank layout. Because the boards lock together at 90-degree angles, even a minor millimeter misalignment at the start will multiply across the room, resulting in noticeable gaps later on.
Step 1: Acclimatization and Subfloor Preparation
Before opening the boxes, store your LVT planks flat in the target room for at least 48 hours. This allows the vinyl material to adapt to the ambient temperature and humidity of your home, preventing post-installation expansion or shrinkage.
While the flooring acclimates, prepare your subfloor. It must be completely clean, dry, and structurally sound. Any dips or bumps greater than 2mm over a two-meter span must be leveled out using a self-leveling compound or a high-quality plywood overlay.
Step 2: Finding the Center Line and Establishing the Focal Point
A perfectly balanced herringbone floor starts in the exact center of the room.
- Measure the width of the room and snap a straight chalk line down the middle from one end to the other.
- This line serves as your primary anchor guide. Your initial “V” pattern chain will run directly along this chalk line.
Step 3: Cutting the Starter Triangles (For Click Systems) or Laying the First Chain
To create a clean boundary against your starting wall, you will need to measure and cut specific starter triangles, or lay a central “spine” of planks. For a glue-down installation, apply a premium, pressure-sensitive vinyl adhesive along your center chalk line using a fine-notched trowel. Allow the adhesive to become tacky before placing the first tiles.
Step 4: Interlocking the Left and Right Planks
Herringbone LVT planks are typically manufactured as specific “A” and “B” planks to facilitate the alternating left-and-right interlocking pattern. Alternate between these planks, maintaining a strict 90-degree angle. Use a soft rubber mallet and a specialized vinyl tapping block to gently secure the joints tightly together without damaging the delicate locking profiles.
Step 5: Border Cuts and Expansion Gaps
As you approach the perimeter walls, measure individual planks carefully to fill the remaining triangular gaps. Always leave a strict 5mm to 8mm expansion gap around the entire perimeter of the room, including doorways and radiator pipes. This vital gap allows the floor to shift naturally with home temperature changes. Cover this gap afterward using matching skirting boards or scotia moldings.
10 Frequently Asked Questions (FAQ)
1. What is the main difference between herringbone and chevron flooring patterns?
While both create a beautiful design, the difference lies in the cut of the plank ends. Herringbone uses standard rectangular planks laid at a 90-degree angle to create a broken, staggered layout. Chevron planks are cut at a precise 45-degree angle on the ends, meeting cleanly to form a continuous, straight V-shaped point.
2. Can herringbone LVT flooring be installed over underfloor heating?
Yes, most modern luxury vinyl tiles are fully compatible with embedded underfloor heating systems. Vinyl conducts heat efficiently, allowing warmth to rise quickly into the room. Always consult the manufacturer’s technical datasheet to confirm the maximum safe operating temperature (typically 27°C / 80°F).
3. How much extra material wastage should I order for a herringbone layout?
For a standard straight-plank installation, a 5% to 10% wastage allowance is sufficient. However, due to the intricate nature of the cuts required around the room’s perimeter, you should order 12% to 15% extra material to ensure you do not run short.
4. Do I need a professional installer to lay herringbone LVT?
If you are using a click-lock system and have advanced DIY experience, you can install it yourself by following the installation manual meticulously. If you are using a glue-down system, it is highly recommended to hire a professional installer. Glue-down variants require flawless subfloor preparation and expert adhesive application.
5. Is herringbone LVT completely waterproof?
Yes, luxury vinyl tile is manufactured from synthetic waterproof polymers. This makes it an ideal flooring choice for high-moisture zones like kitchens, bathrooms, and utility rooms where real hardwood or laminate would warp, swell, or delaminate.
6. What are “A” and “B” planks, and why do I need both?
In a herringbone pattern, planks must mirror each other to interlock at right angles. Manufacturers create separate “A” and “B” boxes with mirrored locking grooves on opposite sides. You must use an equal number of both types to successfully build the pattern.
7. How do I properly clean and maintain herringbone luxury vinyl floors?
Maintenance is simple. Sweep or vacuum regularly using a soft brush attachment to remove abrasive dirt and debris. For deeper cleaning, use a damp microfiber mop with a pH-neutral vinyl floor cleaner. Avoid steam mops, abrasive scrubbing pads, and harsh bleach-based chemicals.
8. Will heavy furniture leave permanent dents in my LVT floor?
High-density rigid core LVT offers excellent indentation resistance. However, to protect your investment long-term, always place wide felt floor protectors underneath the legs of heavy couches, wardrobes, and dining tables to distribute the weight evenly.
9. Can I install herringbone LVT directly over my old ceramic tiles?
It is not recommended to lay LVT directly over uneven tile. The grout lines of the old ceramic floor will eventually telegraph (show through) to the surface of your new vinyl planks over time. Fill deep grout lines with a smoothing compound or install a dedicated plywood first to ensure that the sub floor is solid flat firm and stable
10. How long can I expect a quality herringbone LVT floor to last?
When properly installed and maintained, a premium luxury vinyl floor with a thick commercial-grade wear layer can easily last between 15 to 25 years in a residential setting. Many premium options come backed by extensive manufacturer warranties.