When upgrading your home, extending your beautiful new flooring across every level creates a seamless, cohesive design. If you are considering fitting LVT on stairs, you are making a superb choice for longevity and style. Luxury Vinyl Tile (LVT) seamlessly blends incredible durability with a straightforward installation process, making it a favourite among homeowners and property developers alike.
However, a staircase is a high-impact, uniquely shaped area that requires a different approach to a standard flat room. From subfloor preparation to the crucial application of adhesive, installing LVT on stairs requires a systematic approach to ensure a safe and stunning result. This comprehensive guide will walk you through the essential steps, expert tips, and frequently asked questions for a flawless finish.
Jump To Section
- Why Fitting LVT on Stairs is a Smart Choice
- Essential Preparation for LVT on Stairs
- The Golden Rule: Adhering Click Vinyl
- Step-by-Step Guide to Fitting LVT on Stairs
- The Crucial Role of Exact Match Stair Nosings
- Final Thoughts on LVT on Stairs
- Frequently Asked Questions (FAQs)
Why Fitting LVT on Stairs is a Smart Choice
Staircases endure some of the heaviest foot traffic in any building. They are subjected to the daily pounding of shoes, the scramble of pets, and the constant hauling of heavy items up and down.
Using LVT on stairs is a practical and stylish solution. Premium options like Pro-Tek™ feature thick, commercial-grade wear layers that easily withstand this intense wear and tear. Furthermore, it is incredibly easy to clean—requiring just a simple sweep and damp mop—and provides a far more hygienic, dust-free environment compared to traditional carpet runners.
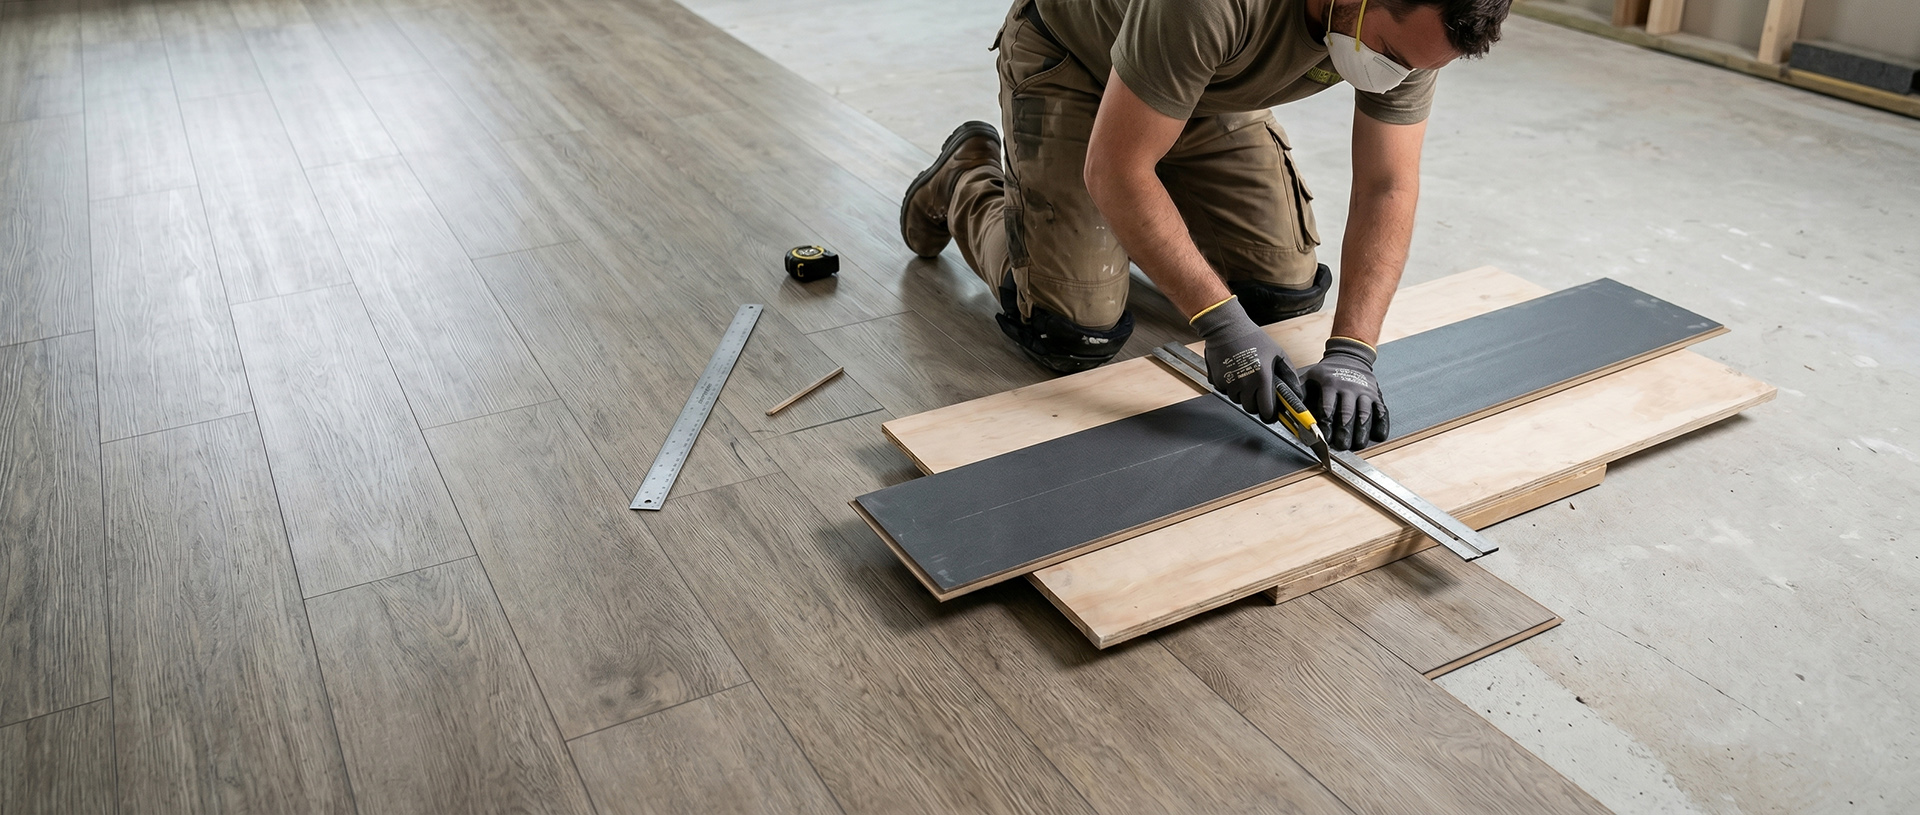
Essential Preparation for LVT on Stairs
A flawless installation begins long before the first plank is laid. The condition of your existing staircase dictates the quality of the final result.
- Create a Flush Surface: In most cases, existing stair overhangs (the lip of the old step) must be cut away or packed out to be completely flush with the riser below. You need a clean, 90-degree corner to allow for the proper installation of the new stair nosing.
- Level and Repair: Ensure the existing stairs are perfectly flat, clean, and dry. Remove old glue or nails, and use a suitable levelling compound to fill any dips or indentations left by old carpet runners. Any imperfection left behind will eventually show through the vinyl.
- Acclimatisation: Just like in a standard room, your planks must be brought into the installation environment and allowed to acclimatise for at least 48 hours to minimise future expansion or contraction.
The Golden Rule: Adhering Click Vinyl
While traditional Pro-Tek™ flooring utilises an advanced Uniclic™ system to create a ‘floating floor’ across your living spaces, you must alter your approach for staircases.
For safety and stability, LVT on stairs must always be fully adhered to the subfloor. A floating installation requires an expansion gap and relies on the collective weight of the floor, which is unsuitable and unsafe for the small, high-impact surface of a step.
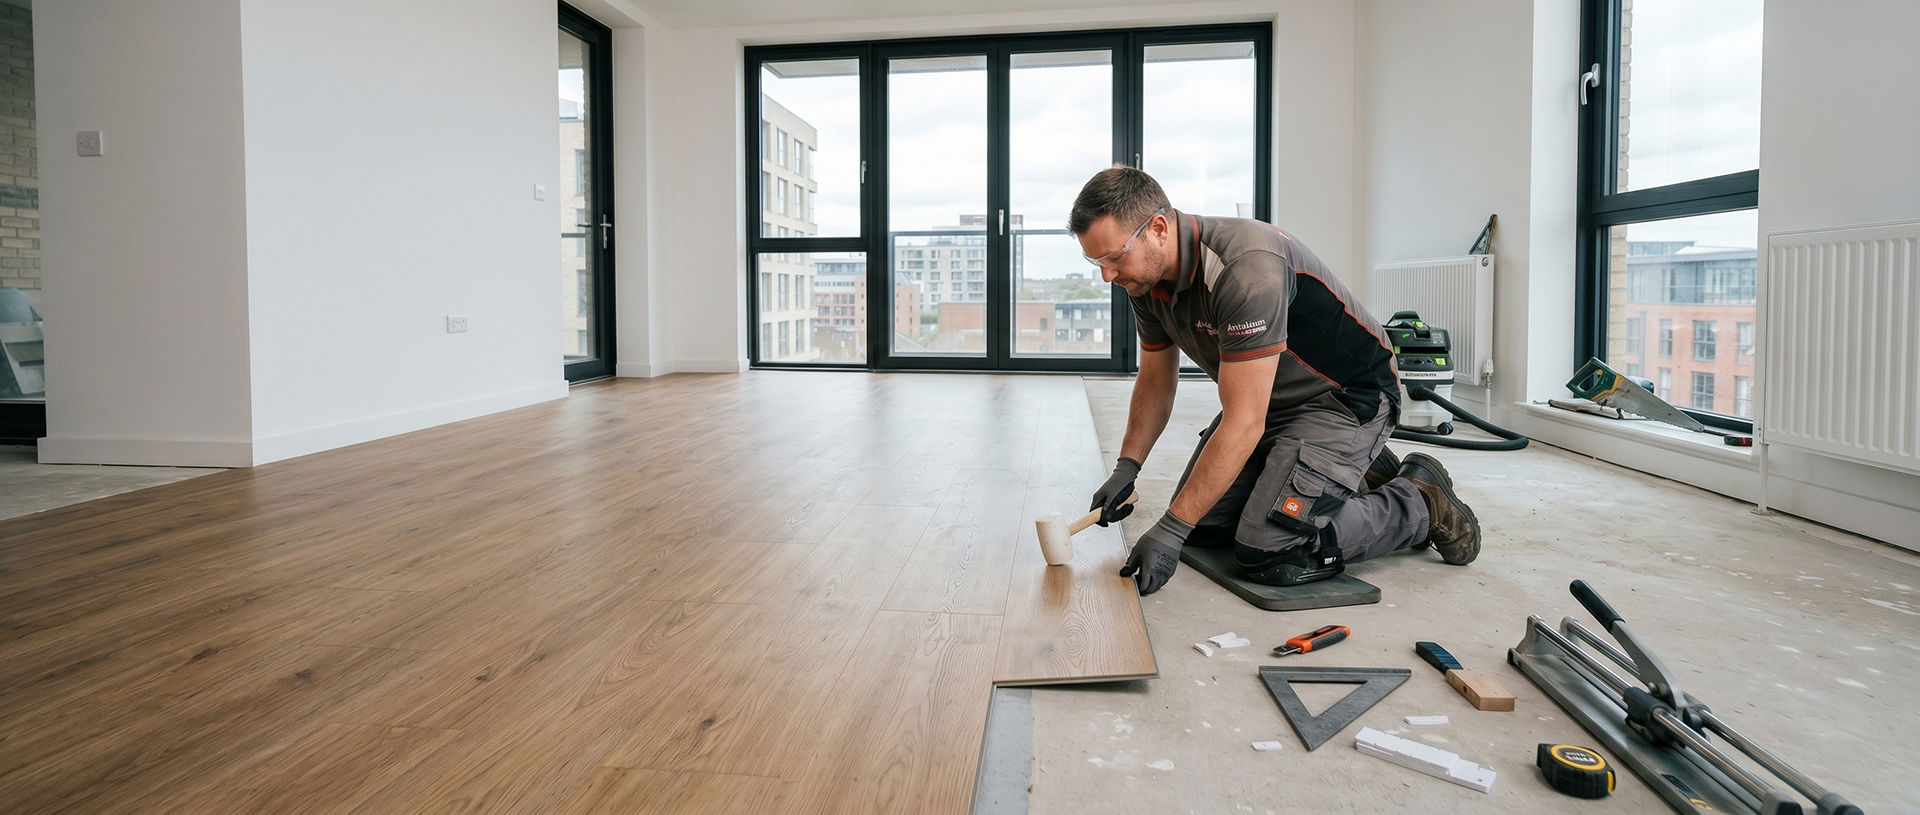
Step-by-Step Guide to Fitting LVT on Stairs
With your staircase prepped and tools ready, you can begin the installation process.
1. Start with the Risers: While some prefer to start with the tread, fitting the riser (the vertical section) first is often best. Measure and cut the LVT precisely. Spread your adhesive evenly across the riser and press the vinyl firmly into place.
2. Install the Treads: The treads bear the brunt of the foot traffic. Measure each step individually, as building tolerances mean stairs are rarely perfectly uniform. Cut the plank, apply a consistent layer of adhesive to the tread, and position the plank starting from the back edge (meeting the riser). Press down firmly.
3. Secure the Nosing: Apply adhesive to the back of the nosing piece and position it precisely along the front edge of the step. For extra security, it is highly recommended to secure the nosing with small finishing nails or screws (sinking the heads below the surface) while the adhesive cures.
4. Allow to Cure: Once completed, do not use the stairs during the curing time specified by the adhesive manufacturer (often 24 to 48 hours) to ensure a permanent, strong bond.
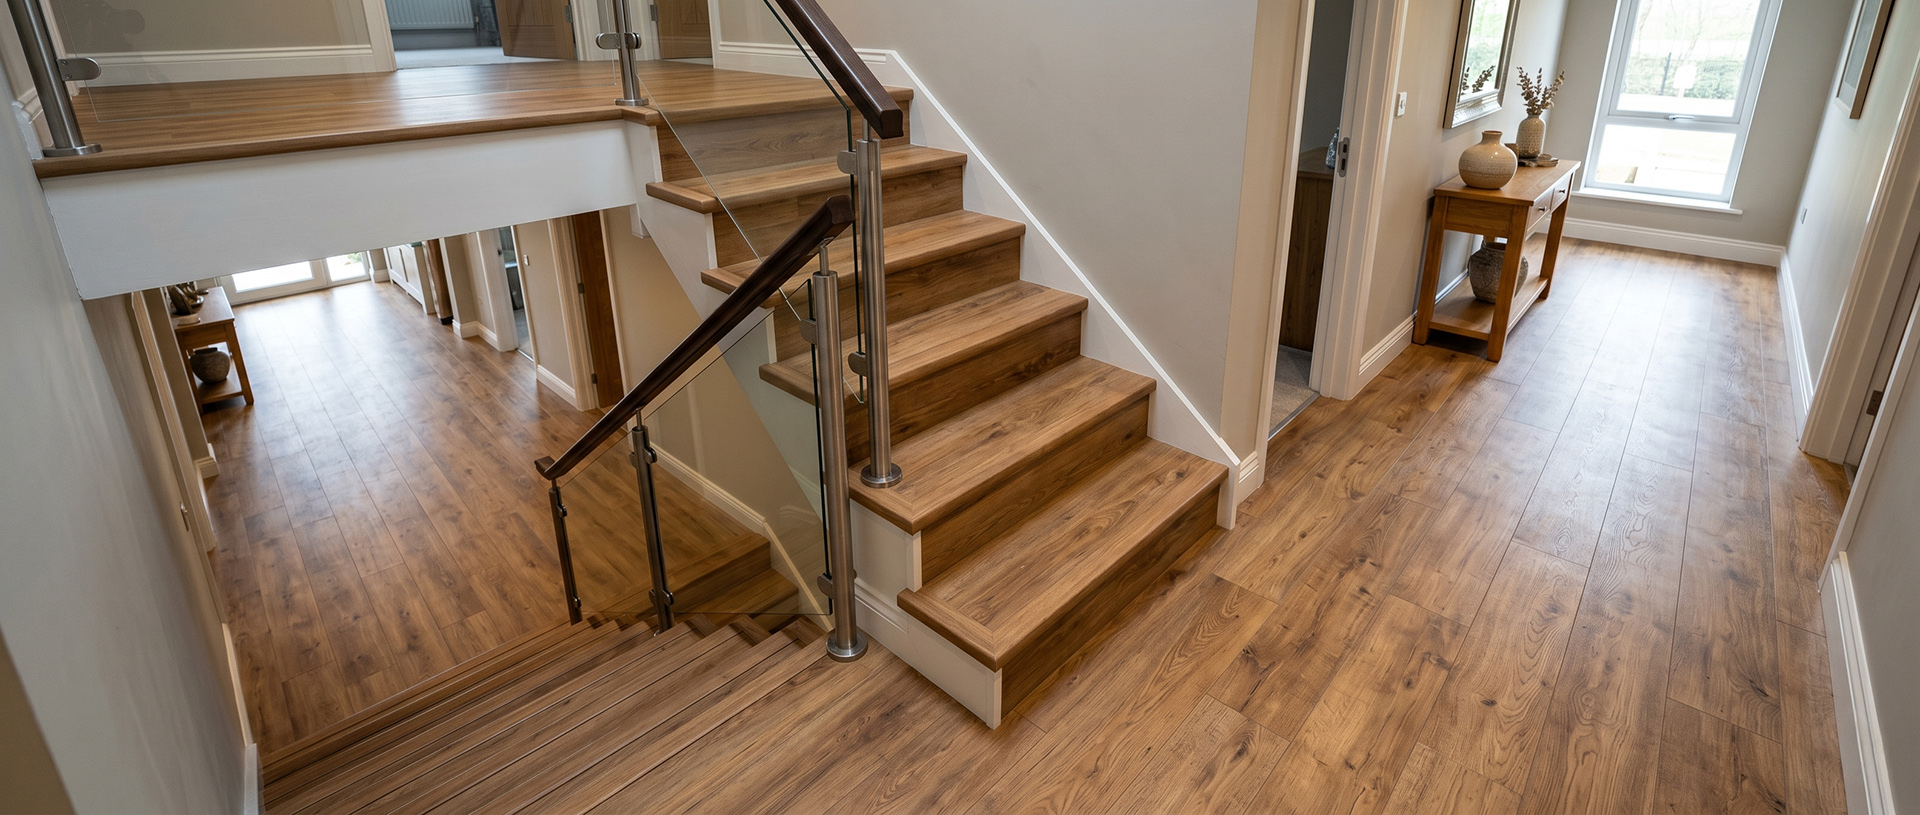
The Crucial Role of Exact Match Stair Nosings
When installing LVT on stairs, the finishing trims are just as important as the planks themselves. Traditional metal or rubber trims can often detract from the realistic look of wood-effect vinyl.
To achieve a truly seamless, high-end finish, use accessories designed to match your specific vinyl plank. Pro-Tek™ specialises in offering exact colour match stair nosing and door bars for our LVT lines. This ensures that the critical safety component looks identical to the floor covering on the tread, creating a continuous, bespoke appearance across the entire flight of stairs and the adjacent landing.
Final Thoughts on LVT on Stairs
Updating your staircase with luxury vinyl is a superb way to modernise your home with an exceptionally durable and low-maintenance surface.
By diligently following this guide for fitting LVT on stairs—including rigorous preparation, accurate cutting, correct adhesive application, and proper stair nosing installation—you can achieve a breathtaking result that will stand the test of time.
Frequently Asked Questions (FAQs)
1. Is LVT or LVP suitable for a staircase application? Yes, both Luxury Vinyl Tile and Plank are excellent choices. They are highly durable, water-resistant, and can withstand heavy foot traffic, providing a long-lasting finish.
2. Should I choose glue-down or floating LVT for stairs? For stairs, a glue-down method is essential. Floating floors require movement, which is unsafe on stairs. Each piece of vinyl must be securely adhered for maximum stability.
3. How much extra material should I order for a stair project? It is recommended to order at least 5-10% extra material if you are working on a staircase that has turns and winders requiring additional flooring.
4. What specialised transition piece is required? You will need a stair nosing designed specifically to match your vinyl planks. This piece caps the edge of the tread, providing a finished appearance and crucial anti-slip safety.
5. Do I need an underlay on the stairs before installing the LVT? No, a separate underlay should not be used on stairs. LVT must be adhered directly to the staircase to prevent movement, which would create a hazard. (If using Pro-Tek™ with built-in underlay, the manufacturer guidelines for adhesive over this backing must be followed).
6. How do I achieve a neat finish on open-sided stairs? Open-sided stairs require finishing on the exposed ends. You will typically need end profiles or l shape nosing pieces that match the stair nosing to cover the raw edges of the vinyl plank and create a tidy appearance.
7. How do you clean and maintain vinyl stairs? It is very low-maintenance. Regular sweeping with a soft brush, followed by wiping with a damp cloth and a neutral cleaning solution, is all that is required. Always avoid using steam mops or harsh chemical cleaners, as these can degrade the protective wear layer and the adhesive bond over time.